ARTE
BELLEZZA E BENESSERE
MESTIERE
CULTURA E STORIA
DIVERTIMENTO
AMBIENTE
CIBO E BEVANDE
INGEGNERIA INVERSA
SCIENZE
SPORT
TECNOLOGIA
INDOSSABILI
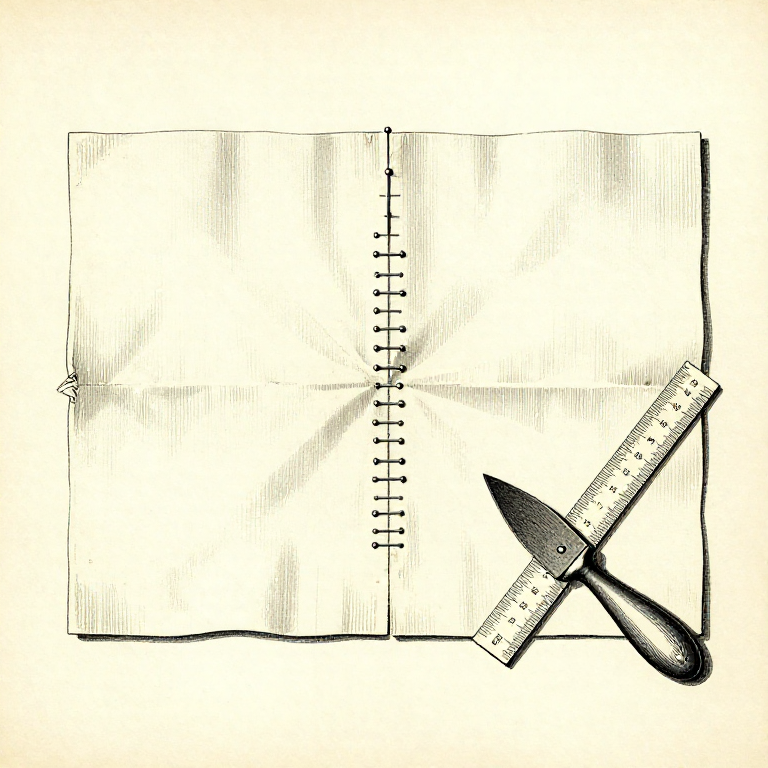


Making a Seam: Pin, Tack, Sew, Press — In That Order
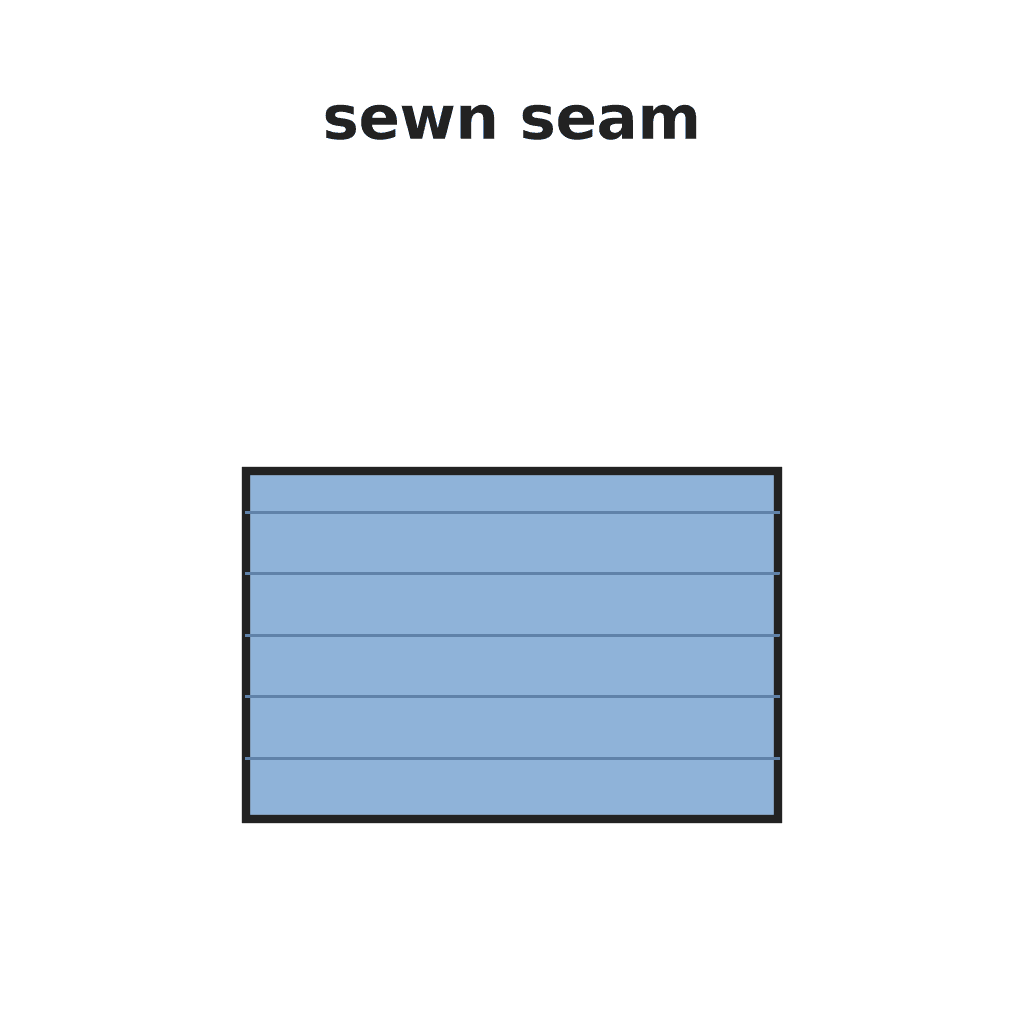
A seam is not just a line of stitches. It is a sequence — pin it, tack it, sew it, press it — and skipping any step shows in the finished result.
The most commonly skipped is PRESSING, and it is the one that most changes how the work looks. A pressed seam lies flat and reads as a clean line; an unpressed one is a ridge, and no amount of careful stitching compensates.
The second most skipped is TACKING, and the reason people skip it is that it feels like sewing the same seam twice. It is, and it is still faster than unpicking.
Principiante
3 hours
Istruzioni
1
1
Right sides together, and pin across the seam
Right sides together, and pin across the seam
Put the two pieces face to face so the seam will be hidden inside, match the raw edges, and pin at right angles to the seam line with the points toward the edge.
Across, not along. A pin lying along the seam has to be removed before you reach it; a pin across it holds both layers against the sideways creep that is the real problem, and the needle passes it without stopping.
Pin the ends first, then the middle, then halve the gaps. Working from the ends inward distributes any difference in length between the two pieces evenly instead of leaving it all bunched at the finish.
Materiali per questo passaggio:
 Tessuto di lino2 pezzi
Strumenti necessari:
 Spilli da sarta
 Righello per orli
 Gessetto da sarto
2
2
Tack it: a temporary seam that costs two minutes
Tack it: a temporary seam that costs two minutes
Sew the seam with a long loose running stitch in a contrasting thread, take the pins out, and check the result before committing.
Tacking holds far more reliably than pins, lets you try the piece on or offer it up, and removes the pins from the path of the real stitching. Two minutes here saves the twenty that unpicking a finished seam costs.
Use a contrasting colour so the tacking is unmistakable when you come to remove it, and leave the ends loose rather than knotted so it pulls out in one. Curves, set-in sleeves and anything that must fit are where tacking stops being optional.
Materiali per questo passaggio:
 Filo da cucito1 pezzoTessuto di lino2 pezzi
Strumenti necessari:
 Aghi da cucito a mano
 Forbici da sarto
 Tagliasole
3
3
Sew a consistent seam allowance
Sew a consistent seam allowance
Sew at a fixed distance from the raw edge — commonly 10 or 15 mm — and keep that distance the same for the whole seam and every matching seam on the piece.
The allowance is what makes parts fit. Two pieces cut to the same pattern and sewn at different allowances finish at different sizes, and on a garment that shows up as a twist that cannot be traced to any single mistake.
A seam gauge — a short rule with a sliding marker — set once and used to check every few centimetres keeps it honest. Marking the line first with tailor's chalk is better still on anything that has to be right.
Materiali per questo passaggio:
Tessuto di lino2 pezziFilo da cucito1 pezzoStrumenti necessari:
Righello per orliGessetto da sartoAghi da cucito a mano4
4
Press it — this is the step that makes it look made
Press it — this is the step that makes it look made
Press the seam flat as sewn first, which sets the stitches into the cloth, then press the allowance open or to one side as the design needs.
PRESS, do not iron: lift the iron and put it down, rather than sliding it along. Sliding stretches the fabric, and a stretched seam ripples in a way that cannot be pressed out afterwards.
Match the heat to the fibre and test on a scrap — linen takes a hot iron, wool wants steam and a cloth between, and synthetics melt. Press each seam as you finish it rather than all of them at the end; once a seam is crossed by another, you can no longer get at it.
Materiali per questo passaggio:
Tessuto di lino2 pezzi Tela di cotone1 pezzo
Strumenti necessari:
 Ferro da stiroRighello per orli
Materiali
3- 8 pezziSegnaposto
- 2 pezziSegnaposto
- 1 pezzoSegnaposto
Strumenti richiesti
7- Segnaposto
- Segnaposto
- Segnaposto
- Segnaposto
- Segnaposto
- Segnaposto
- Segnaposto
Questo progetto realizza
Blueprint correlati
Questi blueprint condividono conoscenze — tecniche, materiali o principi
CC0 Pubblico dominio
Questo progetto è rilasciato sotto CC0. Sei libero di copiare, modificare, distribuire e utilizzare quest'opera per qualsiasi scopo, senza chiedere permesso.
Supporta il Maker acquistando prodotti tramite il suo progetto dove guadagna una Commissione Maker stabilita dai venditori, oppure crea una nuova iterazione di questo progetto e includilo come collegamento nel tuo progetto per condividere i ricavi.