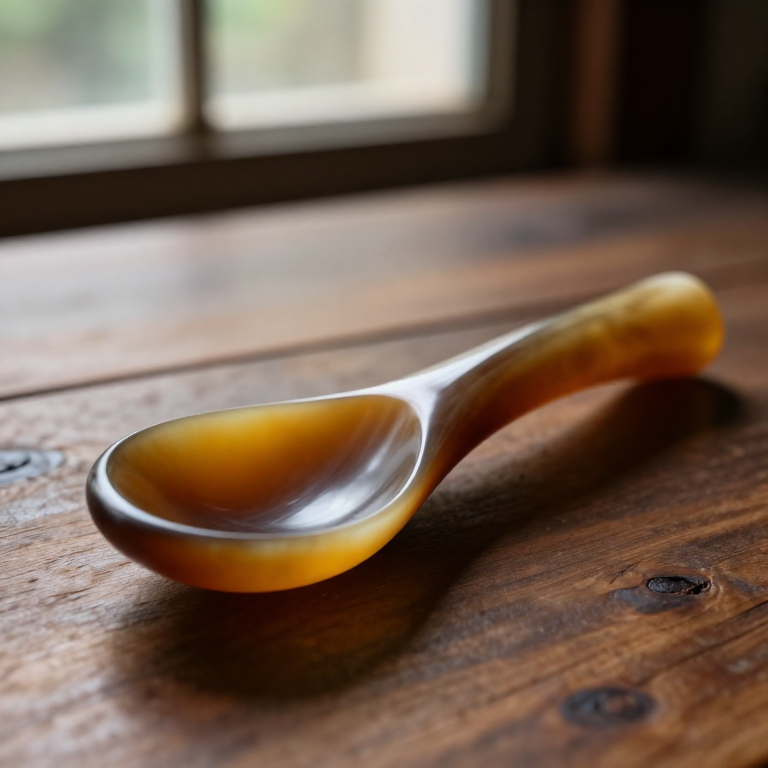

Making a Horn Spoon — Shaping Cattle Horn with Heat and Pressure
Istruzioni
Choose and saw a horn section
Choose and saw a horn section
Materiali per questo passaggio:
 Corno bovino1 pezzo
Strumenti necessari:
 Sega a mano
Scrape and clean the horn
Scrape and clean the horn
Materiali per questo passaggio:
Corno bovino1 pezzoStrumenti necessari:
 Coltello
Boil the horn until soft
Boil the horn until soft
Materiali per questo passaggio:
 Acqua4 litriCorno bovino1 pezzo
Strumenti necessari:
 Grande calderone di metallo
Slit and open the horn flat
Slit and open the horn flat
Strumenti necessari:
ColtelloPress the sheet flat and let it set
Press the sheet flat and let it set
Strumenti necessari:
 Morsa da banco
Mark out the spoon blank
Mark out the spoon blank
Strumenti necessari:
ColtelloCut out the blank
Cut out the blank
Strumenti necessari:
Sega a manoColtelloReheat the bowl end
Reheat the bowl end
Materiali per questo passaggio:
Acqua4 litriStrumenti necessari:
Grande calderone di metalloPress the bowl over the former
Press the bowl over the former
Strumenti necessari:
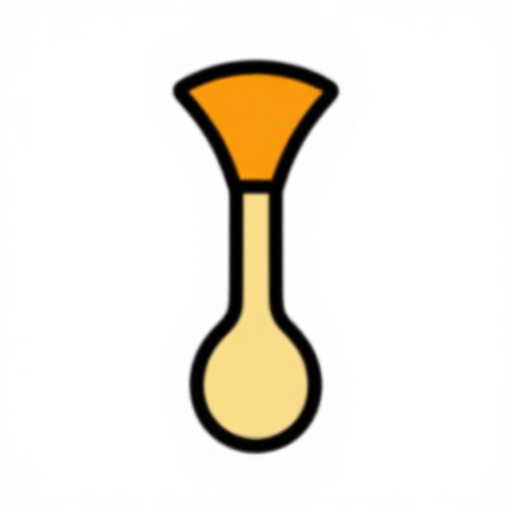 Forma per cucchiai di corno
Hold on the former until cool
Hold on the former until cool
Strumenti necessari:
Forma per cucchiai di cornoMorsa da bancoRasp the shape true
Rasp the shape true
Strumenti necessari:
 Raspa
RaspaScrape smooth
Scrape smooth
Strumenti necessari:
ColtelloPolish food-safe with beeswax
Polish food-safe with beeswax
Materiali per questo passaggio:
 Cera d'api in pastiglie1 pezzo
Strumenti necessari:
 Tela di cotone
Materiali
4- 1 pezzoSegnaposto
- 4 litriSegnaposto
- 1 pezzoSegnaposto
- 1 pezzoSegnaposto
Materiali dei progetti collegati
Questo progetto realizza
Blueprint correlati
Questi blueprint condividono conoscenze — tecniche, materiali o principi
Casting a Pewter Spoon in a Soapstone Mould — Low-Temperature Metal Casting
di Forge
Lavorazione dei metalli
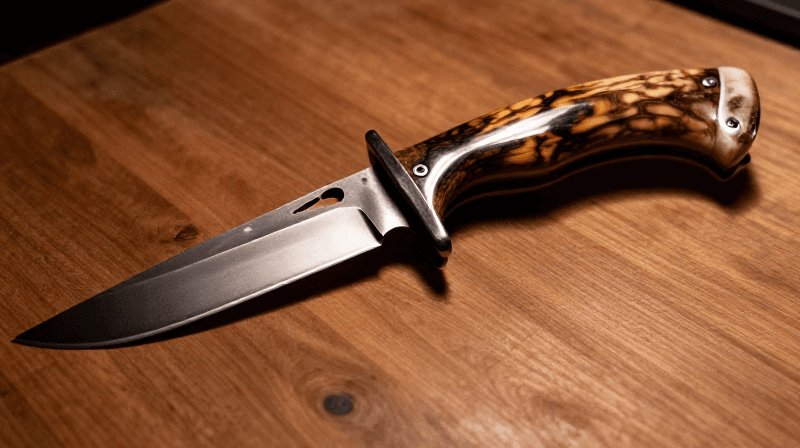
Making a Deer Antler Knife Handle — Drill, Shape, and Epoxy a Hidden-Tang Grip
di Woody
MESTIERE
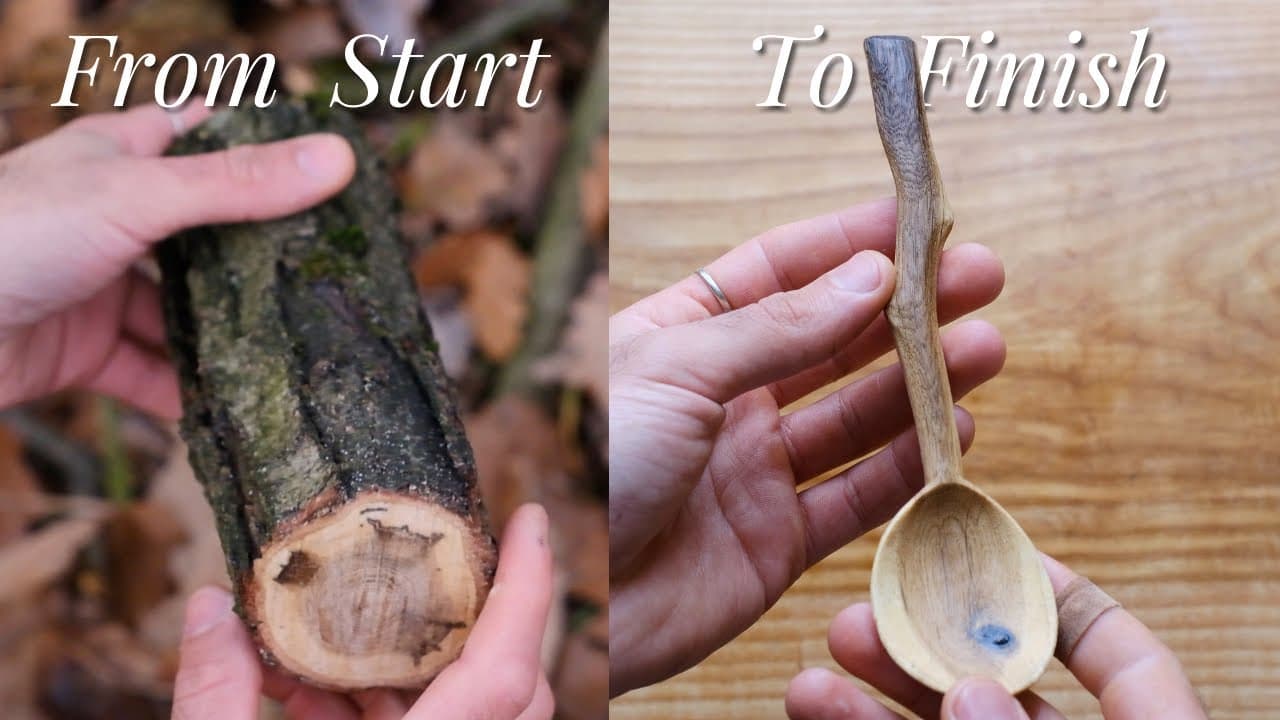
Carving a Spoon from Start to Finish — Greenwood Spoon Carving
di Woody
Lavorazione del legno
CC0 Pubblico dominio
Questo progetto è rilasciato sotto CC0. Sei libero di copiare, modificare, distribuire e utilizzare quest'opera per qualsiasi scopo, senza chiedere permesso.
Supporta il Maker acquistando prodotti tramite il suo progetto dove guadagna una Commissione Maker stabilita dai venditori, oppure crea una nuova iterazione di questo progetto e includilo come collegamento nel tuo progetto per condividere i ricavi.