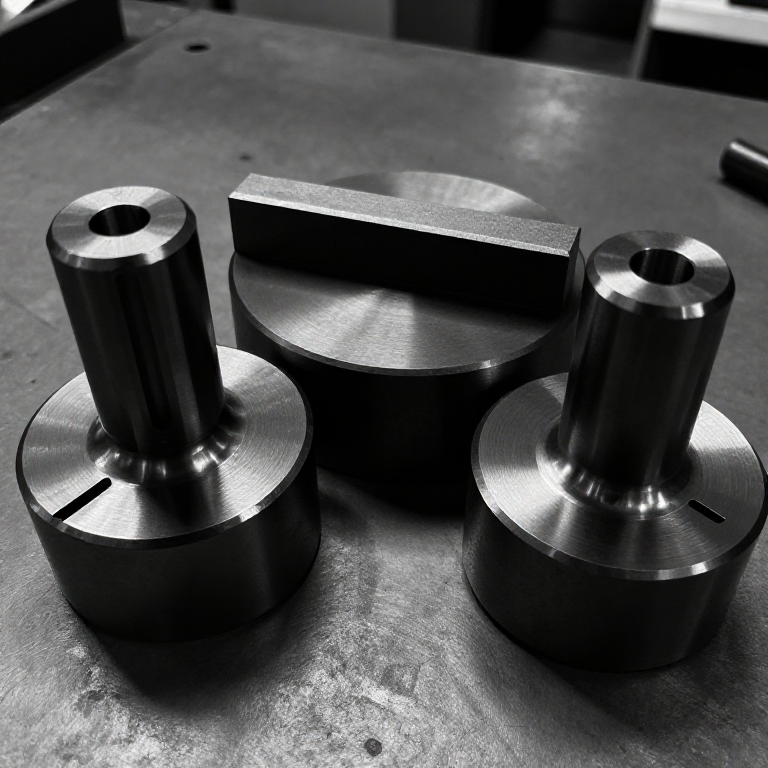


Oldham Coupling
Istruzioni
Turn the two hubs
Turn the two hubs
Two identical discs, each with a slot across one face.
- Cut two 90 mm discs from 18 mm Baltic birch plywood.
- Bore each centre 8.0 mm for its shaft.
- On one face of each, mark a slot 20 mm wide across the full diameter, passing through the centre.
- Cut each slot 8 mm deep — a router or repeated saw kerfs cleaned with a chisel and file.
- Check both slots are the same width along their whole length.
Modern build spec (derived). Ply hubs and a 20 mm slot make this an afternoon's work with hand tools. Oldham's own were cast iron with machined slots, and commercial couplings today use two aluminium hubs with an acetal centre disc — the acetal being both the bearing surface and the deliberate weak point.
Slot width consistency matters more than exact width. The tongue is fitted to the slot, so 20.4 mm is fine as long as it is 20.4 mm everywhere.Materiali per questo passaggio:
 Compensato di betulla baltica1 foglio
Strumenti necessari:
 Sega da traforo
 Trapano a batteria
 Serie di punte da trapano
 Serie di lime
 Squadra combinata
 Calibro digitale da 6 pollici
Make the floating disc — tongues at 90 degrees
Make the floating disc — tongues at 90 degrees
The single part that does all the work.
- Cut an 85 mm disc from 6 mm clear acrylic sheet.
- Cut two tongues 20 mm wide from the same acrylic, each 80 mm long.
- Fix one tongue across each face — crucially, the two tongues must be at 90 degrees to one another.
- Fasten each with M4 × 16 socket head cap screws × 2, M4 flat washers × 4 and M4 hex nuts × 2, countersunk so nothing protrudes.
- File each tongue to a sliding fit in its slot — free to slide, no perceptible rock.
Clear acrylic is chosen deliberately: you can watch the disc's centre orbit while the coupling turns, which is the whole behaviour and is invisible in a metal one.
Ninety degrees is not approximate. If the tongues are at 80 degrees the coupling binds and loads the shafts exactly as the rigid coupling it was meant to replace.Materiali per questo passaggio:
 Lastra di acrilico1 foglio
 Vite a testa cilindrica con esagono incassato4 pezzi
 Rondella piana8 pezzi
 Dado esagonale4 pezzi
Strumenti necessari:
Sega da traforoTrapano a batteria Set di svasatoriSerie di lime
 Serie di chiavi a brugolaSquadra combinata
Mount two shafts DELIBERATELY out of line
Mount two shafts DELIBERATELY out of line
The point is offset, so build the offset in and make it adjustable.
- Cut a baseplate 300 × 180 mm from 18 mm ply.
- Make two pillow blocks, each holding a 608 bearing, and fit a shaft of 25 mm aluminium round bar in each.
- Mount the first block on the centreline with M5 × 40 socket head cap screws × 2, M5 flat washers × 4, M5 hex nuts × 2.
- Give the SECOND block vertical slots instead of holes, so it can be set anywhere from 0 to 12 mm off the centreline.
- Fit a hub to each shaft, drop the floating disc between them, and set the offset to zero.
Materiali per questo passaggio:
Compensato di betulla baltica1 foglio Tondo di alluminio1 pezzo
 Cuscinetto a sfere2 pezziRondella piana8 pezziDado esagonale4 pezzi
Strumenti necessari:
Trapano a batteriaSerie di punte da trapano Seghetto alternativoSerie di chiavi a brugolaCalibro digitale da 6 pollici
Prove constant velocity, then find the limit
Prove constant velocity, then find the limit
Two measurements: the promise, then the boundary.
- Fit protractor discs to both shafts and align at zero.
- At zero offset, turn the input in 30 degree steps and record the output. They match exactly.
- Now set 8 mm offset and repeat the whole revolution.
- They still match exactly — unlike the universal joint, which was already several degrees out at angle.
- Increase the offset until the disc's tongue reaches the end of a slot. Record that figure.
Materiali per questo passaggio:
Compensato di betulla baltica1 confezioneStrumenti necessari:
Calibro digitale da 6 polliciSquadra combinataHistory and where it belongs
History and where it belongs
John Oldham (1779-1840), an Irish engineer, patented the coupling in 1821. He was chief engineer to the Bank of Ireland and later the Bank of England, and the coupling came out of machinery for printing banknotes — a job needing exact registration between rollers that could not be perfectly aligned. He also invented a paddle wheel and worked on note-numbering machines.
Its two genuine advantages: exact constant velocity regardless of offset, and a floating disc that is a deliberate sacrificial element — overload it and the cheap centre shears rather than the shafts or bearings. Commercial couplings still exploit this, using an acetal disc between aluminium hubs so the failure is predictable and cheap.
Its honest limits: the disc orbits at twice shaft speed, so it is an unbalanced mass that rules the coupling out at high speed. It tolerates almost no ANGULAR misalignment. And the sliding faces wear, needing lubrication or a self-lubricating plastic.
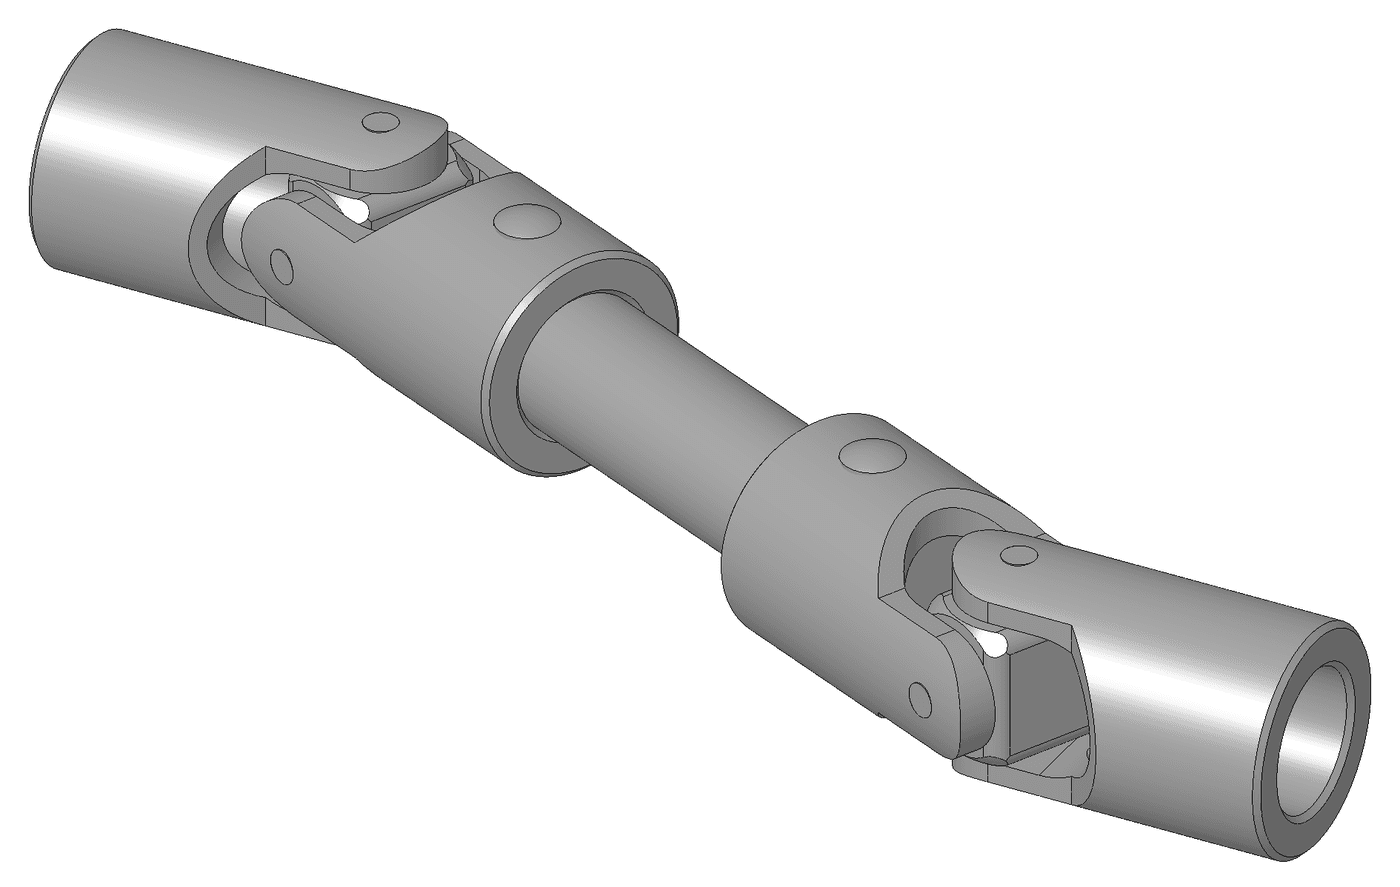
Set against its siblings: the universal joint takes angle and torque but varies its output velocity; the Oldham takes parallel offset at exactly constant velocity but no angle; a flexible or jaw coupling takes a little of both while absorbing shock, at the cost of torsional stiffness. Three different definitions of "misaligned", three different mechanisms, no overall winner — which is why all three are still manufactured today.
Materiali
10- 1 foglioSegnaposto
- 1 foglioSegnaposto
- Segnaposto
- 8 pezziSegnaposto
- 4 pezziSegnaposto
- 1 pezzoSegnaposto
- Segnaposto
- 8 pezziSegnaposto
- 4 pezziSegnaposto
- 1 confezioneSegnaposto
Strumenti richiesti
9- Segnaposto
- 1 vendor sell this, none ship to you yetSegnaposto
- Segnaposto
- Segnaposto
- Segnaposto
- Segnaposto
- Segnaposto
- Segnaposto
- 1 vendor sell this, none ship to you yetSegnaposto
Blueprint correlati
Questi blueprint condividono conoscenze — tecniche, materiali o principi
CC0 Pubblico dominio
Questo progetto è rilasciato sotto CC0. Sei libero di copiare, modificare, distribuire e utilizzare quest'opera per qualsiasi scopo, senza chiedere permesso.
Supporta il Maker acquistando prodotti tramite il suo progetto dove guadagna una Commissione Maker stabilita dai venditori, oppure crea una nuova iterazione di questo progetto e includilo come collegamento nel tuo progetto per condividere i ricavi.