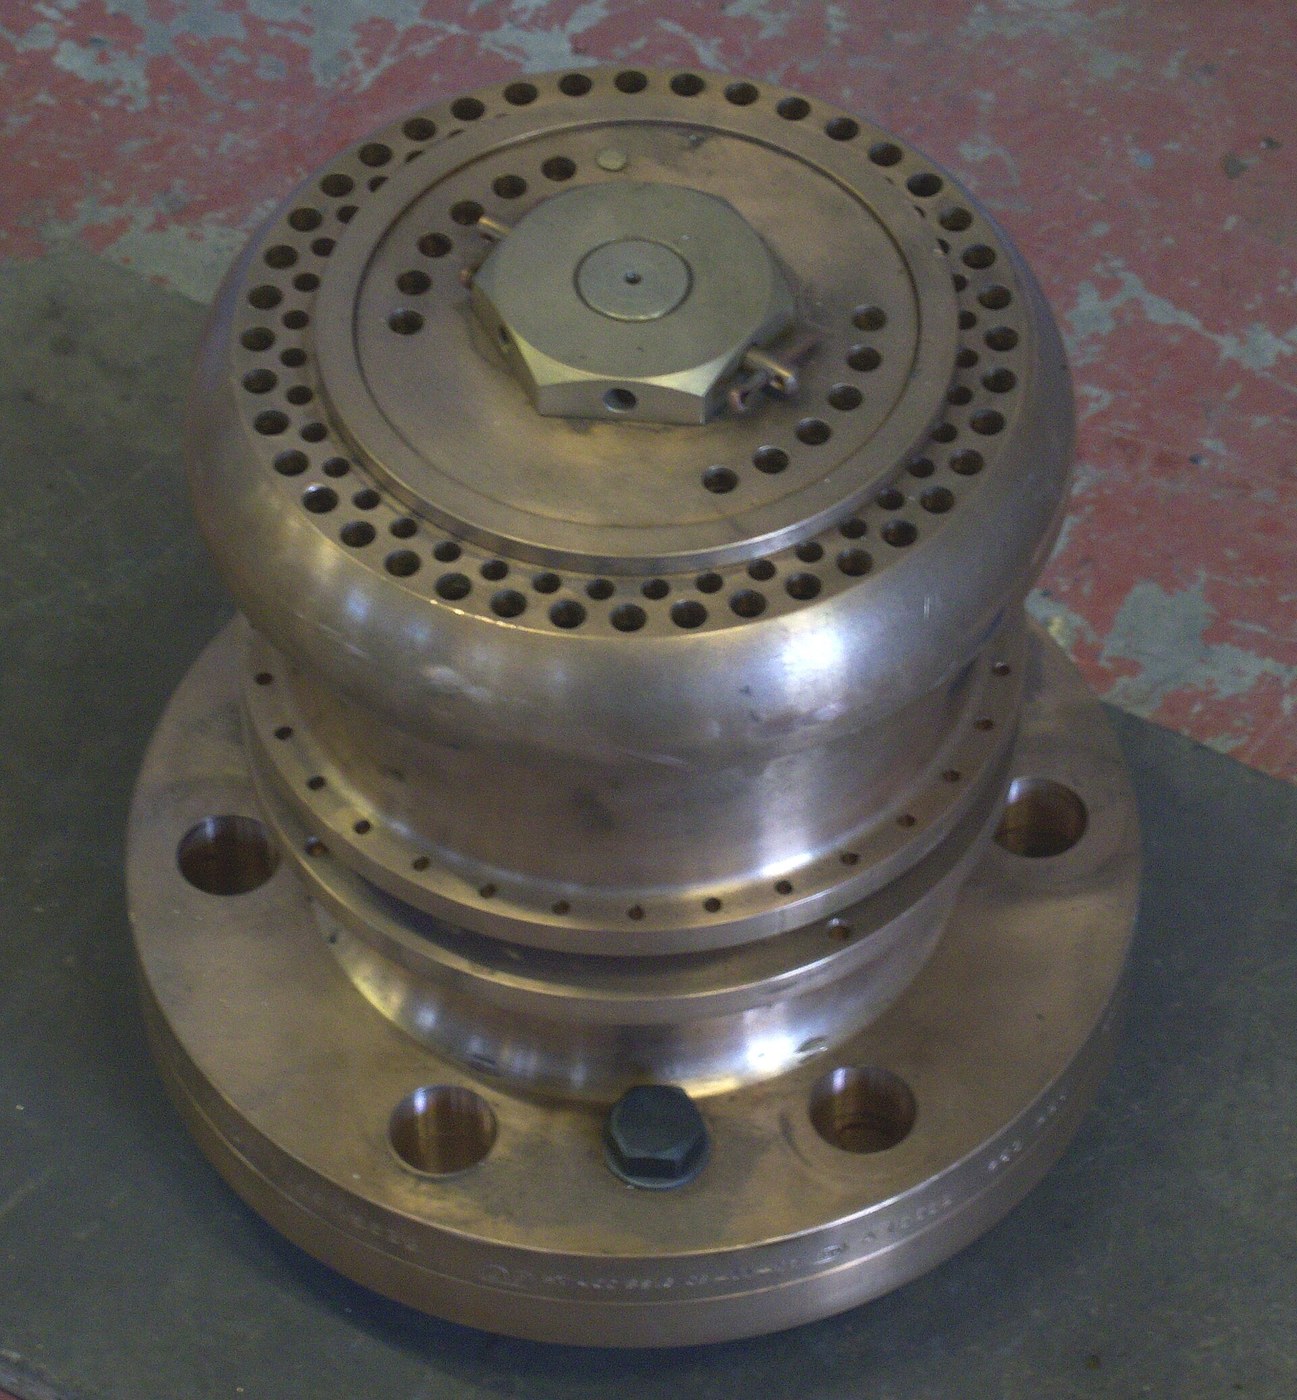


Safety Relief Valve
The gear pump blueprint ends on a warning: a positive-displacement pump will keep pumping into a blocked line until something bursts. This is the component that answers it, and it is older than every other machine in this batch.
A relief valve is a disc held onto a seat by a known force — a weight on a lever, or a spring. Pressure inside pushes up on the disc over its seat area. When p × A exceeds that holding force the disc lifts, fluid escapes, and pressure falls until the force wins again and it reseats. The set pressure is nothing more than p = F / A.
The subtlety, and the reason this is a real piece of engineering rather than a lid, is what happens the instant it opens. Once the disc lifts, escaping fluid acts on a larger area than the seat alone, so the opening force jumps. The valve snaps fully open rather than weeping — good, because a valve that only cracks open passes almost nothing. But for the same reason it will not reclose until the pressure has fallen appreciably below the set point. That gap is called blowdown, and it is designed in, not a defect.
The other thing that is not obvious: a relief valve has a capacity as well as a set pressure. If it cannot pass fluid as fast as the source supplies it, the pressure keeps climbing with the valve wide open. Step 5 makes that happen deliberately, because it is the failure that kills people.
Denis Papin fitted the first one to his steam digester in 1679 — a weight on a lever arm, after earlier vessels of his had burst.
Istruzioni
Work out the set pressure before you build it
Work out the set pressure before you build it
Choose a seat: a smooth hole in a cap, with a disc and a soft O-ring to sit on it. Measure the seat bore with the caliper and compute its area A = π d² / 4.
Decide the pressure you want it to lift at, well within what your vessel will take. Compute the force needed: F = p × A.
Convert that to a mass: m = F / g.
Write the number down now. Everything after this is a test of whether the arithmetic was right, and it is far easier to spot a mistake on paper than at pressure.
Work at low pressures only — a plastic bottle and a hand pump — and wear eye protection throughout.
Materiali per questo passaggio:
 Assortimento di O-ring1 kit
Strumenti necessari:
 Calibro digitale da 6 pollici
Build Papin's weighted lever and test the prediction
Build Papin's weighted lever and test the prediction
Fit the seat to a plastic bottle cap. Rest the disc on it. Bear down on the disc with a lever pivoted at one end, carrying your computed mass at a measured distance.
Pressurise slowly with a hand pump and read the gauge at the moment it lifts.
Compare with step 1's prediction.
Expect agreement within perhaps 10–20%. The shortfall is mostly the O-ring: it grips a little, so the valve lifts slightly late. Real valves specify a seat material precisely for this reason.
Materiali per questo passaggio:
 Borraccia1 pezzo
 Peso da pressatura1 pezzo
 Raccordi in ottone1 set
Strumenti necessari:
 Bilancia digitale da cucina
 Metro a nastro
Reset the pressure without changing the weight
Reset the pressure without changing the weight
Slide the same mass to half its distance along the lever and test again.
Expect the set pressure to halve, because the force on the disc is mass × g × (distance ÷ pivot-to-disc distance).
Repeat at a third of the distance.
Papin's arrangement is adjustable by moving one weight along a marked arm — which is exactly how boiler safety valves were set for the next two centuries, and exactly why they were so easy to defeat. Sliding the weight outward raises the set pressure, and step 6 records what came of that.
Measure blowdown — the pressure it reseats at
Measure blowdown — the pressure it reseats at
Raise the pressure until the valve lifts and note the reading. Then let pressure fall slowly and note the reading at which it fully reseats.
Expect the reseat pressure to be clearly lower than the lift pressure.
That difference is blowdown, and it is deliberate. Once the disc lifts, escaping fluid acts on more area than the seat, so the valve is held further open than it was opened.
Now try to make it sit right at the boundary. Expect chatter — rapid open-close hammering. Without blowdown, a valve at its set point would do that continuously and destroy its own seat in minutes. The hysteresis is what buys stability.
Undersize the vent and watch pressure rise anyway
Undersize the vent and watch pressure rise anyway
Now the test that matters. Restrict the valve's discharge — a much smaller outlet hole — leaving the set pressure untouched. Pump at a good rate.
Expect the valve to lift correctly at the right pressure, sit fully open, and for the pressure to keep climbing anyway.
Stop and vent as soon as you have seen it.
A relief valve is rated on flow, not only on set pressure. It must pass more than the source can supply, or it is decoration. This is the failure mode behind a great many pressure-vessel accidents: a correctly-set, correctly-working, visibly-open valve that is simply too small — and there is nothing to see or hear that says so until the vessel goes.
History & Context
History & Context
1679, and it came from failure. Denis Papin, a Huguenot working in London with Robert Boyle, built his "digester" — a sealed vessel that raised water above its normal boiling point to soften bones into food. Early versions burst. His answer was a weight on a lever arm over a small vent: when steam pressure times the vent area exceeded the weight's moment, it lifted. It is the same device you built in step 2, and it is unchanged in principle after three and a half centuries.
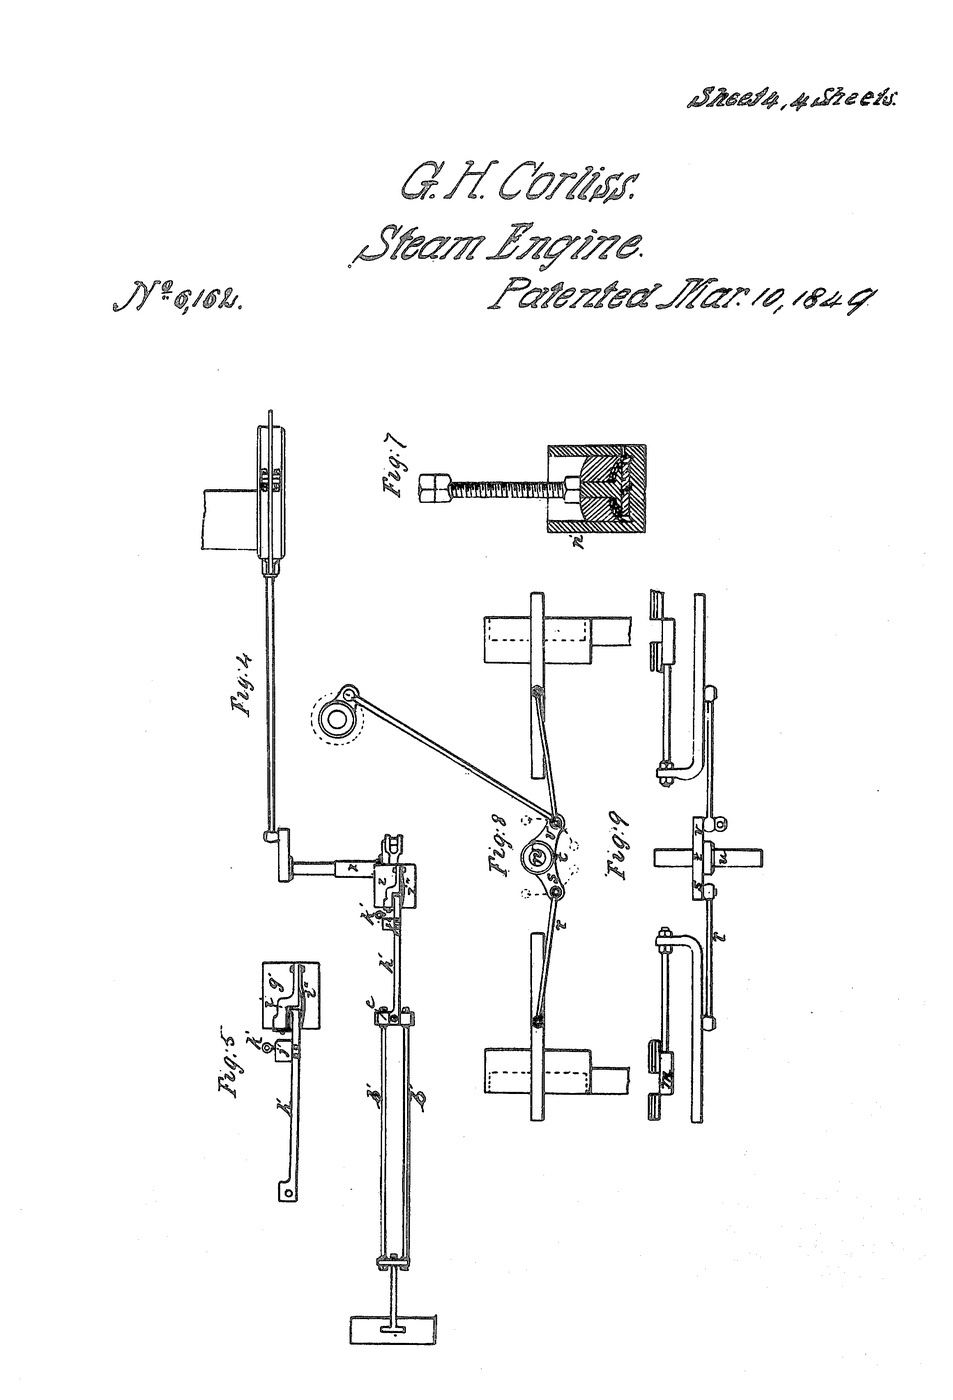
It also produced the steam engine. Papin watched the valve rise and fall rhythmically under steam and took from it the idea of a piston moved by steam in a cylinder. The safety device came first; the engine was inferred from watching it work. That order is worth noticing — the pressure vessel needed to be made safe before anyone could think clearly about using pressure for work.
Why the lever was eventually abandoned. A weighted lever is simple, visible and adjustable — and it only works one way up, so it is useless on anything that moves; a locomotive's valve would bounce. It is also trivially defeated: a driver wanting more power slides the weight out, or hangs something on the arm. Nineteenth-century boiler explosions were frequently traced to exactly that. The spring-loaded valve, sealed and stamped with its set pressure by an authority rather than adjustable by the operator, is the response — and the shift from "adjustable by whoever is standing there" to "set, sealed and certified" is as much of the safety as the mechanism is.
What it is, and what it is not. A relief valve is a last line of defence, not a control. A system whose relief valve lifts in normal operation is a system running wrong — wasting energy as heat and wearing out the one component meant to be fresh in an emergency. Correct design keeps working pressure well below set pressure, and the valve idle for years.
The vocabulary is not interchangeable. A relief valve opens progressively with rising pressure and suits liquids. A safety valve pops fully open and suits compressible gas and steam, where a small leak would not relieve fast enough. A rupture disc is a deliberately weak membrane that bursts once — no moving parts, nothing to seize, no reseating, and often fitted alongside a valve to cover the case where a valve sticks shut.
Where you meet it today. Every domestic hot-water cylinder, every gas bottle, every compressor, every hydraulic circuit with a positive-displacement pump, every pressure cooker in every kitchen. Papin's digester is the direct ancestor of the pressure cooker, and its descendant still carries his valve on the lid.
Materiali
4- Segnaposto
- 1 pezzoSegnaposto
- 1 pezzoSegnaposto
- 1 setSegnaposto
Strumenti richiesti
3- Segnaposto
- Segnaposto
- 1 vendor sell this, none ship to you yetSegnaposto
Materiali dei progetti collegati

Blueprint correlati
Questi blueprint condividono conoscenze — tecniche, materiali o principi

CC0 Pubblico dominio
Questo progetto è rilasciato sotto CC0. Sei libero di copiare, modificare, distribuire e utilizzare quest'opera per qualsiasi scopo, senza chiedere permesso.
Supporta il Maker acquistando prodotti tramite il suo progetto dove guadagna una Commissione Maker stabilita dai venditori, oppure crea una nuova iterazione di questo progetto e includilo come collegamento nel tuo progetto per condividere i ricavi.