ARTE
BELLEZZA E BENESSERE
MESTIERE
CULTURA E STORIA
DIVERTIMENTO
AMBIENTE
CIBO E BEVANDE
INGEGNERIA INVERSA
SCIENZE
SPORT
TECNOLOGIA
INDOSSABILI
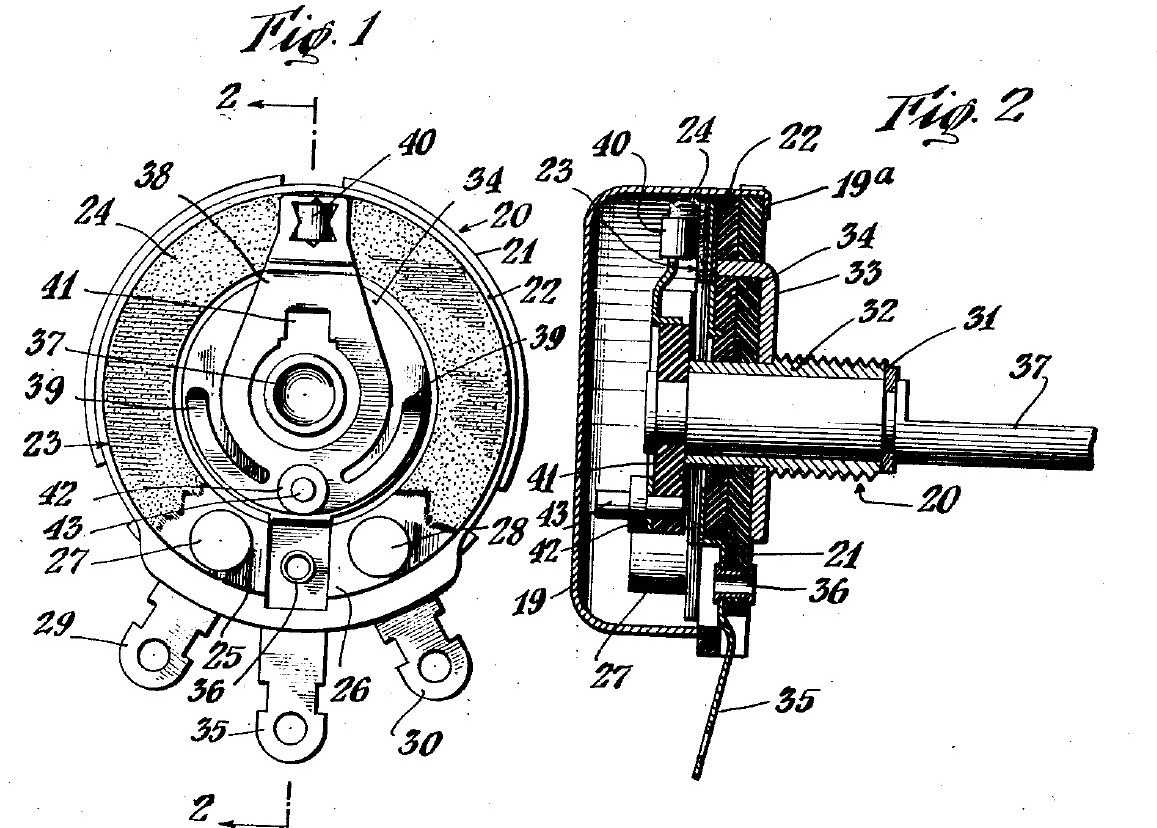


Potentiometer: Mallory Volume Control on a Tung-Oil Paper Ring
A 1930s radio volume control from Mallory's patent (US 2,144,925, 1939). A carbon ring sits on a base of two resin-fibre discs. A spring arm on the shaft wipes the ring with one contact and a centre metal ring with its fingers, so turning the knob changes the resistance between the centre lug and either end lug. The patent gives no sizes; the parts are named by what they do.
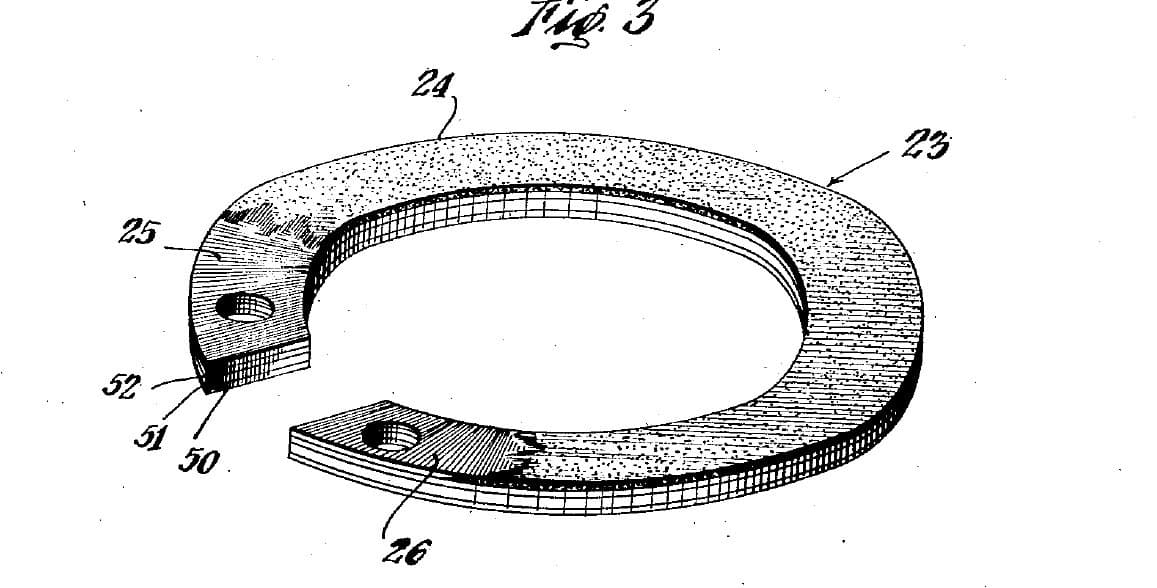
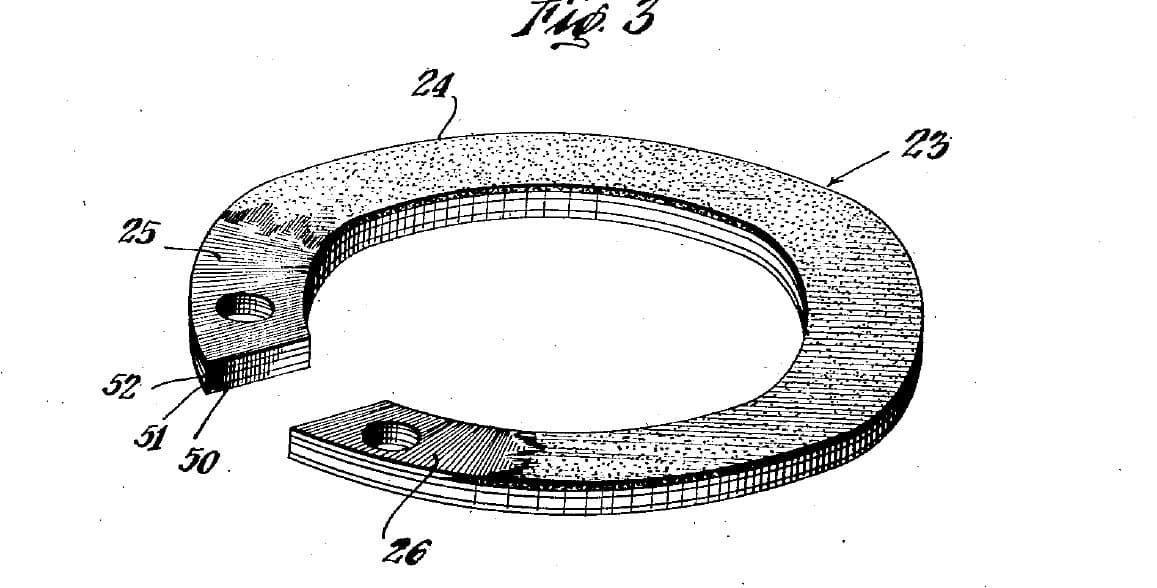
The picture: the patent's drawing (Figs. 1 and 2).
Intermedio
2 hours
Istruzioni
1
1
Clamp the two base discs on the bushing
Clamp the two base discs on the bushing
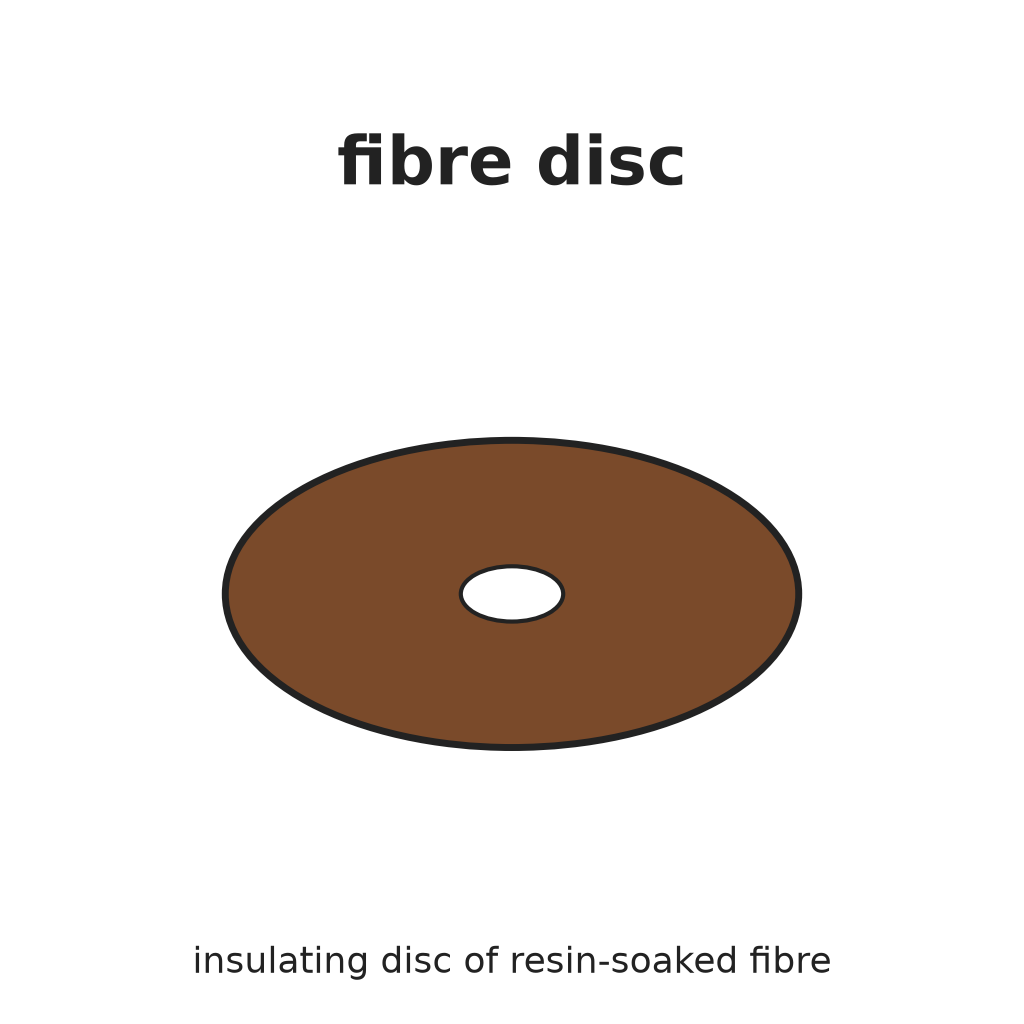
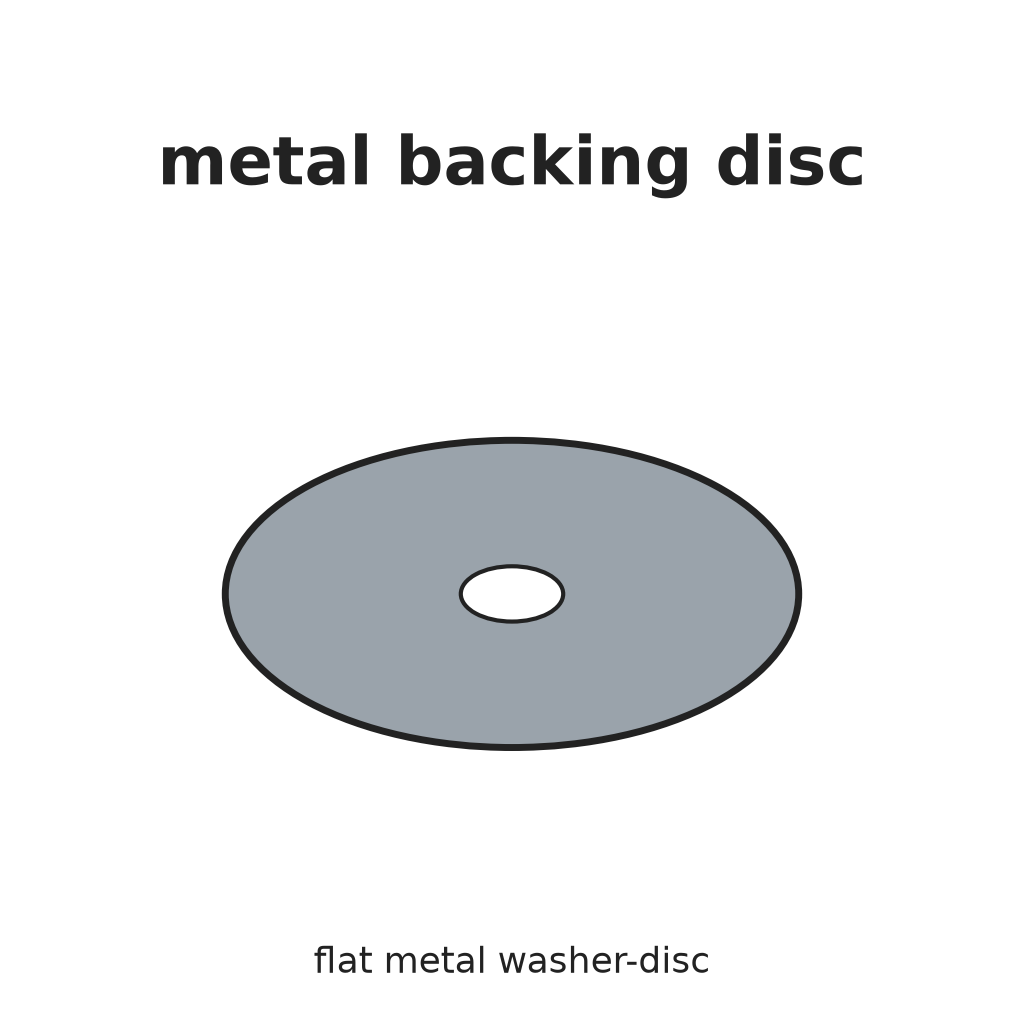
Stack two discs of resin-impregnated fibre. A metal bushing through their centres clamps them together, with a metal disc clamped against the back of the rear disc. Ours: close the bushing with a hammer and rivet set.
Materiali per questo passaggio:
 Disco di fibra impregnata di resina2 pezzi
 Boccola metallica1 pezzo
 Disco metallico di rinforzo1 pezzo
Strumenti necessari:
 Martello da ribattere
 Set da ribadire
2
2
Fit the centre contact ring
Fit the centre contact ring
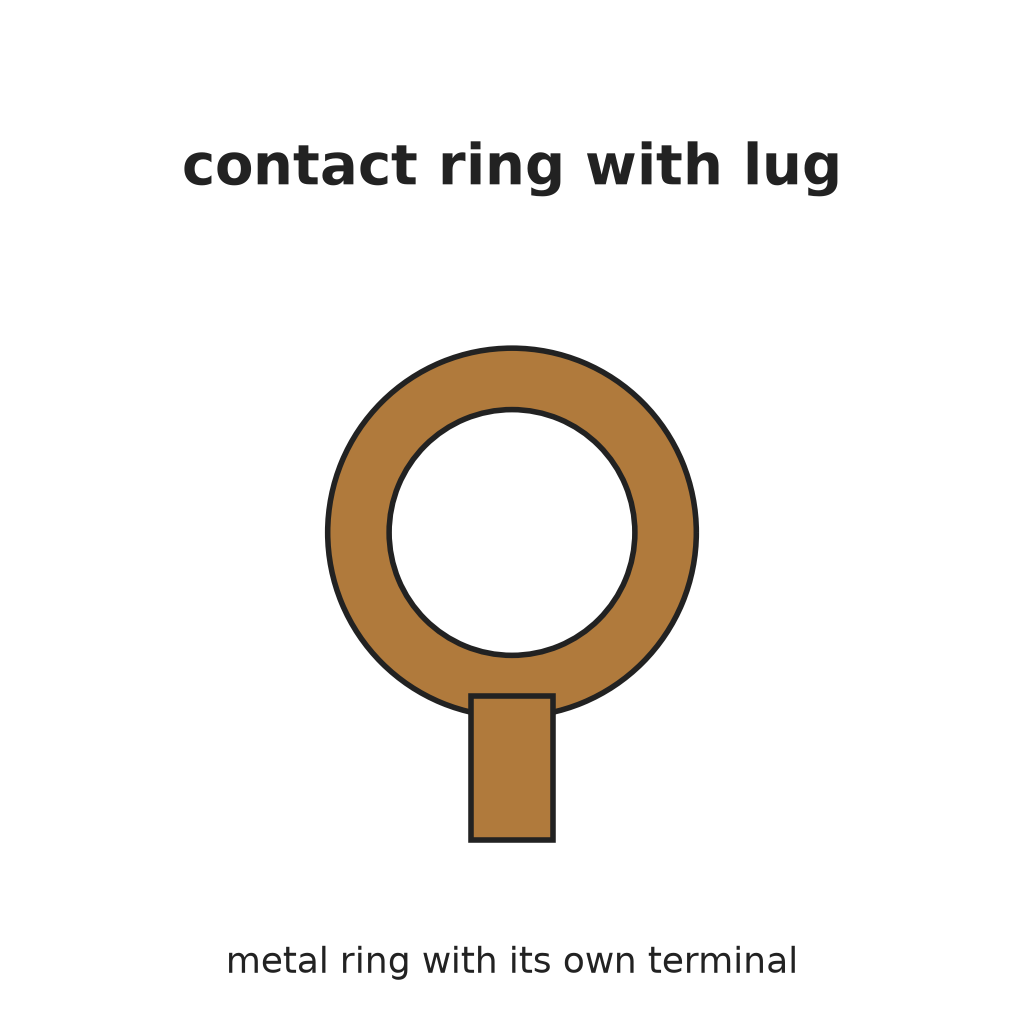
Lay the metal contact ring, with its own terminal lug, on the face of the front disc, centred. An eyelet (or rivet) through the lug holds it. Ours: set with a rivet set and hammer.
Materiali per questo passaggio:
 Anello di contatto con capocorda1 pezzo
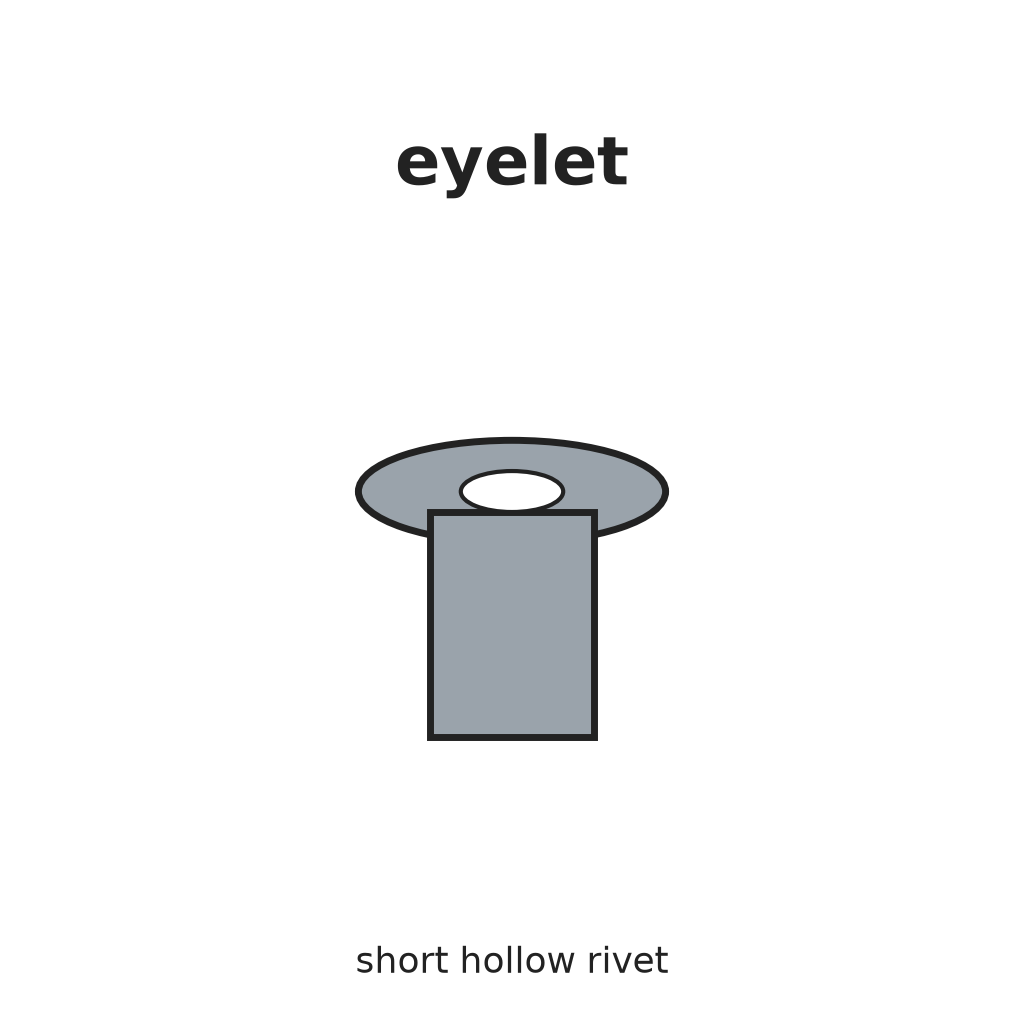 Occhiello1 pezzo
Strumenti necessari:
Martello da ribattereSet da ribadire3
3
Bolt on the resistance ring
Bolt on the resistance ring
Lay the carbon resistance ring on the front disc, round the contact ring. Two terminal bolts pass through the ring's silver-painted ends and the disc; each holds a terminal lug under the disc. The bolts clamp the ring and connect its ends.
Materiali per questo passaggio:
 Elemento resistivo in carbonio1 pezzo
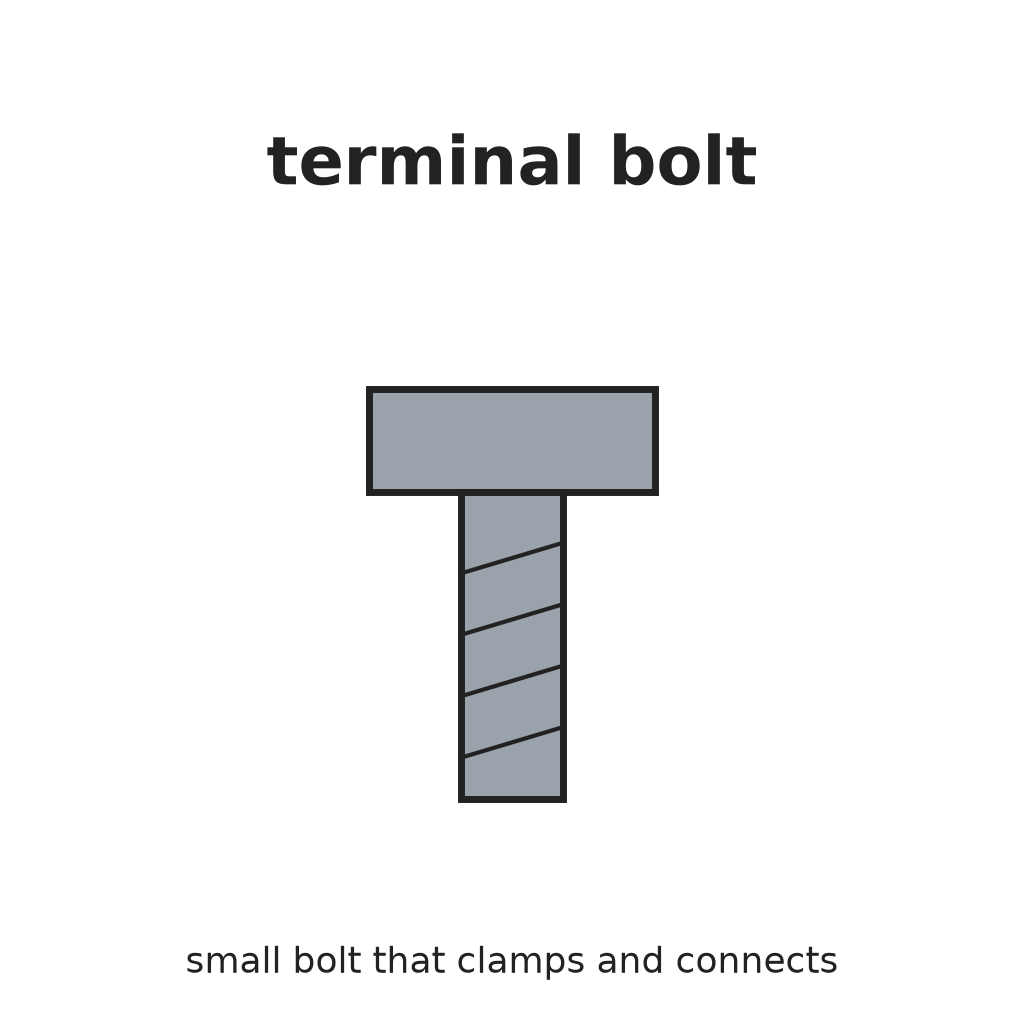 Bullone terminale2 pezzi
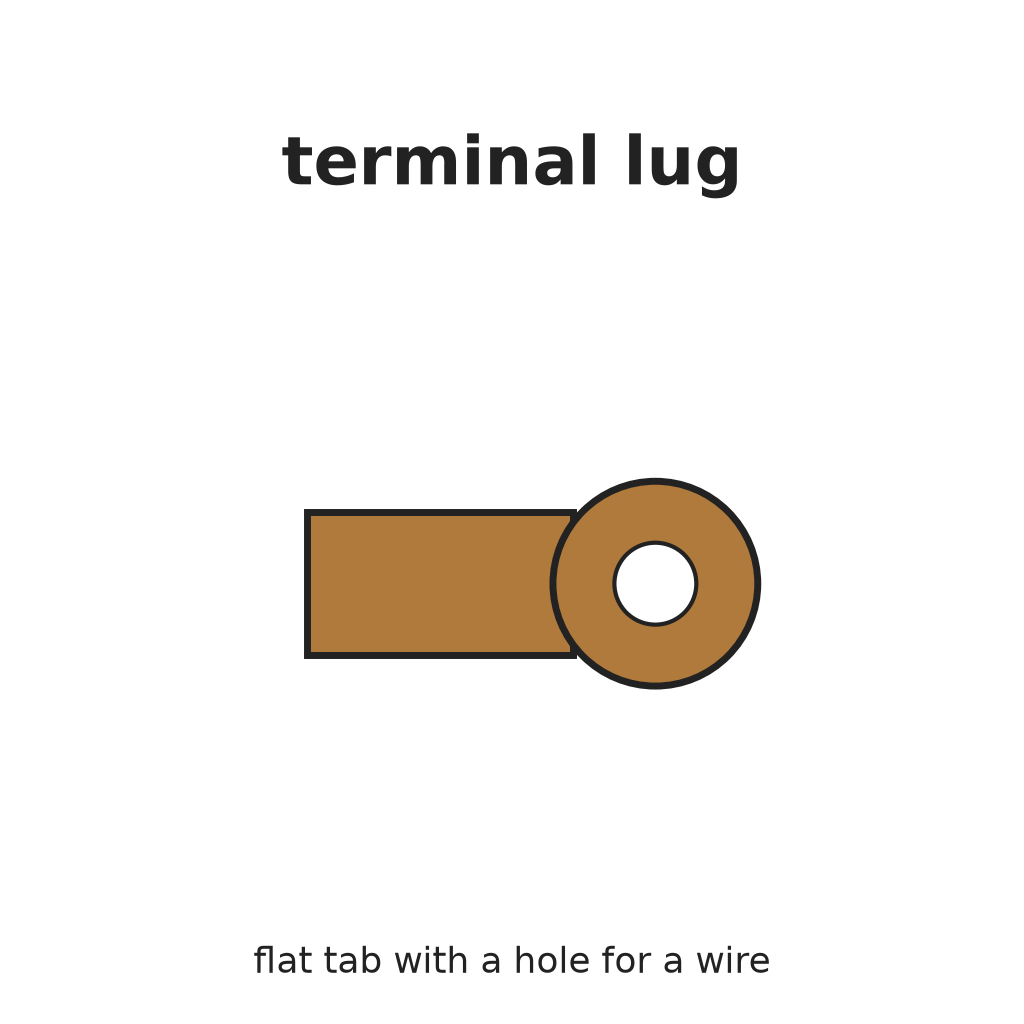 Capocorda2 pezzi
Strumenti necessari:
 Pinza a becchi lunghi
4
4
Fit shaft and spring contact arm
Fit shaft and spring contact arm
Put the shaft through the bushing. On its front end fix the spring contact arm over a small piece of sheet insulation: upset the shaft end to hold the insulation, and clamp arm and insulation together with a rivet pin. The arm's contactor rides on the carbon track, its fingers on the contact ring.
Materiali per questo passaggio:
 Albero di comando1 pezzo
 Braccio di contatto a molla1 pezzo
 Foglio isolante1 pezzo
 Perno da ribadire1 pezzo
Strumenti necessari:
Martello da ribattereSet da ribadire5
5
Clip washer and cover
Clip washer and cover
Snap a clip washer into the groove in the shaft behind the bushing. It stops the shaft sliding and keeps the arm and fingers pressed on their rings. Fix the metal cover cap over the parts by bending its ears onto the discs.
Materiali per questo passaggio:
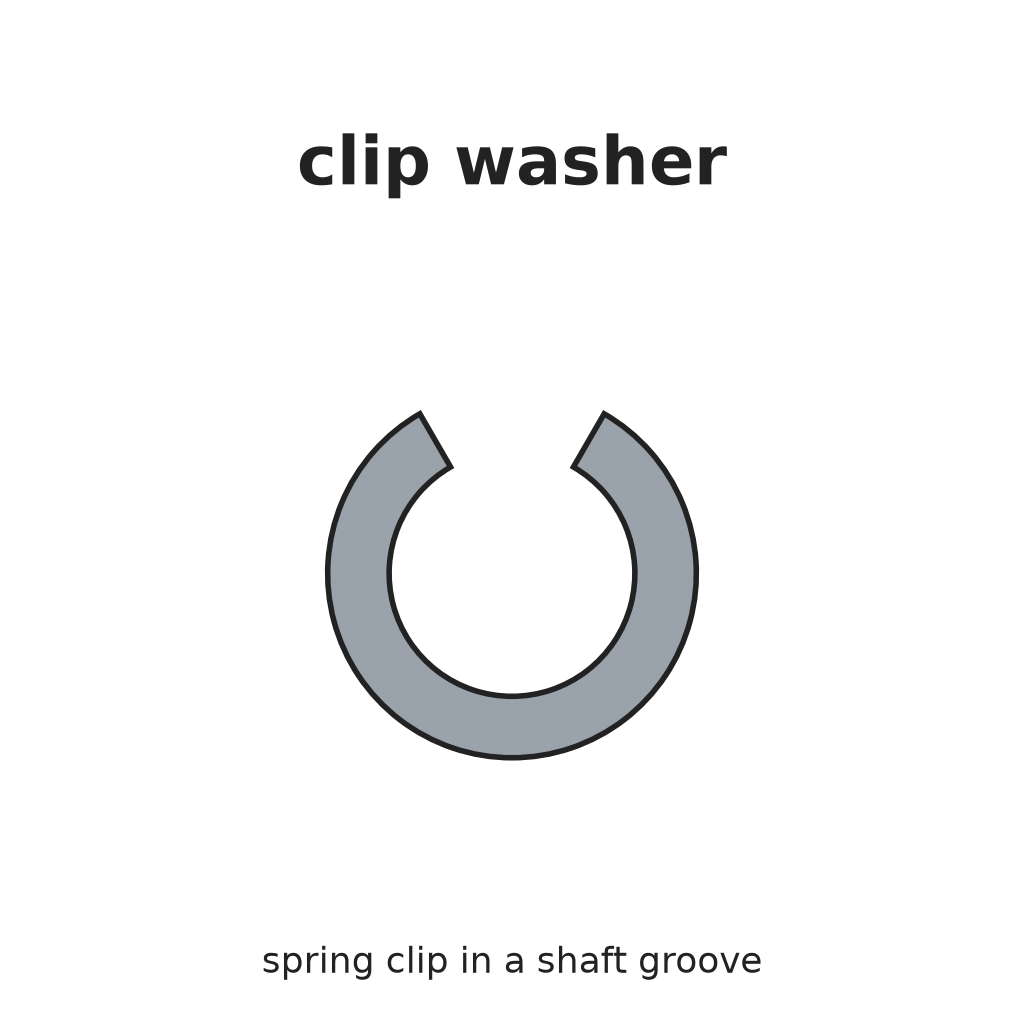 Rondella a clip1 pezzo
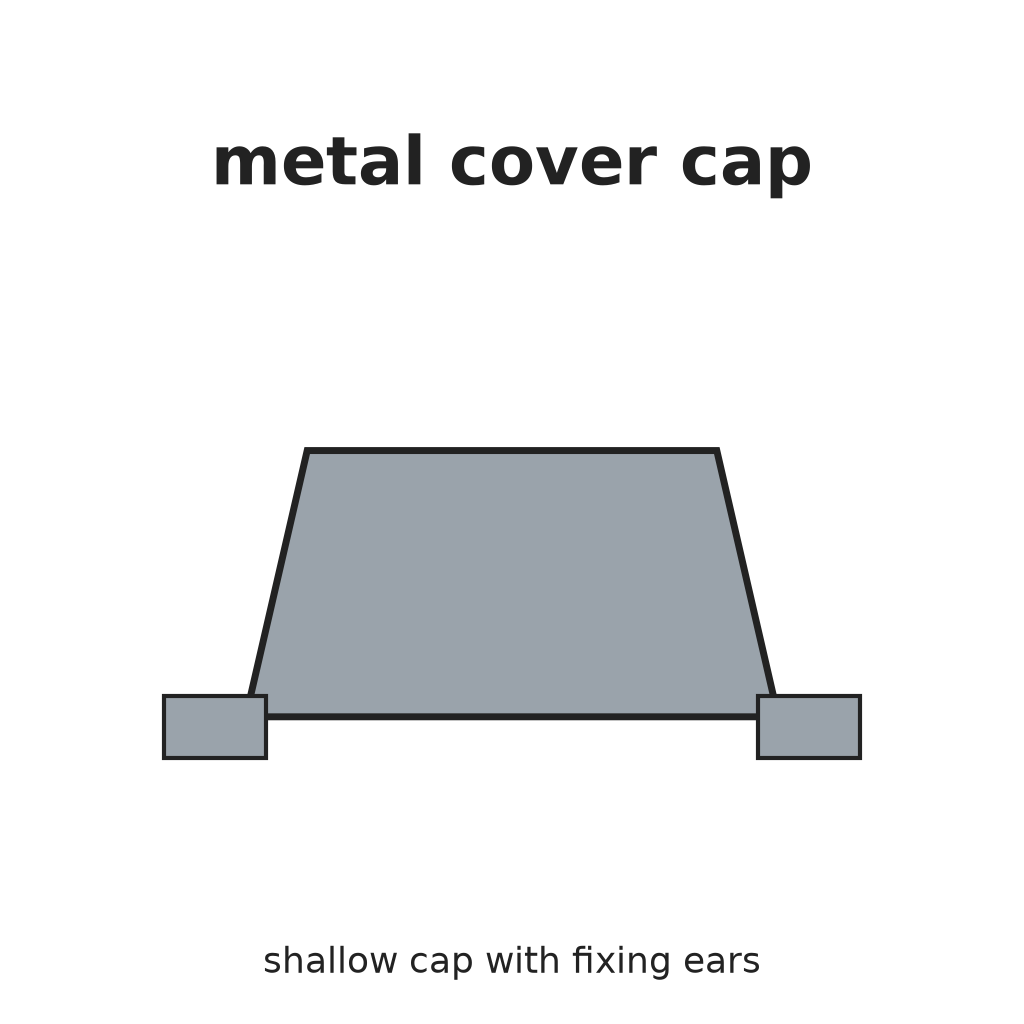 Coperchio metallico con alette1 pezzo
Strumenti necessari:
Pinza a becchi lunghi Pinze a becchi piatti
Materiali
14- Segnaposto
- 1 pezzoSegnaposto
- 1 pezzoSegnaposto
- Segnaposto
- 1 pezzoSegnaposto
- Segnaposto
- 2 pezziSegnaposto
- 2 pezziSegnaposto
- 1 pezzoSegnaposto
- 1 pezzoSegnaposto
- 1 pezzoSegnaposto
- 1 pezzoSegnaposto
- 1 pezzoSegnaposto
- Segnaposto
Questo progetto realizza

Blueprint correlati
Questi blueprint condividono conoscenze — tecniche, materiali o principi
CC0 Pubblico dominio
Questo progetto è rilasciato sotto CC0. Sei libero di copiare, modificare, distribuire e utilizzare quest'opera per qualsiasi scopo, senza chiedere permesso.
Supporta il Maker acquistando prodotti tramite il suo progetto dove guadagna una Commissione Maker stabilita dai venditori, oppure crea una nuova iterazione di questo progetto e includilo come collegamento nel tuo progetto per condividere i ricavi.