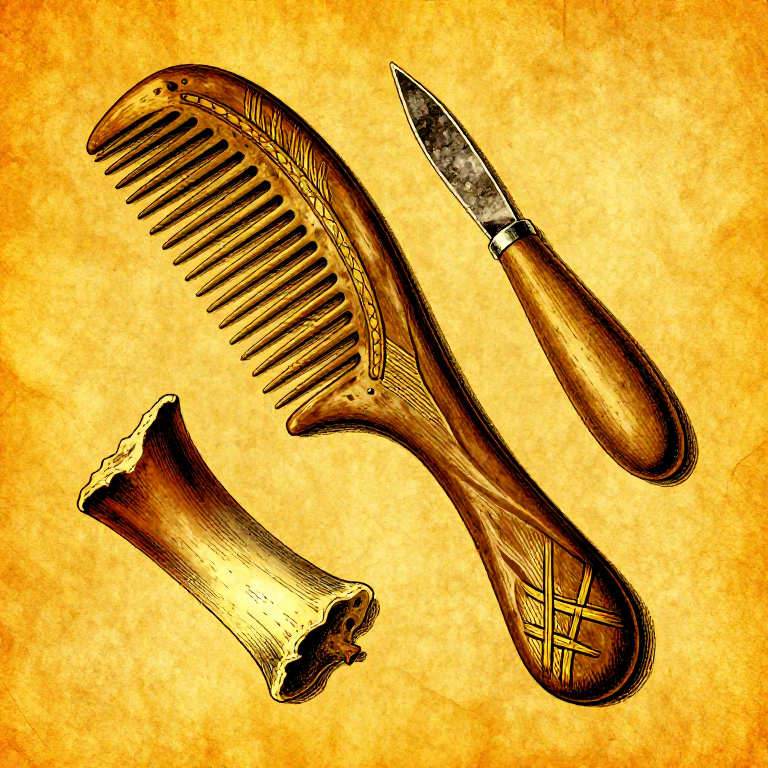
Carving an Antler Comb — Mesolithic Personal Grooming and Textile Tool
Istruzioni
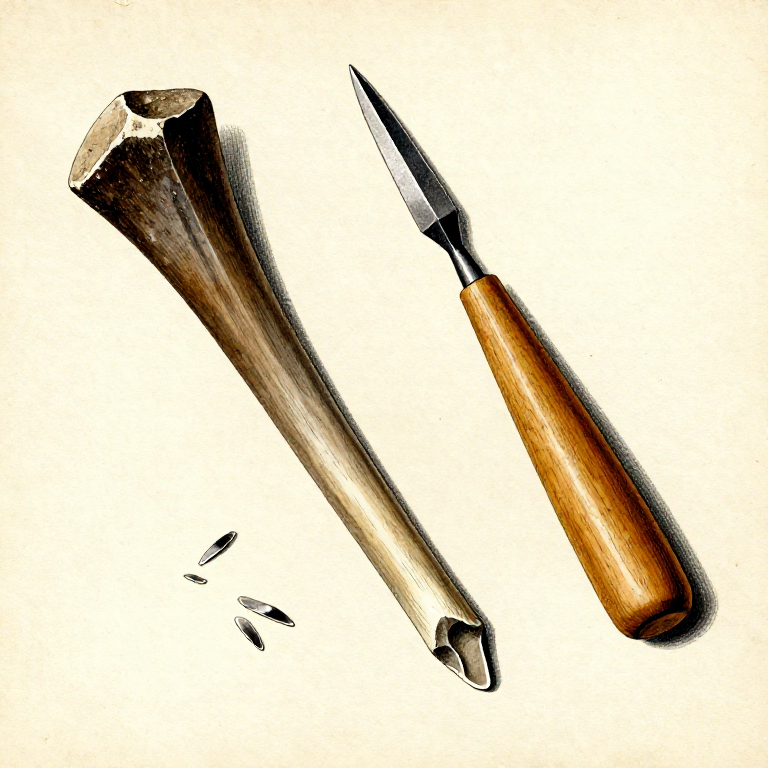
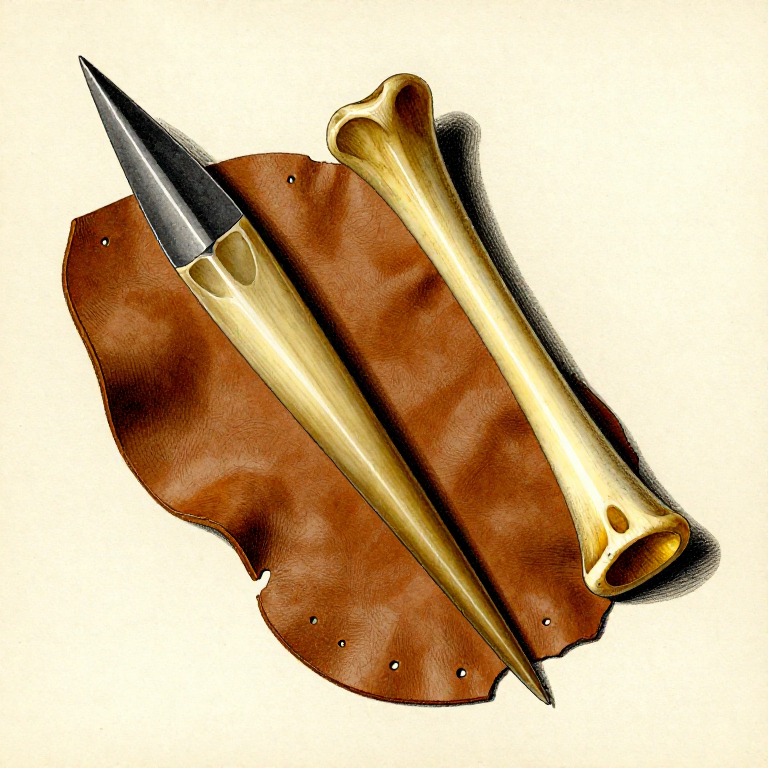
Select a Suitable Antler Section
Select a Suitable Antler Section
Materiali per questo passaggio:
 Deer Antler Section1 pezzo
Soak the Antler to Soften It
Soak the Antler to Soften It
Flatten the Working Face
Flatten the Working Face
Strumenti necessari:
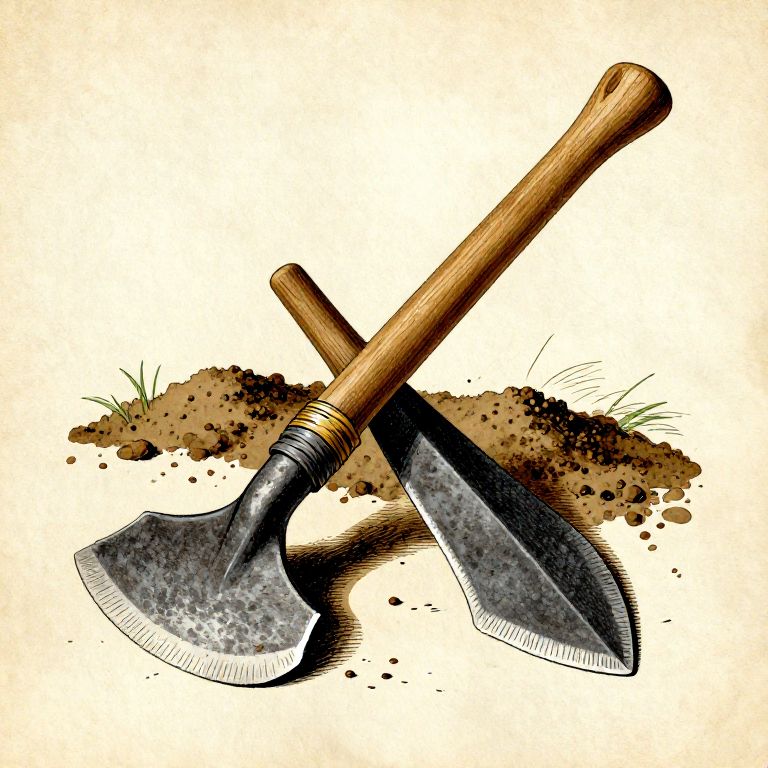
 Sandstone
Shape the Comb Outline
Shape the Comb Outline
Strumenti necessari:
 Stone Scraper
Mark the Tooth Spacing
Mark the Tooth Spacing
Strumenti necessari:
 Bone Awl
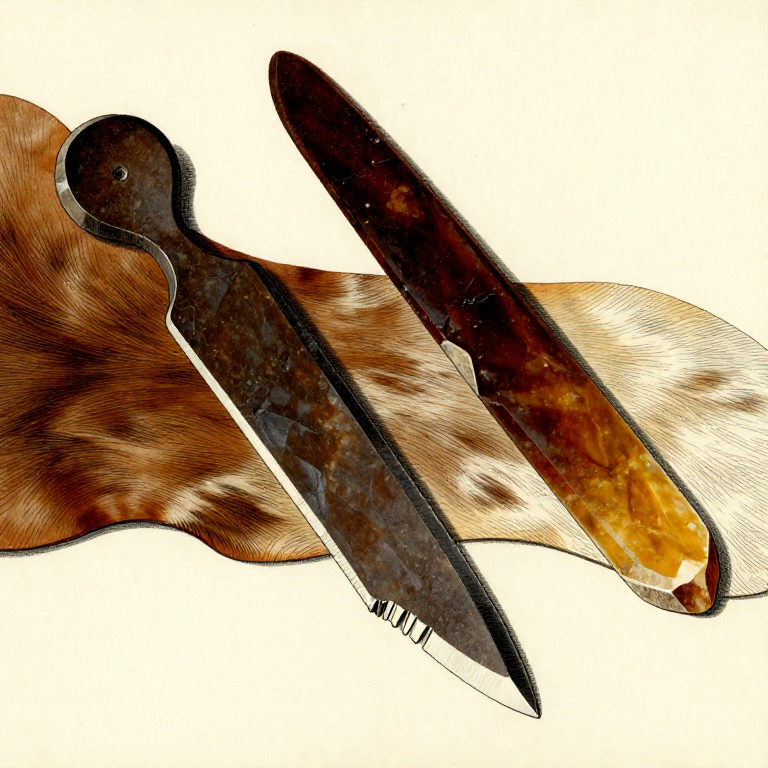
Score the Front Face Deeply
Score the Front Face Deeply
Strumenti necessari:
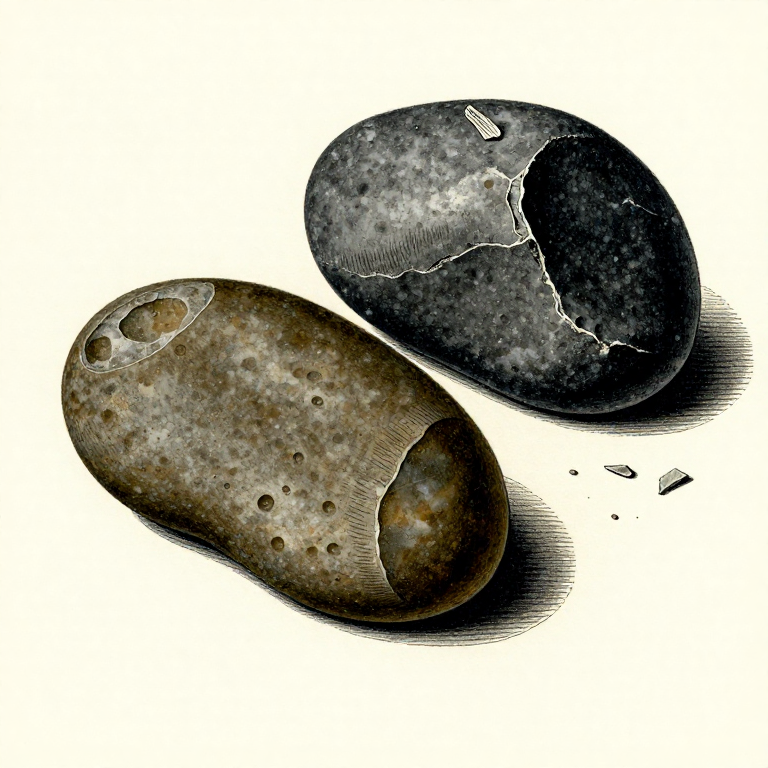
 Flint Nodule
Score the Back Face to Match
Score the Back Face to Match
Strumenti necessari:
Flint NoduleSnap Out the Waste Between Teeth
Snap Out the Waste Between Teeth
Strumenti necessari:
Bone AwlClean the Tooth Gaps
Clean the Tooth Gaps
Strumenti necessari:
Flint NoduleSmooth and Round the Tooth Tips
Smooth and Round the Tooth Tips
Strumenti necessari:
SandstonePolish the Grip Area
Polish the Grip Area
Strumenti necessari:
SandstoneTest the Finished Comb
Test the Finished Comb
Materiali
1- 1 pezzoSegnaposto
Strumenti richiesti
4- Segnaposto
- Segnaposto
- Segnaposto
Materiali dei progetti collegati
Blueprint correlati
Questi blueprint condividono conoscenze — tecniche, materiali o principi
Related blueprints
Other builds that share materials, tools, or techniques with this one.

CC0 Pubblico dominio
Questo progetto è rilasciato sotto CC0. Sei libero di copiare, modificare, distribuire e utilizzare quest'opera per qualsiasi scopo, senza chiedere permesso.
Supporta il Maker acquistando prodotti tramite il suo progetto dove guadagna una Commissione Maker stabilita dai venditori, oppure crea una nuova iterazione di questo progetto e includilo come collegamento nel tuo progetto per condividere i ricavi.