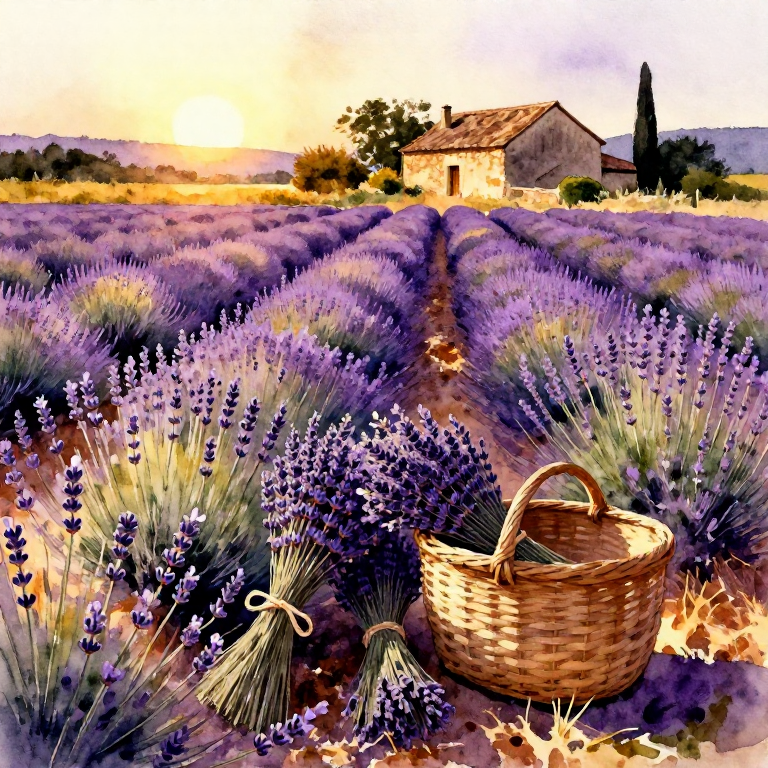


Récolter la Lavande — Du Champ au Bouquet Séché
Istruzioni
Identifier la lavande vraie
Identifier la lavande vraie
La lavande vraie (Lavandula angustifolia) se distingue du lavandin (hybride) par ses tiges courtes (30-60 cm), non ramifiées, portant un seul épi floral. Les feuilles sont étroites, gris-vert, de 3-5 cm de long. Le lavandin a des tiges plus longues avec des ramifications à l'extrémité. L'huile essentielle de lavande vraie est la plus fine et la plus recherchée.
Choisir le moment de la récolte
Choisir le moment de la récolte
La récolte a lieu en juillet, lorsque environ 50 % des fleurs de l'épi sont ouvertes. C'est à ce stade que la concentration en huile essentielle est maximale. Trop tôt : peu d'huile. Trop tard : les fleurs tombent et l'huile s'évapore. En Provence, la période se situe entre le 10 et le 30 juillet selon l'altitude.
Récolter par temps sec
Récolter par temps sec
Récoltez le matin après l'évaporation de la rosée, entre 9h et 11h. L'humidité favorise le développement de moisissures pendant le séchage. Ne récoltez jamais après la pluie — attendez au moins 24 heures que les plantes soient parfaitement sèches.
Préparer les outils de coupe
Préparer les outils de coupe
Affûtez votre faucille ou sécateur. Des lames émoussées écrasent les tiges au lieu de les couper net, ce qui endommage la plante et ralentit la repousse. Désinfectez les lames à l'alcool à 70° avant de commencer — cela évite la propagation de maladies.
Strumenti necessari:
 Falcetto
 Alcol isopropilico (70 %)
Couper les tiges
Couper les tiges
Saisissez une poignée de tiges (15-20 tiges) et coupez à 2-3 cm au-dessus de la partie ligneuse (bois dur). Ne coupez jamais dans le vieux bois — la lavande ne repousse pas à partir du bois ancien. Laissez toujours quelques centimètres de feuillage vert sous la coupe.
Materiali per questo passaggio:
 Steli freschi di lavanda1 field section
Strumenti necessari:
FalcettoRassembler en poignées
Rassembler en poignées
Regroupez les tiges coupées en petites poignées de 30-40 tiges. Posez-les délicatement dans un panier ou une caisse plate. Évitez de comprimer les fleurs — les glandes à huile essentielle se trouvent sur les pétales et se brisent facilement.
Strumenti necessari:
 Cesta piatta da raccolta
Former les bouquets
Former les bouquets
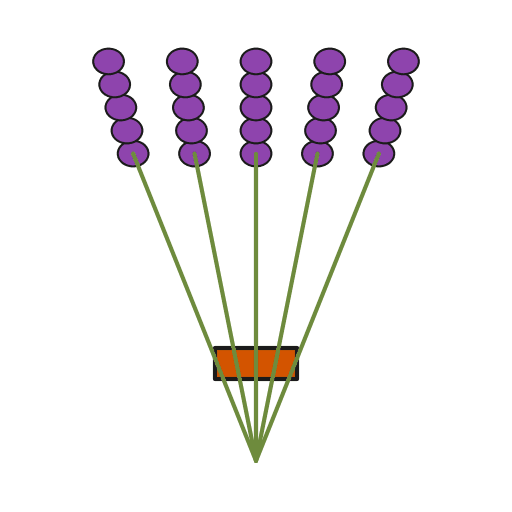
Réunissez 50-80 tiges en un bouquet. Alignez les bases des tiges et attachez fermement avec un élastique ou de la ficelle de jute à 5 cm de la base. Les tiges rétrécissent en séchant — utilisez un élastique qui se resserre, ou bien prévoyez de resserrer la ficelle après 3 jours.
Materiali per questo passaggio:
 Elastici20 pezzi
Suspendre les bouquets
Suspendre les bouquets
Accrochez les bouquets tête en bas sur un fil, un crochet ou une barre. Les fleurs vers le bas permettent aux huiles essentielles de migrer vers les fleurs par gravité plutôt que de redescendre dans les tiges.
Strumenti necessari:
 Filo per essiccare
Choisir le lieu de séchage
Choisir le lieu de séchage
Le lieu de séchage idéal est sombre, sec et bien ventilé : un grenier, une grange ou un abri ouvert. La lumière directe du soleil décolore les fleurs et dégrade les huiles essentielles. La température idéale est de 20-30°C avec une bonne circulation d'air.
Espacer les bouquets
Espacer les bouquets
Laissez au moins 10 cm entre chaque bouquet pour que l'air circule librement. Les bouquets serrés sèchent mal au centre et risquent de moisir. Tournez-les d'un quart de tour tous les 2-3 jours pour un séchage uniforme.
Sécher pendant 2 à 3 semaines
Sécher pendant 2 à 3 semaines
Le séchage complet prend 2 à 3 semaines en conditions normales. Les tiges sont prêtes lorsqu'elles cassent net avec un bruit sec au lieu de plier. Les fleurs doivent se détacher facilement lorsqu'on frotte l'épi entre les doigts.
Tester le séchage
Tester le séchage
Prenez une tige au centre d'un bouquet (là où le séchage est le plus lent). Pliez-la : elle doit casser net. Si elle plie ou se déforme, prolongez le séchage de quelques jours. Un bouquet insuffisamment sec moisira en stockage.
Égrener les fleurs (optionnel)
Égrener les fleurs (optionnel)
Pour obtenir des fleurs séchées en vrac (pour sachets, cuisine, potpourri), frottez les épis secs entre vos mains au-dessus d'un récipient. Les fleurs se détachent facilement. Tamisez pour retirer les petits morceaux de tige et les feuilles.
Strumenti necessari:
 Bacinella grande
 Setaccio a maglia fine
Stocker les bouquets entiers
Stocker les bouquets entiers
Les bouquets séchés se conservent dans un endroit frais, sec et sombre. Enveloppez-les lâchement dans du papier journal pour les protéger de la poussière. La couleur et le parfum durent 1-2 ans en bouquet. Évitez le plastique hermétique qui piège l'humidité résiduelle.
Materiali per questo passaggio:
 Carta da imballo5 fogli
Stocker les fleurs en vrac
Stocker les fleurs en vrac
Placez les fleurs égrenées dans des bocaux en verre ou des sachets en coton fermés. Conservez à l'abri de la lumière et de la chaleur. Les fleurs en vrac gardent leur parfum 1-2 ans dans un bocal hermétique. Étiquetez avec la date et la variété de lavande.
Materiali per questo passaggio:
 Set di barattoli di vetro3 pezzi
Tailler les plants après récolte
Tailler les plants après récolte
Après la récolte, taillez les plants en forme arrondie pour encourager une croissance dense l'année suivante. Ne taillez pas dans le vieux bois. Un plant de lavande bien entretenu produit pendant 10-15 ans avant de nécessiter un remplacement.
Strumenti necessari:
 Forbici da potatura a una mano
Materiali
4- 1 field sectionSegnaposto
- 20 pezziSegnaposto
- 5 fogliSegnaposto
- 3 pezziSegnaposto
Strumenti richiesti
7- Segnaposto
- Segnaposto
- Segnaposto
- Segnaposto
- Segnaposto
- Segnaposto
- Segnaposto
Questo progetto realizza
CC0 Pubblico dominio
Questo progetto è rilasciato sotto CC0. Sei libero di copiare, modificare, distribuire e utilizzare quest'opera per qualsiasi scopo, senza chiedere permesso.
Supporta il Maker acquistando prodotti tramite il suo progetto dove guadagna una Commissione Maker stabilita dai venditori, oppure crea una nuova iterazione di questo progetto e includilo come collegamento nel tuo progetto per condividere i ricavi.