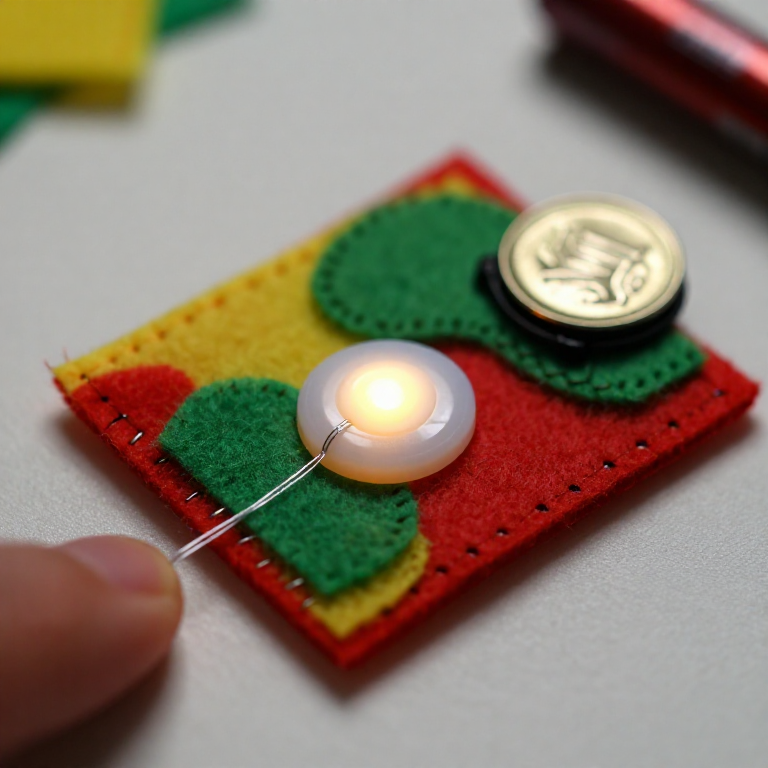


Sewing a LilyPad Button Circuit
Add a switch you can sew: a LilyPad button placed in the circuit lights your LED only while it's pressed. Same e-textile rules as before — + to + and - to -, no crossing lines — but now the button sits in the + line, so current flows only when you press it. A press-to-light patch for a bag, badge or costume.
Istruzioni
Plan the circuit with a button
Plan the circuit with a button
Arrange a LilyPad LED, a LilyPad button and a coin-cell battery holder on felt. The button goes in the + line, between the battery's + tab and the LED's + tab, so pressing it completes the circuit.
Materiali per questo passaggio:
 LilyPad LED - 5 pcs1 confezione
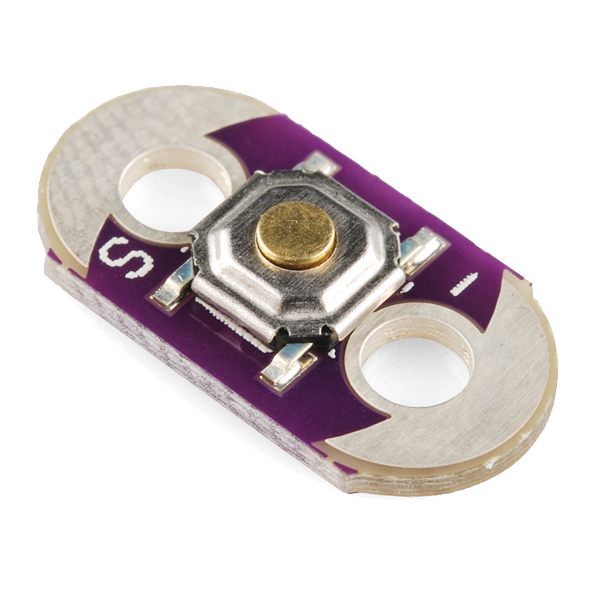 LilyPad Button Board1 pezzo
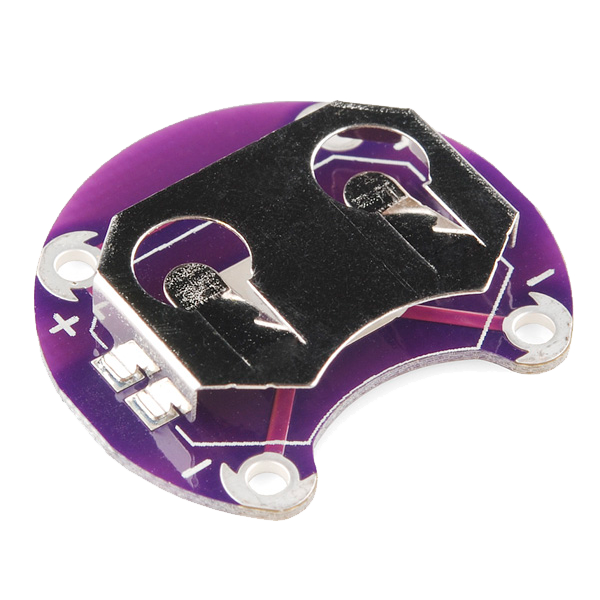 LilyPad Coin Cell Battery Holder - 20mm1 pezzo
 Foglio di feltro di lana1 foglio
Sew the positive line through the button
Sew the positive line through the button
With conductive thread, stitch from the battery + tab to one tab of the button, then knot and cut; start fresh and stitch from the button's other tab to the LED + tab. Loop 3–4 times through each hole for firm contact and trim the tails short.
Materiali per questo passaggio:
 Conductive Thread - 60g (Stainless Steel)1 rocchetto
Strumenti necessari:
 Aghi da cucito a mano
Sew the negative line
Sew the negative line
With a fresh thread, stitch the LED - tab straight to the battery - tab. Keep this line well away from the + line and the button — anywhere the two conductive paths touch, the circuit shorts.
Press to test
Press to test
Slot in a CR2032 (+ side up). Press the button — the LED lights; release — it goes out. If it stays dark, check that both button tabs are stitched into the line and that no threads are touching across the two sides.
Materiali per questo passaggio:
 Pila a bottone CR20321 pezzo
Secure and use
Secure and use
Seal each knot with a dab of clear nail polish or fabric glue so it can't loosen. Sew the felt onto a bag, badge or costume — you've made a press-to-light patch.
Materiali
6- LilyPad LED - 5 pcs10% commissione1 confezione€3.73
- LilyPad Button Board10% commissione1 pezzo€1.98
- LilyPad Coin Cell Battery Holder - 20mm10% commissione1 pezzo€3.73
- 1 foglioSegnaposto
- Conductive Thread - 60g (Stainless Steel)10% commissione1 rocchetto€35.70
- 1 pezzoSegnaposto
Strumenti richiesti
1- Segnaposto
Blueprint correlati
Questi blueprint condividono conoscenze — tecniche, materiali o principi

CC0 Pubblico dominio
Questo progetto è rilasciato sotto CC0. Sei libero di copiare, modificare, distribuire e utilizzare quest'opera per qualsiasi scopo, senza chiedere permesso.
Supporta il Maker acquistando prodotti tramite il suo progetto dove guadagna una Commissione Maker stabilita dai venditori, oppure crea una nuova iterazione di questo progetto e includilo come collegamento nel tuo progetto per condividere i ricavi.