Reading a Temperature Sensor — SIK Circuit 7
Istruzioni
Parts & Introduction
Parts & Introduction
The TMP36 is an analog temperature sensor that outputs a voltage proportional to temperature. You'll learn to use the Serial Monitor to display real-time readings — an essential debugging tool.
Parts Needed
- 1x Arduino Uno + USB cable
- 1x Breadboard
- 1x TMP36 Temperature Sensor
- 5x Jumper Wires
Warning: The TMP36 looks similar to the transistor. Look for "TMP" in tiny letters and a triangle logo. The transistor has "222" printed on it. Inserting the wrong component can damage it!
Materiali per questo passaggio:
 SparkFun Inventors Kit - V3.21 kit
 Arduino Uno R31 pezzo
 Breadboard1 pezzo
 TMP36 Temperature Sensor1 pezzo
 Jumper Wires3 pezzi
Strumenti necessari:
Hardware Hookup
Hardware Hookup
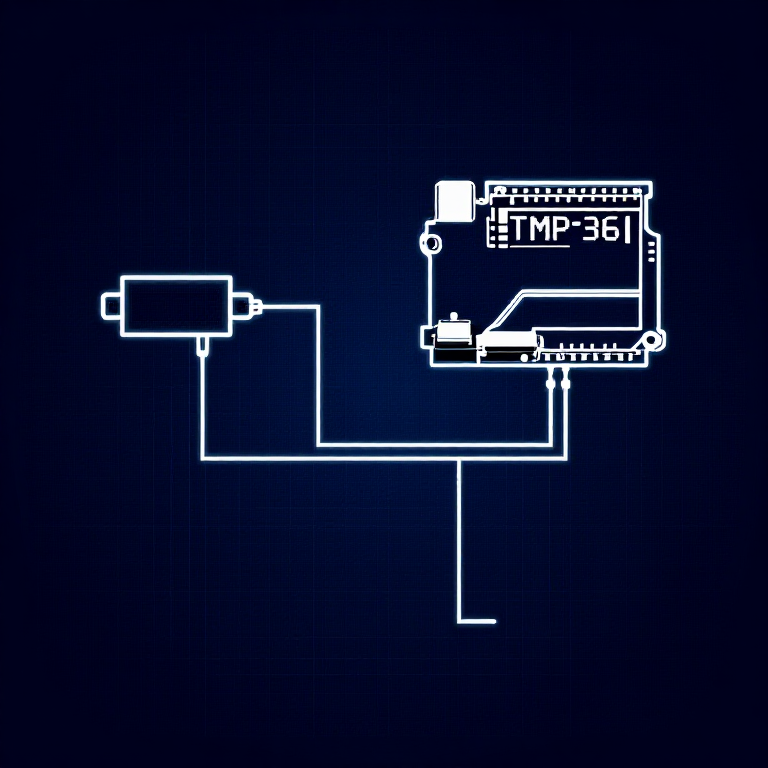
Wiring Instructions
With the TMP36 flat side facing you and pins pointing down, the pins are (left to right): 5V, Signal, GND.
- Connect the left pin to 5V.
- Connect the middle pin (signal) to Analog Pin A0.
- Connect the right pin to GND.
That's it — just 3 wires! The TMP36 can only be connected in one direction. Double-check before powering on.
Materiali per questo passaggio:
TMP36 Temperature Sensor1 pezzoBreadboard1 pezzoJumper Wires3 pezziArduino Code
Arduino Code
Open the Arduino IDE and upload the following sketch to your Arduino board.
Materiali per questo passaggio:
Arduino Uno R31 pezzoStrumenti necessari:
Test & Experiment
Test & Experiment
What You Should See
Open the Serial Monitor (magnifying glass icon in Arduino IDE, or Ctrl+Shift+M). You'll see lines updating once per second:
voltage: 0.73 deg C: 23.24 deg F: 73.84
Troubleshooting
- Nothing happens: Open the Serial Monitor! The output goes there, not to the LEDs.
- Gibberish text: Set the Serial Monitor baud rate dropdown to 9600.
- Temperature unchanged: Pinch the sensor with your fingers to warm it up, or apply ice to cool it down.
Experiments to Try
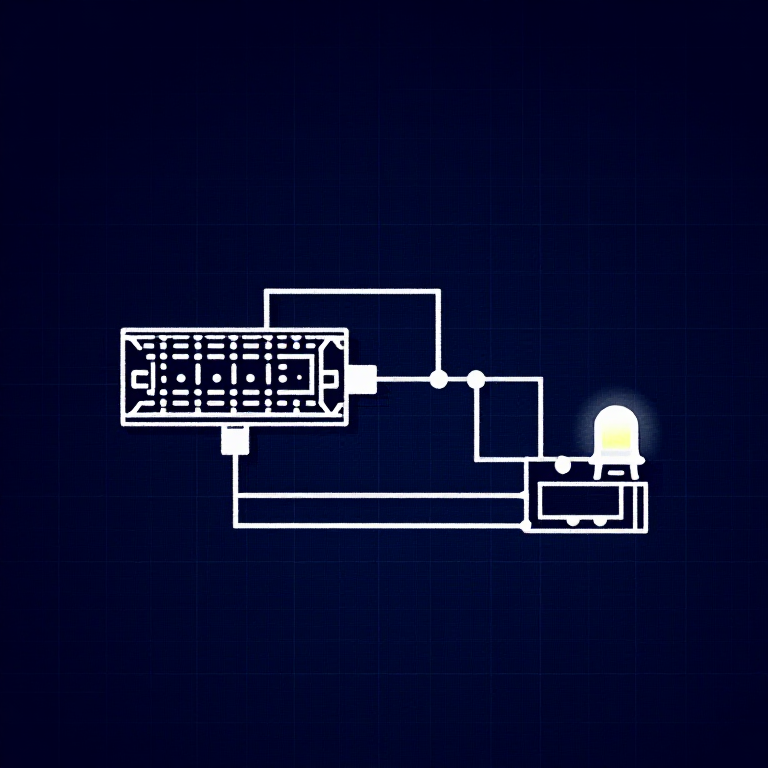
- Add an LED that turns on above a temperature threshold (like a heat warning).
- Log data over time to see temperature trends.
- Combine with the LCD (Circuit 15) to display temperature without a computer.
Materiali
5- €90.00
- 1 pezzoSegnaposto
- 1 pezzoSegnaposto
- 1 pezzoSegnaposto
Required Equipment
Equipment this kind of build typically needs — buy from any maker below.
- CriticalSoldering Iron·
 Helping Hands Soldering Stand
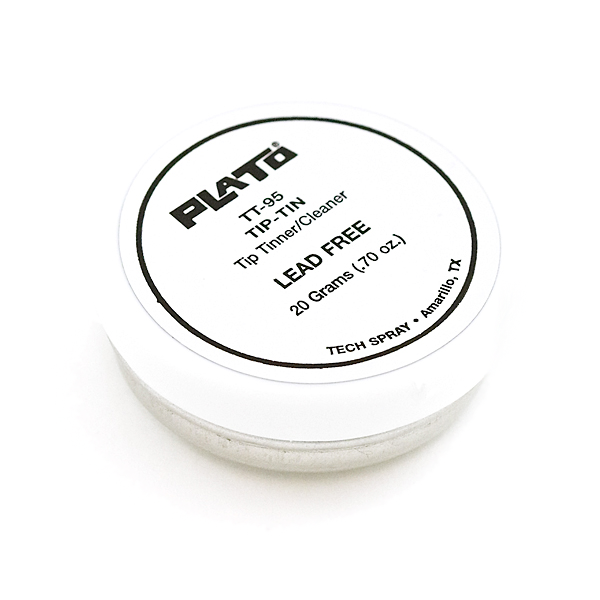 Solder Tip Tinner and Cleaner
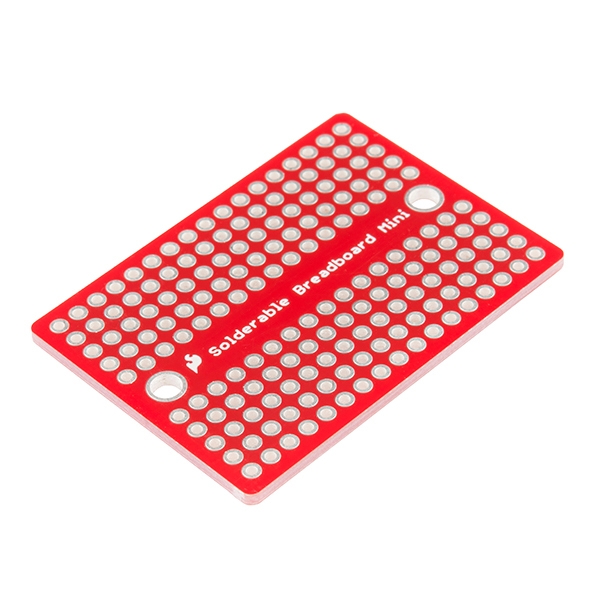 SparkFun Solder-able Breadboard - Mini
 Soldering Iron
 Solder Wire
 Soldering Flux Paste (50g, Rosin-Based)
 - RecommendedBreadboard·
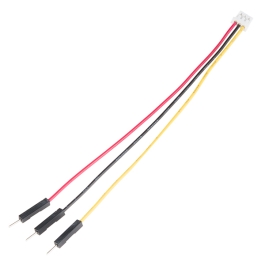 JST to Breadboard Jumper (3-pin)
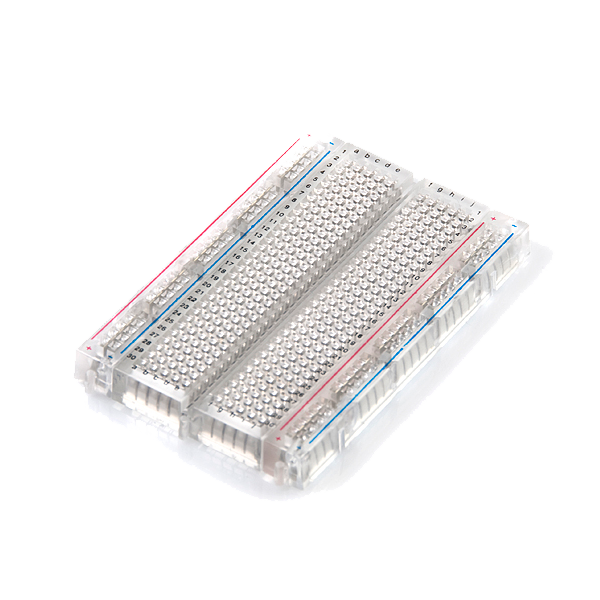 Breadboard - Translucent Self-Adhesive (Clear)Solderless Breadboard 830 Points (3-Pack)SparkFun Solder-able Breadboard - Mini
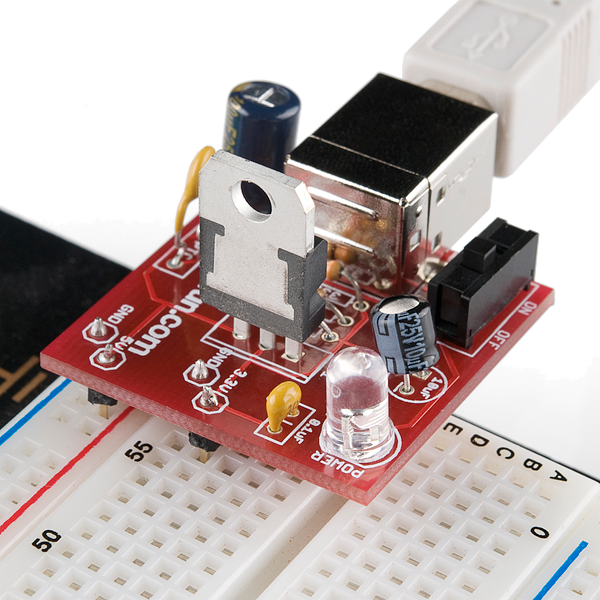 Breadboard Power Supply USB - 5V/3.3VBreadboard
 - RecommendedDust Mask / Respirator·
 Full-Face Gas Mask (ABEK multi-gas cartridge)
 Dust Mask
 Venetian Mask Blank (Papier-Mache)
 Full-Face Respirator
 Respirator Fit Test Kit
 Respirator with Acid Gas Cartridge
 - RecommendedMultimeter·
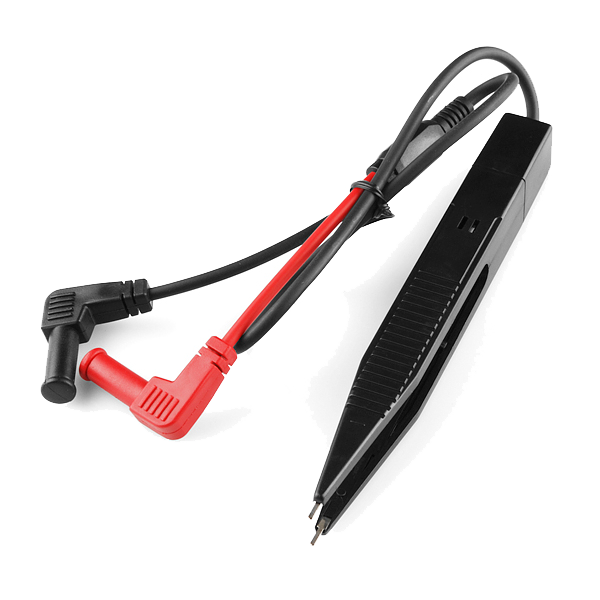 Multimeter Tweezer Probes
 Digital Multimeter - Basic
 Digital Multimeter Pro
 Multimeter
 Digital Multimeter (Auto-Range, True RMS)Digital Multimeter
 - RecommendedSafety Glasses·
 Safety Sign (Caution/Warning)
 Splash-Proof Safety Goggles
 Reflective Safety Vest Kit (DIY)
 Chemical Splash Goggles
 Safety Netting for Rockfall
 Steel-Toed Safety Boots
 - RecommendedWire Strippers·
 Wire Strippers
 Wire Stripper & Crimping Tool (AWG 10-22)
 Wire Stripper
 - RecommendedWork Gloves·
 Boxing Gloves (Training)
 Leather Gauntlet Gloves
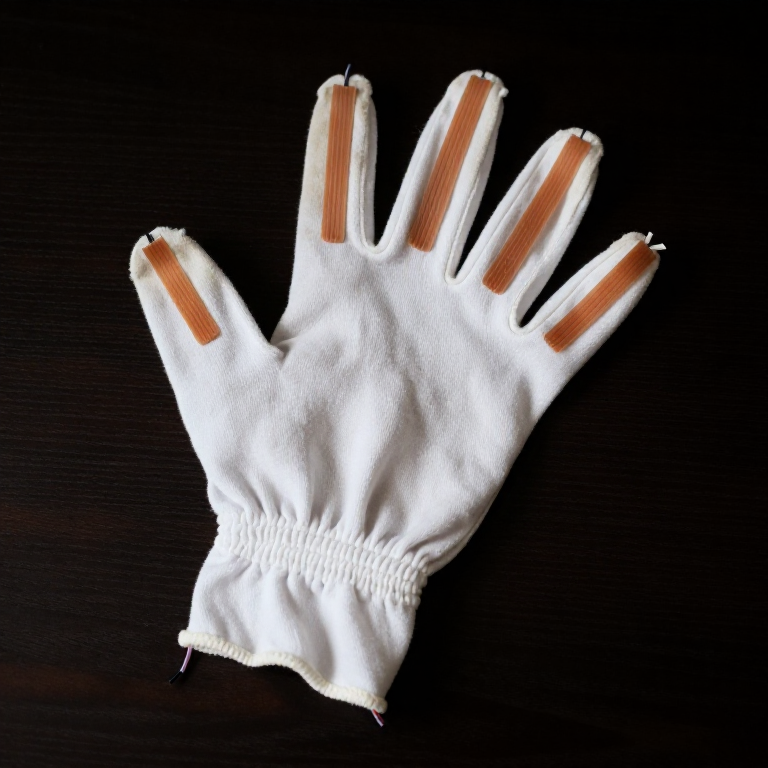
 Cotton Gloves
 Welding Gloves
 Heavy-Duty Gloves
 Leather Work Gloves
 - OptionalFire Extinguisher·
 ABC Fire Extinguisher
 Fire Extinguisher
 - OptionalFirst Aid Kit·
 First Aid Kit
 Mountain First Aid Kit (Altitude)
 Workshop First Aid Kit
 Bow Release Aid
 - OptionalHelping Hands / Third Hand·Helping Hands Soldering Stand
 Helping Hands
 PCB Holder Helping Hands (with Magnifier)
 Helping Hands (Third Hand)
You can swap these in
Can't get one of the materials? Swap it for an equivalent — these work just as well.
- Instead of Arduino Uno R3, try:
 Prototyping Shield for Arduino Uno (3-Pack)
 Arduino Uno R3 BoardArduino Uno
 - Instead of Temperature Sensor, try:
 DHT11 Temperature & Humidity Sensor (5-Pack)
 Load Sensor - 50kg
 Light Sensor
 PIR Motion Sensor
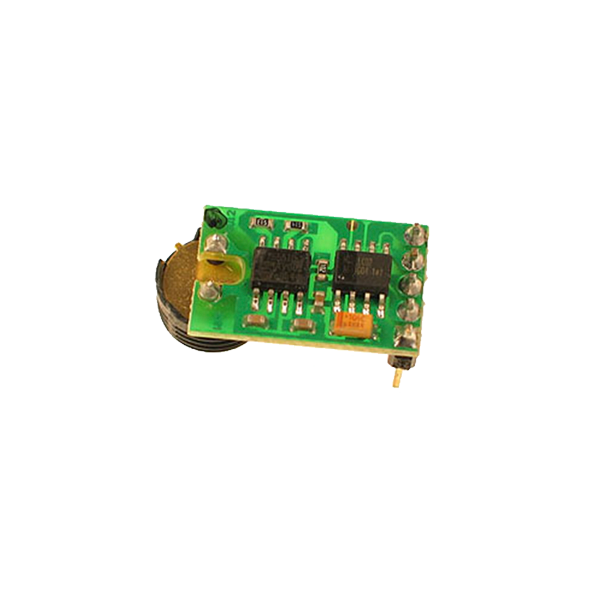 Humidity sensor - HH10D
 Auto Bed Leveling Sensor (BLTouch Compatible)
 Flexiforce Pressure Sensor - 0 < 11 kg (57mm)
 Flexiforce Pressure Sensor - 450gr/11kg/45kg
 Liquid Level Sensor
Recommended for this build
Products makers often use with builds like this one.
 Diode KitUsed together and in similar builds
 Resistor 330 Ohm 1/6 Watt PTH - 20 packUsed together and in similar builds
 Servo MotorUsed together and in similar builds
 5mm LED Assortment Kit (300pcs, 5 Colors)Used together and in similar builds
 DC MotorUsed in similar builds
 Relay ModuleUsed in similar builds
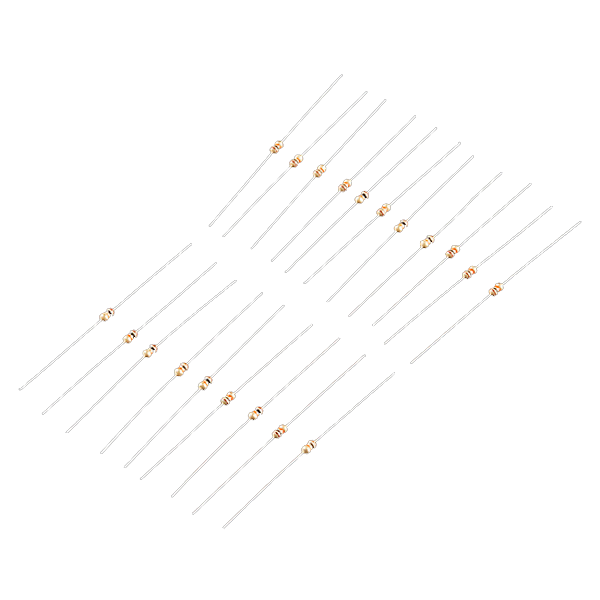 Resistor 10K Ohm 1/6th Watt PTH - 20 packUsed together and in similar builds
Related blueprints
Other builds that share materials, tools, or techniques with this one.


CC0 Pubblico dominio
Questo progetto è rilasciato sotto CC0. Sei libero di copiare, modificare, distribuire e utilizzare quest'opera per qualsiasi scopo, senza chiedere permesso.
Supporta il Maker acquistando prodotti tramite il suo progetto dove guadagna una Commissione Maker stabilita dai venditori, oppure crea una nuova iterazione di questo progetto e includilo come collegamento nel tuo progetto per condividere i ricavi.