Reading a Soft Potentiometer — SIK Circuit 10
Istruzioni
Parts & Introduction
Parts & Introduction
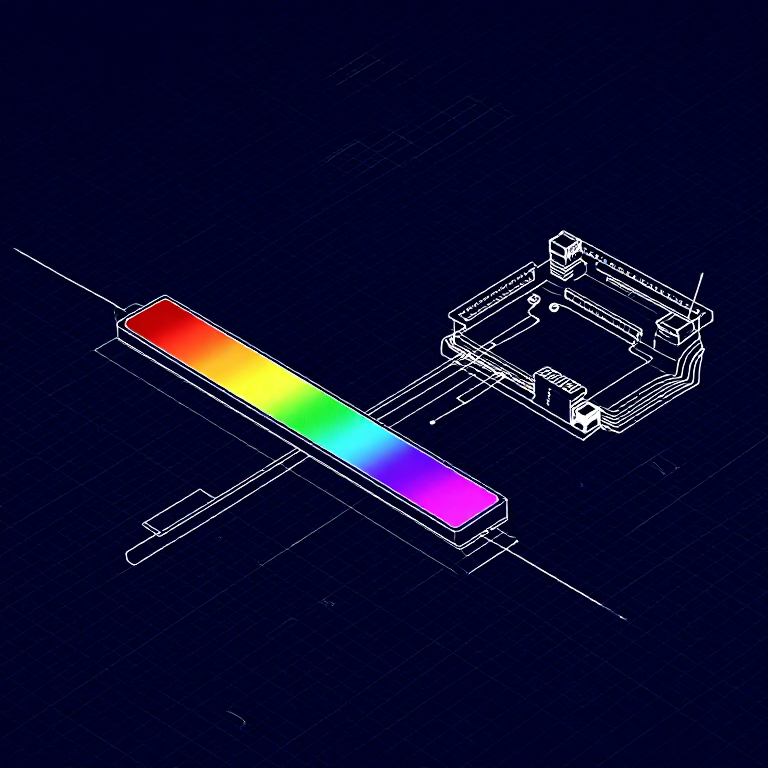
A soft potentiometer is a thin, flexible strip that acts as a variable resistor based on where you press. Combined with an RGB LED, you can create an intuitive color picker — slide your finger to change colors!
Parts Needed
- 1x Arduino Uno + USB cable
- 1x Breadboard
- 1x Soft Potentiometer
- 1x RGB LED (Common Cathode)
- 3x 330Ω Resistors
- 1x 10KΩ Resistor (pull-down)
- 9x Jumper Wires
Materiali per questo passaggio:
 SparkFun Inventors Kit - V3.21 kit
 Arduino Uno R31 pezzo
 Breadboard1 pezzo
 Soft Potentiometer1 pezzo
 RGB LED (Common Cathode)1 pezzo
 330 Ohm Resistor3 pezzi10K Ohm Resistor1 pezzo
 Jumper Wires8 pezzi
Strumenti necessari:
Hardware Hookup
Hardware Hookup
Wiring Instructions
Soft Potentiometer
- Connect the middle pin to Analog Pin A0.
- Connect one side pin to 5V.
- Connect the other side pin to GND.
- Add a 10K pull-down resistor from Analog Pin A0 to GND.
RGB LED (pin order from flat edge: Red, GND, Green, Blue)
- Connect Red through 330Ω resistor to Pin 9.
- Connect GND (longest pin) to GND rail.
- Connect Green through 330Ω resistor to Pin 10.
- Connect Blue through 330Ω resistor to Pin 11.
Materiali per questo passaggio:
Soft Potentiometer1 pezzoRGB LED (Common Cathode)1 pezzo330 Ohm Resistor3 pezzi10K Ohm Resistor1 pezzoBreadboard1 pezzoJumper Wires8 pezziArduino Code
Arduino Code
Open the Arduino IDE and upload the following sketch to your Arduino board.
Materiali per questo passaggio:
Arduino Uno R31 pezzoStrumenti necessari:
Test & Experiment
Test & Experiment
What You Should See
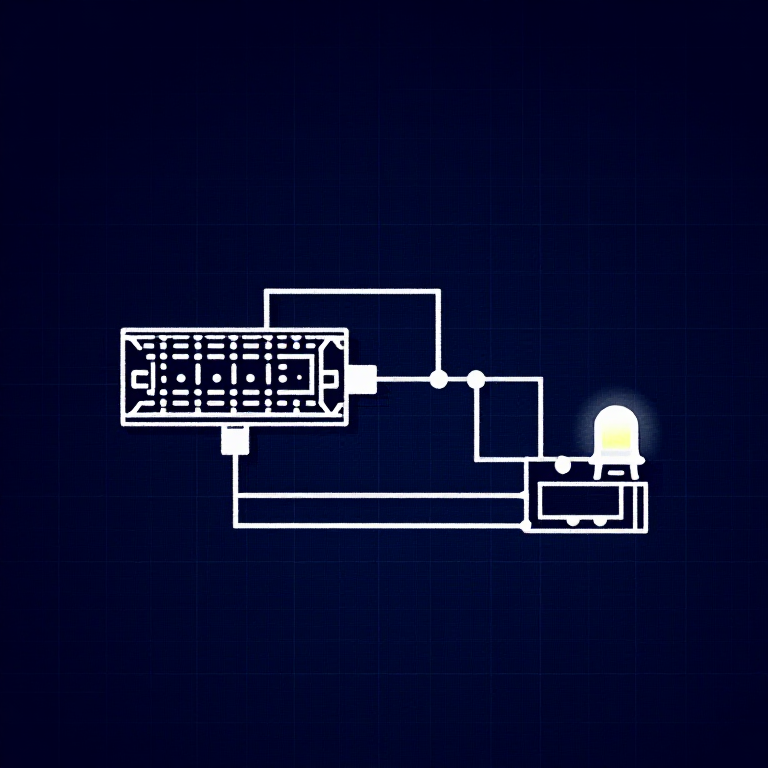
The RGB LED changes color as you slide your finger along the soft potentiometer strip. The color smoothly transitions through the spectrum: red → green → blue → red.
Troubleshooting
- LED dark or wrong color: Four pins close together are easy to misplace. Verify each RGB LED connection.
- Bizarre color jumps: Pressing the soft pot in multiple spots simultaneously gives unpredictable results. Use one finger.
Experiments to Try
- Add Serial output to see the raw sensor values as you slide.
- Map the soft pot to servo position instead of color.
Materiali
8- €90.00
- 1 pezzoSegnaposto
- 1 pezzoSegnaposto
- 1 pezzoSegnaposto
- Segnaposto
- €3.00
- €3.00
You can swap these in
Can't get one of the materials? Swap it for an equivalent — these work just as well.
- Instead of Arduino Uno R3, try:
 Prototyping Shield for Arduino Uno (3-Pack)
 Arduino Uno R3 BoardArduino Uno
 - Instead of SoftPot Membrane Potentiometer - 50mm, try:
 Digital Potentiometer - 10K
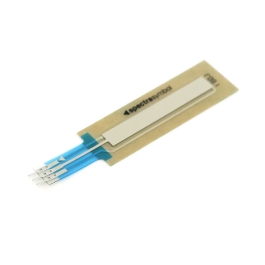 SoftPot Membrane Potentiometer - 100mmPotentiometer
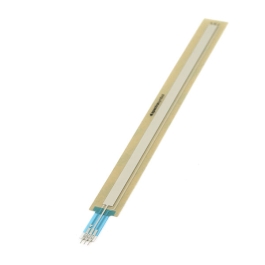 SoftPot Membrane Potentiometer - 200mm
 10K Ohm Linear Potentiometer (5-Pack)
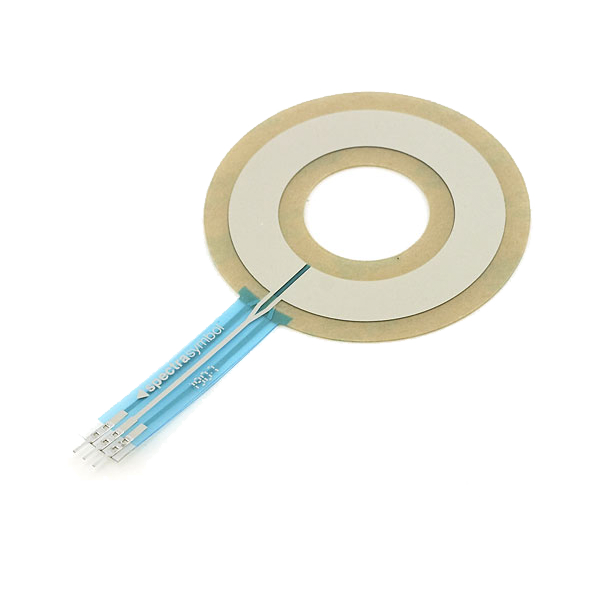 Softpot Rotary Potentiometer
 - Instead of Resistor 330 Ohm 1/6 Watt PTH - 20 pack, try:
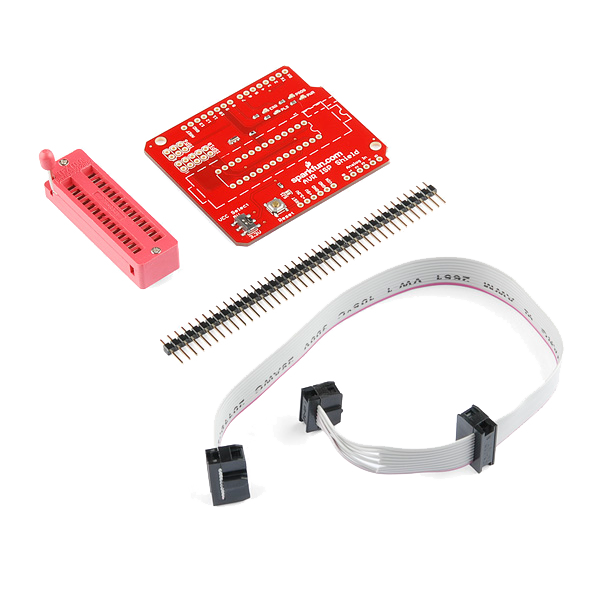 AVR ISP Shield - PTH Kit
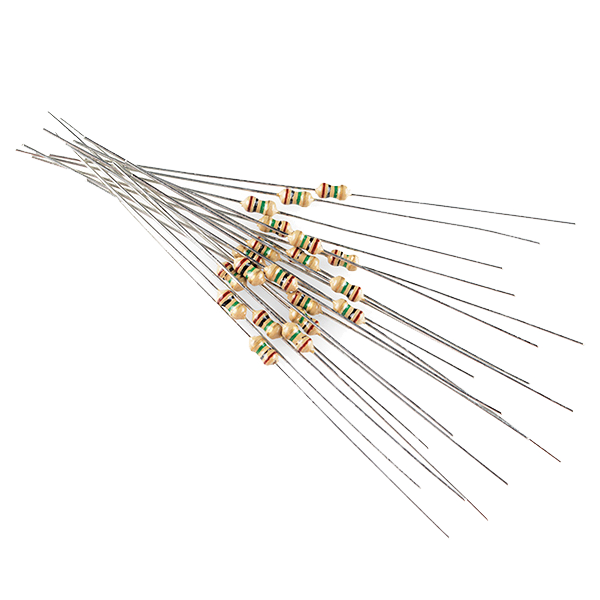 Resistor 1.0M Ohm 1/6th Watt PTH - 20 pack
 - Instead of Breadboard, try:
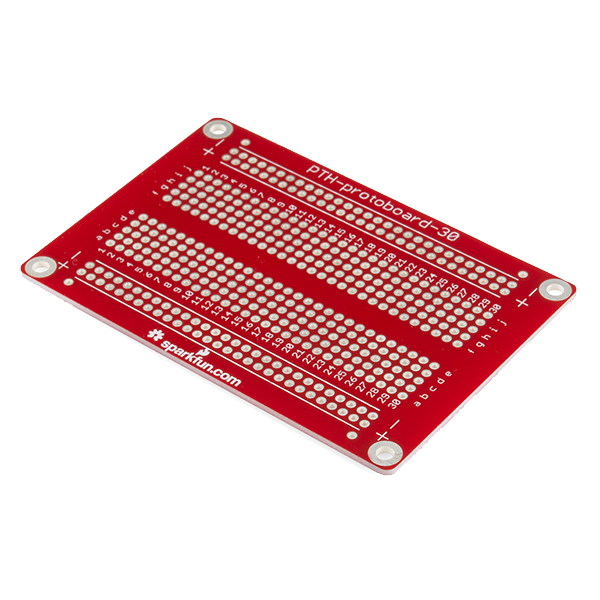 Solder-able Breadboard
Recommended for this build
Products makers often use with builds like this one.
 5mm LED Assortment Kit (300pcs, 5 Colors)Used together and in similar builds
 PhotoresistorUsed in similar buildsPotentiometerUsed together and in similar builds
 Push Button - 33mmFrequently used with this build's materials
 Diode KitFrequently used with this build's materials
 Servo MotorFrequently used with this build's materials
 Piezo ElementFrequently used with this build's materials
Related blueprints
Other builds that share materials, tools, or techniques with this one.


CC0 Pubblico dominio
Questo progetto è rilasciato sotto CC0. Sei libero di copiare, modificare, distribuire e utilizzare quest'opera per qualsiasi scopo, senza chiedere permesso.
Supporta il Maker acquistando prodotti tramite il suo progetto dove guadagna una Commissione Maker stabilita dai venditori, oppure crea una nuova iterazione di questo progetto e includilo come collegamento nel tuo progetto per condividere i ricavi.