
Driving a Motor — SIK Circuit 12
Istruzioni
Parts & Introduction
Parts & Introduction
DC motors draw too much current for an Arduino pin to drive directly. A transistor acts as an electronic switch — a small signal from the Arduino controls a larger current flowing through the motor. The flyback diode protects against voltage spikes when the motor turns off.
Parts Needed
- 1x Arduino Uno + USB cable
- 1x Breadboard
- 1x DC Motor
- 1x NPN Transistor (P2N2222A)
- 1x Diode (1N4148)
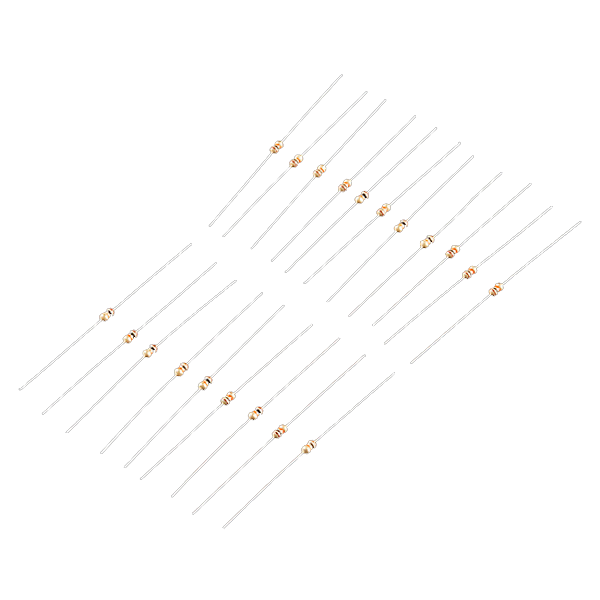
- 1x 330Ω Resistor
- 6x Jumper Wires
Materiali per questo passaggio:
 SparkFun Inventors Kit - V3.21 kit
 Arduino Uno R31 pezzo
 Breadboard1 pezzo
 DC Motor1 pezzo
 NPN Transistor (P2N2222A)1 pezzo
 Diode (1N4148)1 pezzo
 330 Ohm Resistor1 pezzo
 Jumper Wires6 pezzi
Strumenti necessari:
Hardware Hookup
Hardware Hookup
Wiring Instructions
Transistor pinout (flat side facing you, pins down): Collector, Base, Emitter (left to right).
- Place the transistor in the breadboard.
- Connect Base (middle pin) through a 330Ω resistor to Arduino Digital Pin 9.
- Connect Emitter (right pin) to GND.
- Connect Collector (left pin) to the motor's black wire.
- Connect the motor's red wire to 5V.
- Flyback Diode: Connect the banded end (cathode) to 5V, the other end (anode) to the motor's black wire.
Materiali per questo passaggio:
DC Motor1 pezzoNPN Transistor (P2N2222A)1 pezzoDiode (1N4148)1 pezzo330 Ohm Resistor1 pezzoBreadboard1 pezzoJumper Wires6 pezziArduino Code
Arduino Code
Open the Arduino IDE and upload the following sketch to your Arduino board.
Materiali per questo passaggio:
Arduino Uno R31 pezzoStrumenti necessari:
Test & Experiment
Test & Experiment
What You Should See
The default serialSpeed() function lets you type speed values (0-255) into the Serial Monitor to control motor speed in real time.
Troubleshooting
- Motor not spinning: If you sourced your own transistor, double-check the pinout — many NPN transistors have reversed pin orders compared to the P2N2222A.
- Motor won't start at low values: Below ~50, the motor doesn't have enough torque to overcome friction. This is normal.
- Connection issues: Try unplugging and re-plugging the USB cable.
Experiments to Try
- Uncomment
motorAcceleration()to see smooth speed ramping. - Add a potentiometer to control speed with a knob instead of serial input.
- Add a button for on/off control.
Materiali
8- €90.00
- 1 pezzoSegnaposto
- 1 pezzoSegnaposto
- 1 pezzoSegnaposto
- Segnaposto
- 1 pezzoSegnaposto
- €3.00
You can swap these in
Can't get one of the materials? Swap it for an equivalent — these work just as well.
- Instead of Arduino Uno R3, try:
 Prototyping Shield for Arduino Uno (3-Pack)
 Arduino Uno R3 BoardArduino Uno
 - Instead of DC Motor, try:
 Vibration Motor Assortment
 Servo Motor
 SG90 Micro Servo Motor (5-Pack)
 Marine Brushless Motor
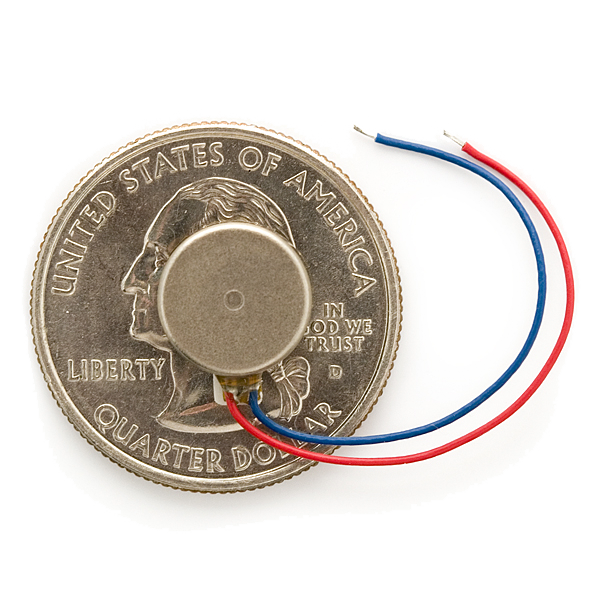 Vibration Motor
 - Instead of Diode Kit, try:
 Bridge Rectifier Diode Kit (20pcs)
 1N5819 Schottky Diode (20-Pack)
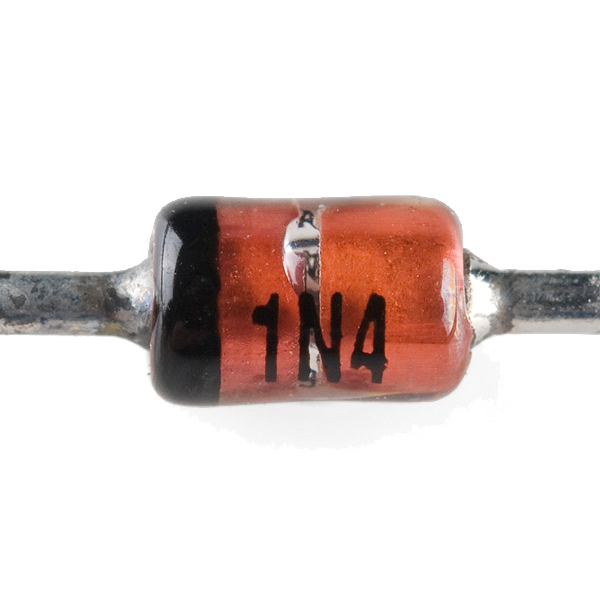 Zener Diode - 5.1V 1W
 - Instead of Resistor 330 Ohm 1/6 Watt PTH - 20 pack, try:
 Resistor 10K Ohm 1/6th Watt PTH - 20 pack
Recommended for this build
Products makers often use with builds like this one.
 5mm LED Assortment Kit (300pcs, 5 Colors)Used together and in similar buildsServo MotorUsed together and in similar builds
 Relay ModuleUsed in similar builds
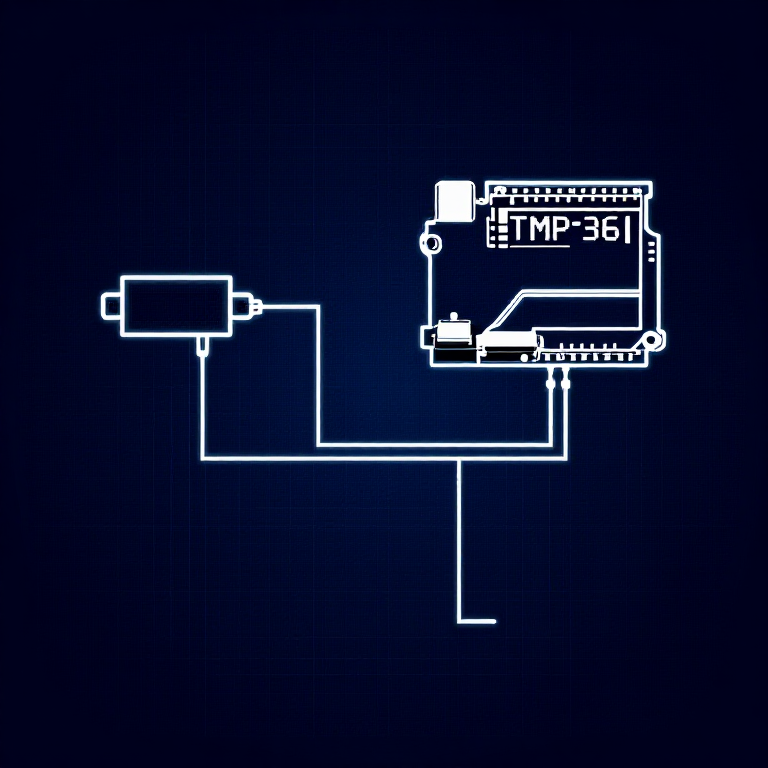
 Temperature SensorUsed in similar builds
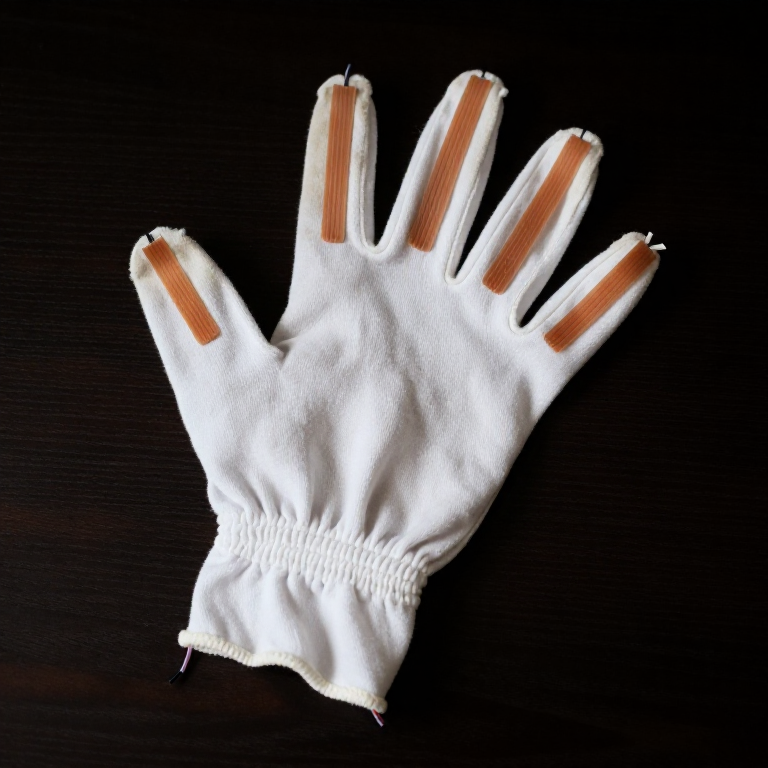
 Flex Sensor 2.2 InchUsed together and in similar buildsResistor 10K Ohm 1/6th Watt PTH - 20 packUsed together and in similar builds
 LED - RGB Diffused Common Cathode - 5mmFrequently used with this build's materials
 Push Button - 33mmFrequently used with this build's materials
Related blueprints
Other builds that share materials, tools, or techniques with this one.


CC0 Pubblico dominio
Questo progetto è rilasciato sotto CC0. Sei libero di copiare, modificare, distribuire e utilizzare quest'opera per qualsiasi scopo, senza chiedere permesso.
Supporta il Maker acquistando prodotti tramite il suo progetto dove guadagna una Commissione Maker stabilita dai venditori, oppure crea una nuova iterazione di questo progetto e includilo come collegamento nel tuo progetto per condividere i ricavi.