Using an LCD — SIK Circuit 15
Istruzioni
Parts & Introduction
Parts & Introduction
A 16x2 character LCD can display 2 rows of 16 characters each. Using Arduino's LiquidCrystal library, you can display text, numbers, and custom characters. This is the HD44780 standard used by most character LCDs.
Parts Needed
- 1x Arduino Uno + USB cable
- 1x Breadboard
- 1x 16x2 Character LCD
- 1x Potentiometer (for contrast adjustment)
- 16x Jumper Wires
Materiali per questo passaggio:
 SparkFun Inventors Kit - V3.21 kit
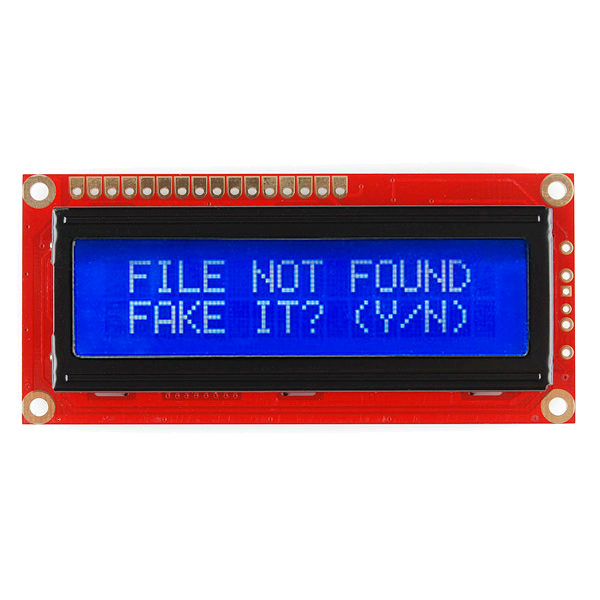 16x2 Character LCD1 pezzo
 Jumper Wires16 pezzi
Strumenti necessari:
Hardware Hookup
Hardware Hookup
Wiring Instructions
The LCD has 16 pins. Pin 1 is closest to the corner of the board.
| LCD Pin | Connection |
|---|---|
| 1 | GND |
| 2 | 5V |
| 3 | Potentiometer wiper (contrast) |
| 4 | Arduino Pin 12 (RS) |
| 5 | GND (R/W) |
| 6 | Arduino Pin 11 (Enable) |
| 7-10 | Not connected |
| 11 | Arduino Pin 5 (D4) |
| 12 | Arduino Pin 4 (D5) |
| 13 | Arduino Pin 3 (D6) |
| 14 | Arduino Pin 2 (D7) |
| 15 | 5V (backlight +) |
| 16 | GND (backlight -) |
Connect the potentiometer: one side to 5V, other to GND, center pin to LCD pin 3 for contrast adjustment.
Materiali per questo passaggio:
16x2 Character LCD1 pezzoJumper Wires16 pezziArduino Code
Arduino Code
Open the Arduino IDE and upload the following sketch to your Arduino board.
Materiali per questo passaggio:
Strumenti necessari:
Test & Experiment
Test & Experiment
What You Should See
"hello, world!" appears on the first line of the LCD. The second line shows a running counter of seconds since power-on. You may need to twist the potentiometer to adjust contrast until text is visible.
Troubleshooting
- Screen blank or solid blocks: Adjust the potentiometer until you see text. The contrast range is narrow.
- Nothing at all: Verify the LiquidCrystal library is included and all 16 wires are connected correctly.
- Flickering: Check breadboard connections — loose wires cause display glitches.
Experiments to Try
- Display the temperature sensor reading (from Circuit 7) on the LCD instead of the Serial Monitor.
- Use
lcd.setCursor(col, row)to place text at specific positions. - Create custom characters with
lcd.createChar()for icons and symbols. - Display messages from serial input — type on your computer, see it on the LCD.
Materiali
6- €90.00
- €13.00
CC0 Pubblico dominio
Questo progetto è rilasciato sotto CC0. Sei libero di copiare, modificare, distribuire e utilizzare quest'opera per qualsiasi scopo, senza chiedere permesso.
Supporta il Maker acquistando prodotti tramite il suo progetto dove guadagna una Commissione Maker stabilita dai venditori, oppure crea una nuova iterazione di questo progetto e includilo come collegamento nel tuo progetto per condividere i ricavi.