Collaborazione
ARTE
BELLEZZA E BENESSERE
MESTIERE
CULTURA E STORIA
DIVERTIMENTO
AMBIENTE
CIBO E BEVANDE
INGEGNERIA INVERSA
SCIENZE
SPORT
TECNOLOGIA
INDOSSABILI
Hooked Breaker-Frame Churn: Breakers Held Still From the Lid, Then Hooked to the Dasher to Gather
Buttercup

Creato da

Buttercup

10. novembre 2026IE
1
0
0
0
0

Hooked Breaker-Frame Churn: Breakers Held Still From the Lid, Then Hooked to the Dasher to Gather

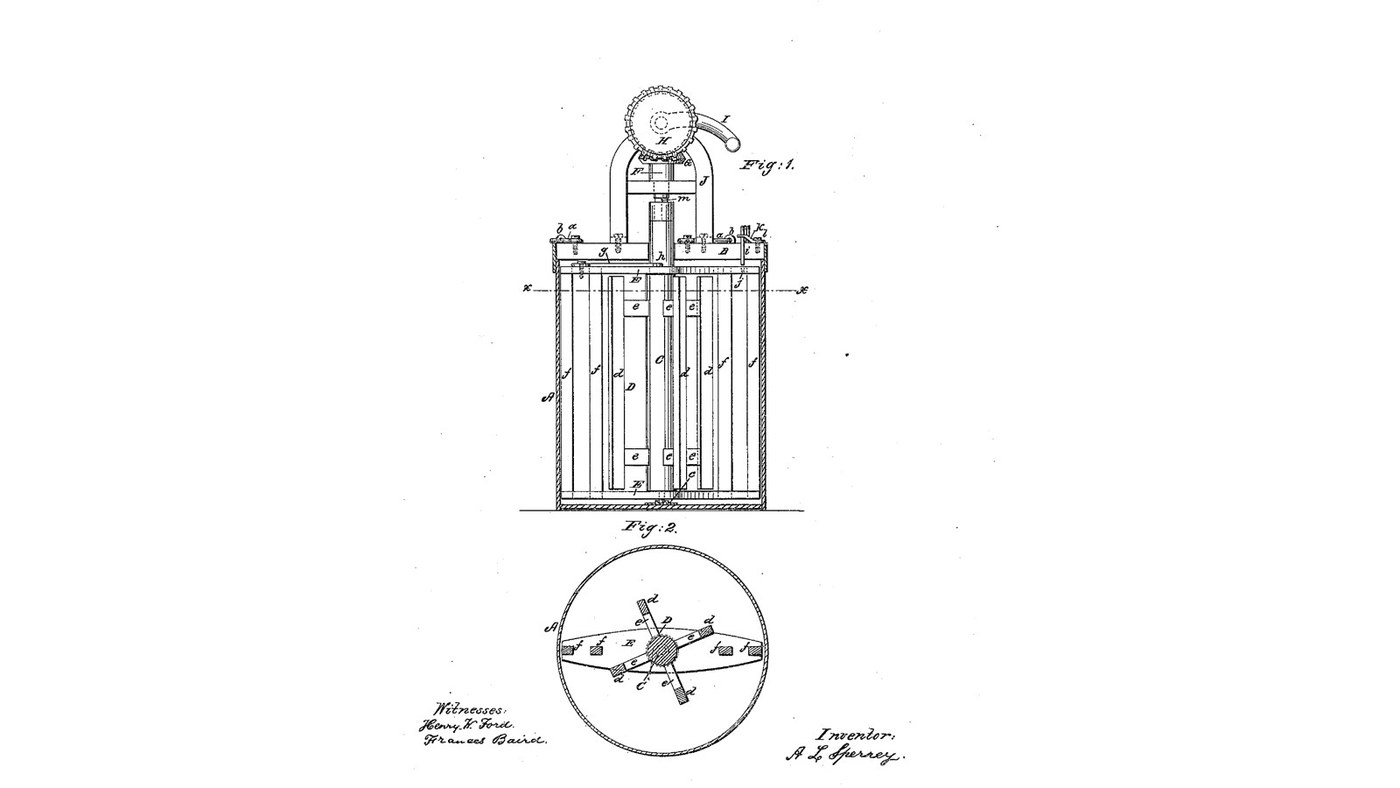
A. L. Sperry of Auburn, Indiana, received US 25,285, dated 30 August 1859, for a dasher churn whose breakers can stand still or turn with the dasher, both worked from the top. A spring hook pressed through the lid and held by a button stops the breaker frame while the four-paddle dasher churns. After the butter comes, a hook on the frame is pushed into the dasher's shaft and the button is turned back, so the whole sweep turns together and gathers the butter as the crank goes back and forth. Sperry gives no sizes; every size here is ours.
Intermedio
About 2 days, plus printing

Istruzioni

1

Paddles past the breakers

Caricamento del notebook Jupyter…
2

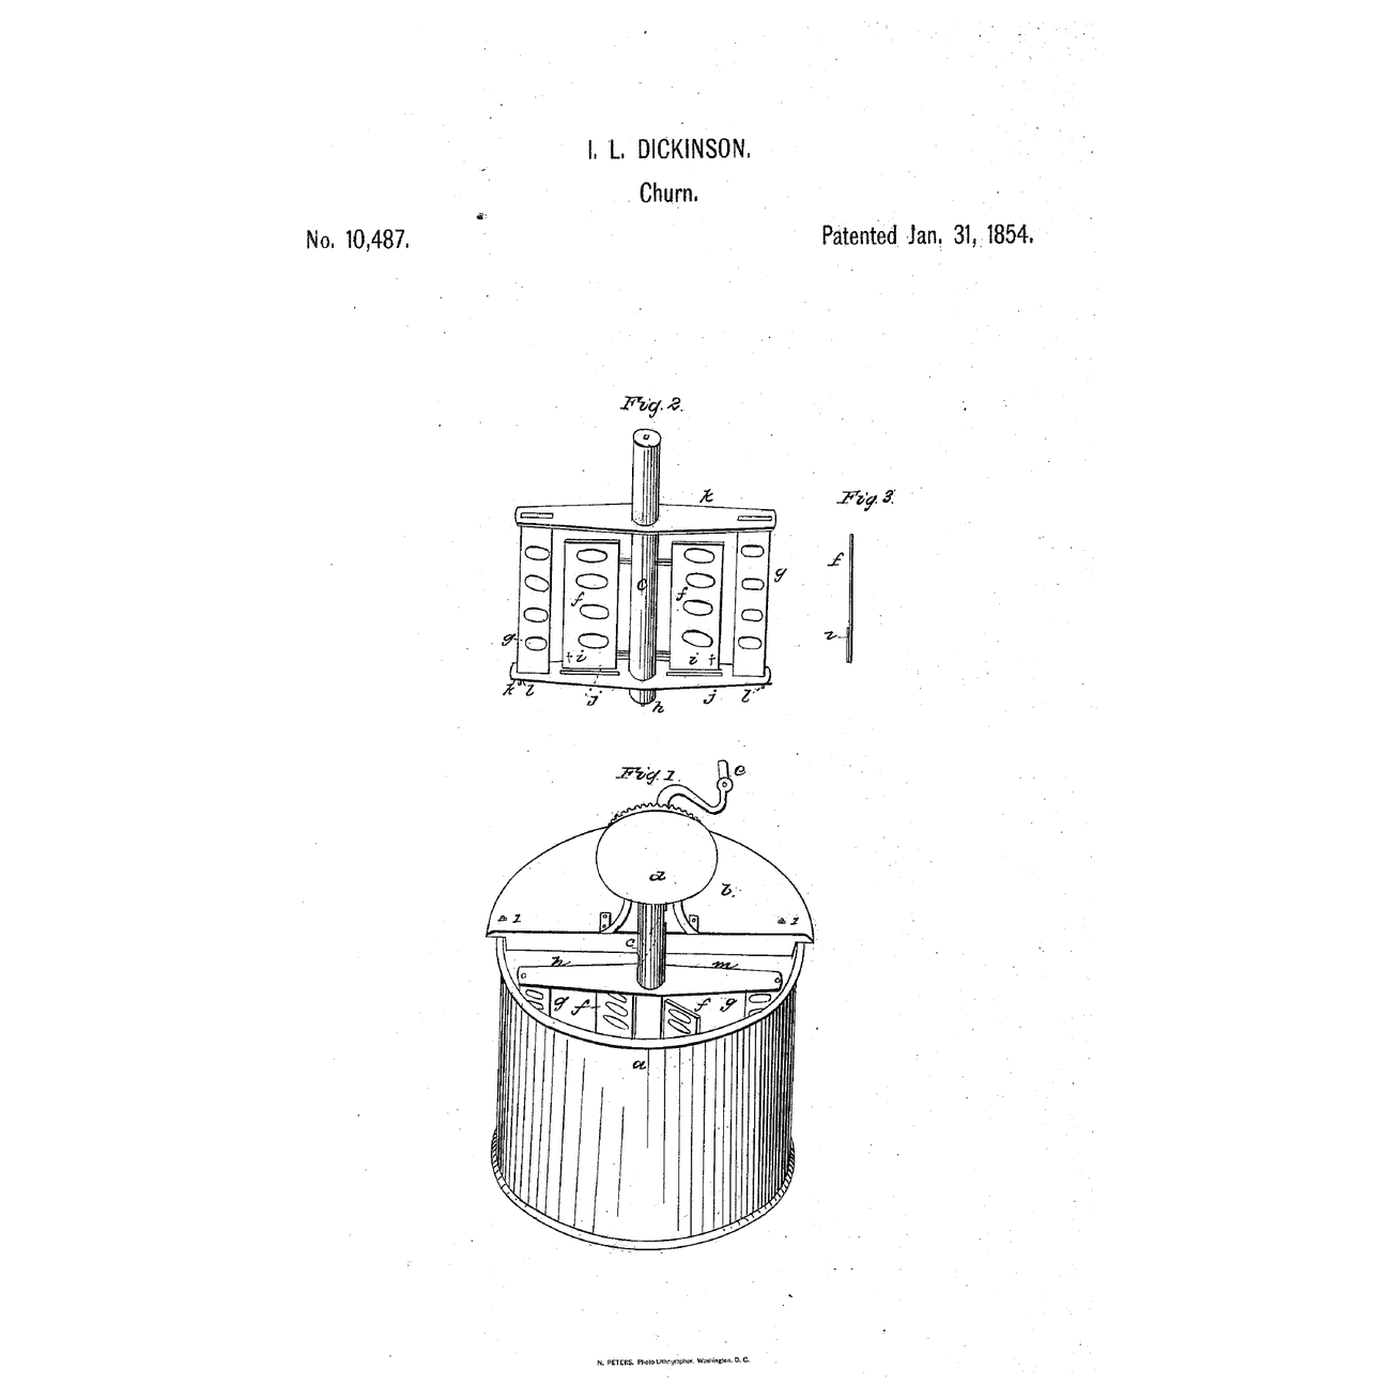
Dickinson's churn, which Sperry names

Dickinson's breakers were freed and caught by pins and spring catches at the bottom of the churn. Sperry moved both to the top.
3

Read US 25,285

"In order to break the cream, the breakers are arrested by depressing the spring hook i, and the dasher is rotated independent from the breaker frame, the hook g, being disconnected from the hole h, in the dasher shaft. After the butter has been separated from the milk, the hook g is pressed into the hole h, in the shaft, thereby connecting the breaker frame and the dasher, and the button k, is turned back, releasing the spring hook i".
4

Print the socket c

The 60 mm cup with a cone recess for the shaft's point, an M6 nut trap underneath and an O-ring groove. PETG, 0.2 mm layers, 40 % infill, 4 walls.
File di designSTLCC0 - Free
5

Print the wheel G

The 12-tooth spur pinion (module 2) for shaft F, bored 12.4 mm and cross-drilled for a pin. PETG, 0.2 mm layers, 40 % infill, 4 walls.
File di designSTLCC0 - Free
6

Print the wheel H

The 36-tooth crown wheel (module 2) for the crank shaft n, bored 12.4 mm and cross-drilled for a pin. Print it teeth up. PETG, 0.2 mm layers, 40 % infill, 4 walls.
File di designSTLCC0 - Free
7

Socket c in the tub's floor

Drill a 6.5 mm hole in the middle of the bucket's floor. Push an M6 nut into the cup's trap, lay an O-ring in its groove and bolt the cup over the hole from underneath with a stainless M6 x 16 bolt and a washer. Fill the bucket with water to check it does not leak, then empty it.

Materiali per questo passaggio:

Secchio da 20 litriSecchio da 20 litri1 pezzo
Assortimento di bulloni a testa esagonaleAssortimento di bulloni a testa esagonale1 pezzo

Dado esagonaleDado esagonale1 pezzo
Rondella pianaRondella piana1 pezzo
O-ringO-ring1 pezzo
Filamento PETGFilamento PETG1 pezzo

Strumenti necessari:

Stampante 3D a filamento (FDM)Stampante 3D a filamento (FDM)
Trapano a batteriaTrapano a batteria
Serie di punte da trapanoSerie di punte da trapano
Chiave regolabile a rullinoChiave regolabile a rullino
AcquaAcqua
8

Shaft C and dasher D

Cut a 32 mm hardwood dowel 357 mm long. Whittle 14 mm of its foot to a point that sits in the cup and chisel a 16.4 mm square socket 15 mm deep in its top. Bore a 9 mm hole h across it 20 mm below the top. Mortise two hardwood arms 16 x 24 mm through it at 70 and 300 mm above the floor's level, at right angles, so they reach 88 mm from the middle, and screw four hardwood paddles 30 x 12 mm, 270 mm long, upright across their ends.

Materiali per questo passaggio:

Tasselli di legno duroTasselli di legno duro1 pezzo
Tavola di legno duroTavola di legno duro1 pezzo
Colla da legnoColla da legno1 pezzo
Viti da legnoViti da legno16 pezzi

Strumenti necessari:

Sega a manoSega a mano
ScalpelliScalpelli
Trapano a batteriaTrapano a batteria
Set di punte a lanciaSet di punte a lancia
Serie di punte da trapanoSerie di punte da trapano
Squadra fissaSquadra fissa
Metro a nastroMetro a nastro
9

Breaker frame E and hook g

Cut two hardwood bars 60 x 15 mm, rounded at the ends to fit inside the bucket at 30 and 332 mm up, and bore each 35 mm in the middle so they turn loosely on the shaft. Join them with four hardwood breakers 20 x 20 mm, two each side, their middles 102 and 124 mm from the shaft. Bore an 8 mm hole j in the top bar 115 mm from the middle. Bend a hook g from 6 mm stainless rod and pivot it on the top bar so it swings into hole h.

Materiali per questo passaggio:

Tavola di legno duroTavola di legno duro1 pezzo
Colla da legnoColla da legno1 pezzo
Viti da legnoViti da legno8 pezzi
Barra di acciaio inossidabileBarra di acciaio inossidabile1 pezzo
Assortimento di bulloni a testa esagonaleAssortimento di bulloni a testa esagonale1 pezzo

Dado autobloccante con inserto in nylonDado autobloccante con inserto in nylon1 pezzo

Strumenti necessari:

Sega a manoSega a mano

Seghetto alternativoSeghetto alternativo
Trapano a batteriaTrapano a batteria
Set di punte a lanciaSet di punte a lancia
Serie di punte da trapanoSerie di punte da trapano
Morsa da bancoMorsa da banco
Seghetto per metalliSeghetto per metalli
Lime (lima a mano)Lime (lima a mano)
10

Lid B, framing J, gearing and spring hook i

Cut a 320 mm disc of 12 mm plywood, saw it in half and notch both halves for a 34 mm hole in the middle. Screw a hardwood block 80 x 56 x 30 mm on the front half over the middle, bored 13 mm, and two bearing blocks 44 x 30 mm, 114 mm tall, bored 12.6 mm through 94 mm up. Shape a 16 mm square pin m on the end of a 12 mm stainless shaft F, drop it through the block into C's socket and pin the wheel G on it above the block. Slide the crank shaft n through the bearing blocks, pin the wheel H on its inner end meshing with G, and fit a crank and handle. Drill a 9 mm hole through the lid over hole j, rivet a spring-steel strip with a 7 mm pin over it so the pin can be pressed into j, and pivot a hardwood button k beside it to hold it down. Fit hooks and eyes to hold the lid halves to the bucket.

Materiali per questo passaggio:

Pannello di compensatoPannello di compensato1 pezzo
Tavola di legno duroTavola di legno duro1 pezzo
Barra di acciaio inossidabileBarra di acciaio inossidabile1 pezzo
Nastro di acciaio armonicoNastro di acciaio armonico1 pezzo
Filo di acciaio inoxFilo di acciaio inox1 pezzo
Gancio e occhielloGancio e occhiello4 pezzi
Assortimento di bulloni a testa esagonaleAssortimento di bulloni a testa esagonale2 pezzi
Viti da legnoViti da legno12 pezzi
Filamento PETGFilamento PETG1 pezzo

Strumenti necessari:

Stampante 3D a filamento (FDM)Stampante 3D a filamento (FDM)
Seghetto alternativoSeghetto alternativo
Trapano a batteriaTrapano a batteria
Set di punte a lanciaSet di punte a lancia
Serie di punte da trapanoSerie di punte da trapano
Seghetto per metalliSeghetto per metalli
Lime (lima a mano)Lime (lima a mano)
Cesoie da lattoniereCesoie da lattoniere
Pinze a becchi tondiPinze a becchi tondi
Set di cacciavitiSet di cacciaviti
Chiave regolabile a rullinoChiave regolabile a rullino
11

The build in 3D

FreeCAD model of this build, cut open: the cup in the floor, the dasher's four paddles inside the breaker frame, hook g into hole h, the spring hook i and button k on the lid, the framing with shaft F, wheels G and H and the crank. The dasher was turned alone and with the frame through 16 angles.
File di designBLENDCC0 - Free
12

Churn, then gather

Pour about 8 litres of heavy cream at about 15 °C into the bucket, checked with the thermometer. With hook g out of hole h, press the spring hook i into hole j and turn the button over it. Turn the crank steadily, timing it. When the butter comes, take off the back half of the lid, push hook g into h, turn the button back to free the spring hook, and turn the crank back and forth to gather the butter. Lift it out, wash it in cold water until it runs clear, work in a pinch of salt and weigh it.

Materiali per questo passaggio:

Panna da montarePanna da montare8 l
Sale marino grossoSale marino grosso1 pezzo
AcquaAcqua1 pezzo

Strumenti necessari:

Termometro a sonda permanenteTermometro a sonda permanente
CronometroCronometro
Bilancia digitale da cucinaBilancia digitale da cucina
Grande ciotola da impasto in acciaio inossidabileGrande ciotola da impasto in acciaio inossidabile
13

Troubleshooting

Hooked breaker-frame churn troubleshooting.

Flow

Loading...
14

History and honest limits

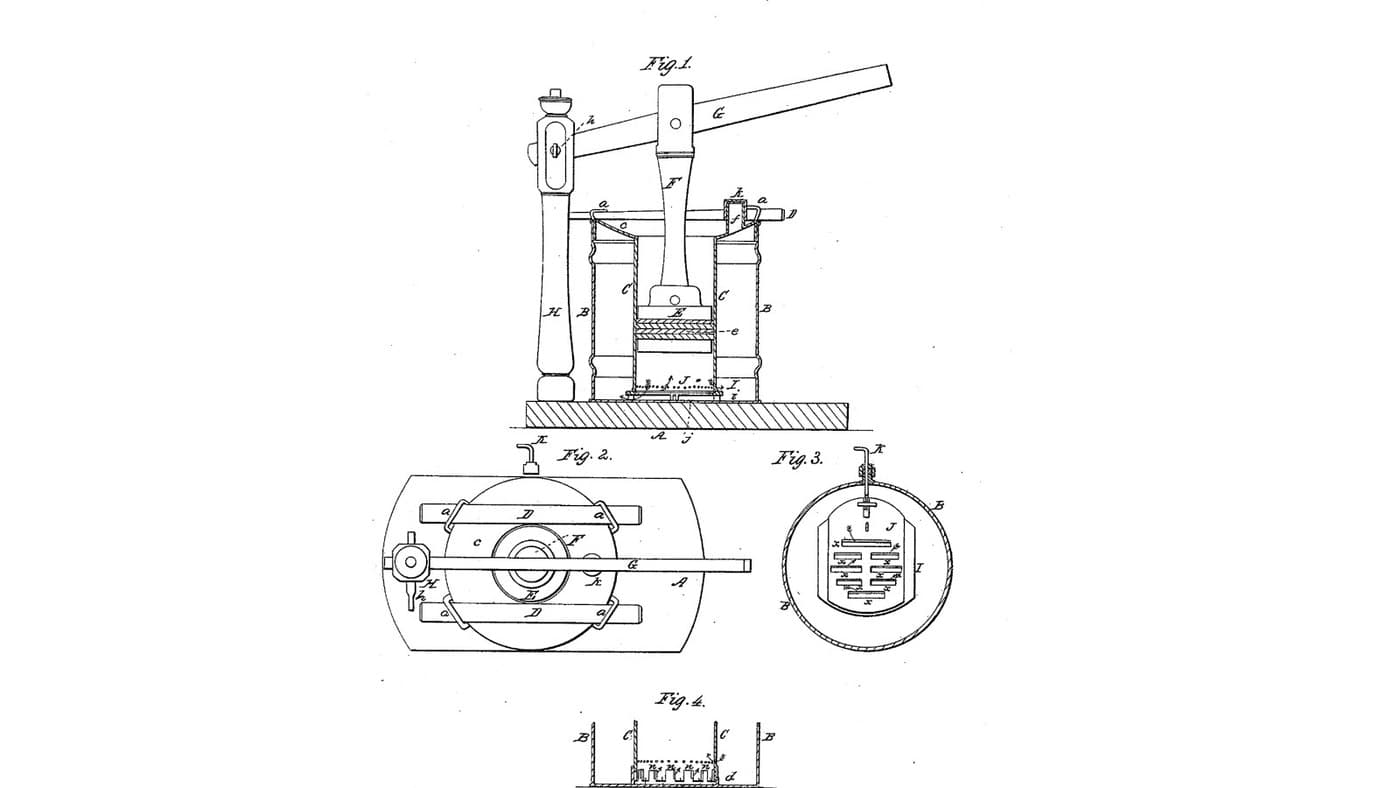
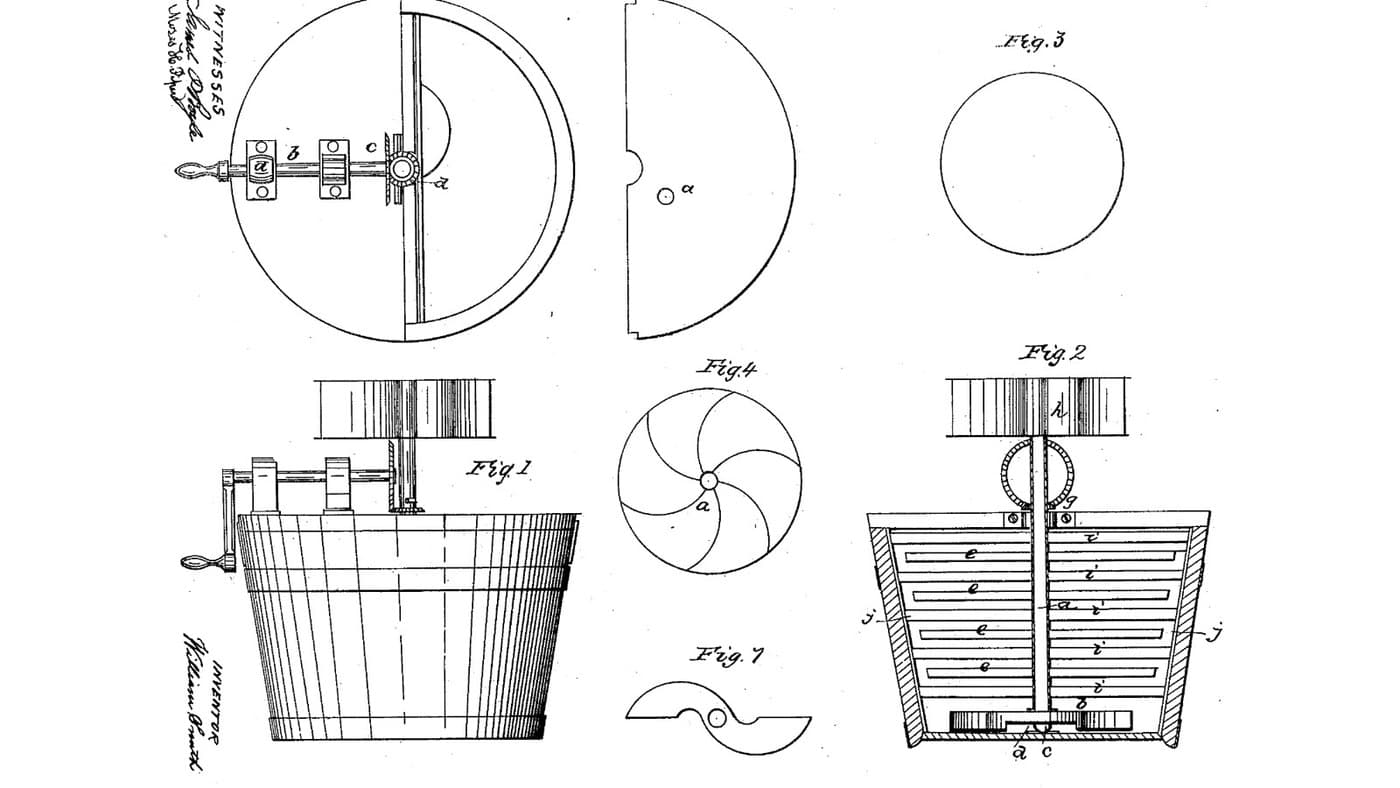
**A. L. Sperry** of Auburn, Indiana, US 25,285, 30 August 1859, "Churn". He claimed the arrangement of the hook i and button k with the dasher D and breaker frame E. He named Dickinson's churn of 31 January 1854 and T. B. Harper's of 27 April 1858 and disclaimed what they claimed. He gives no sizes, so every size here is ours. He calls his wheels G and H two similar bevel wheels; his Fig. 1 draws a large wheel and a small one, and we use a printed crown wheel and pinion in their place.

Materiali

19

Strumenti richiesti

21

File di progetto

4

CC0 Pubblico dominio

Questo progetto è rilasciato sotto CC0. Sei libero di copiare, modificare, distribuire e utilizzare quest'opera per qualsiasi scopo, senza chiedere permesso.

Supporta il Maker acquistando prodotti tramite il suo progetto dove guadagna una Commissione Maker stabilita dai venditori, oppure crea una nuova iterazione di questo progetto e includilo come collegamento nel tuo progetto per condividere i ricavi.

Commenti

(0)

Accedi per partecipare alla discussione

Caricamento commenti...