Collaborazione
ARTE
BELLEZZA E BENESSERE
MESTIERE
CULTURA E STORIA
DIVERTIMENTO
AMBIENTE
CIBO E BEVANDE
INGEGNERIA INVERSA
SCIENZE
SPORT
TECNOLOGIA
INDOSSABILI
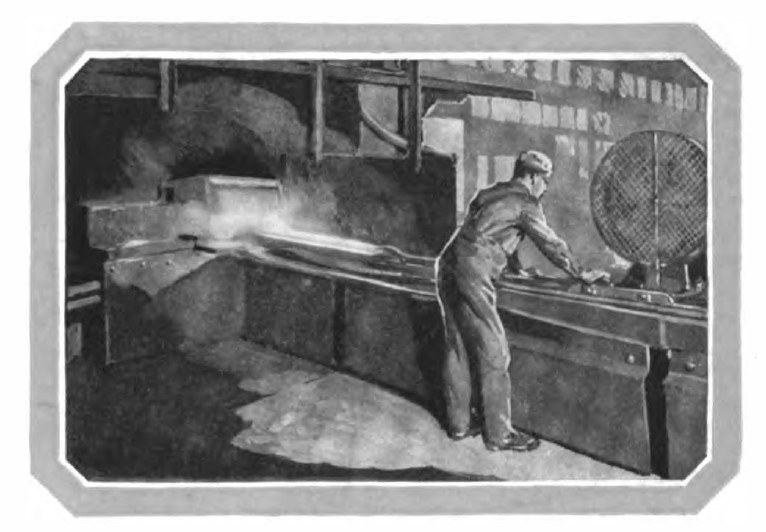


Steel Pipe: Butt-Welded Through a Bell, Sized, Threaded and Tested (National Tube Co., 1921)
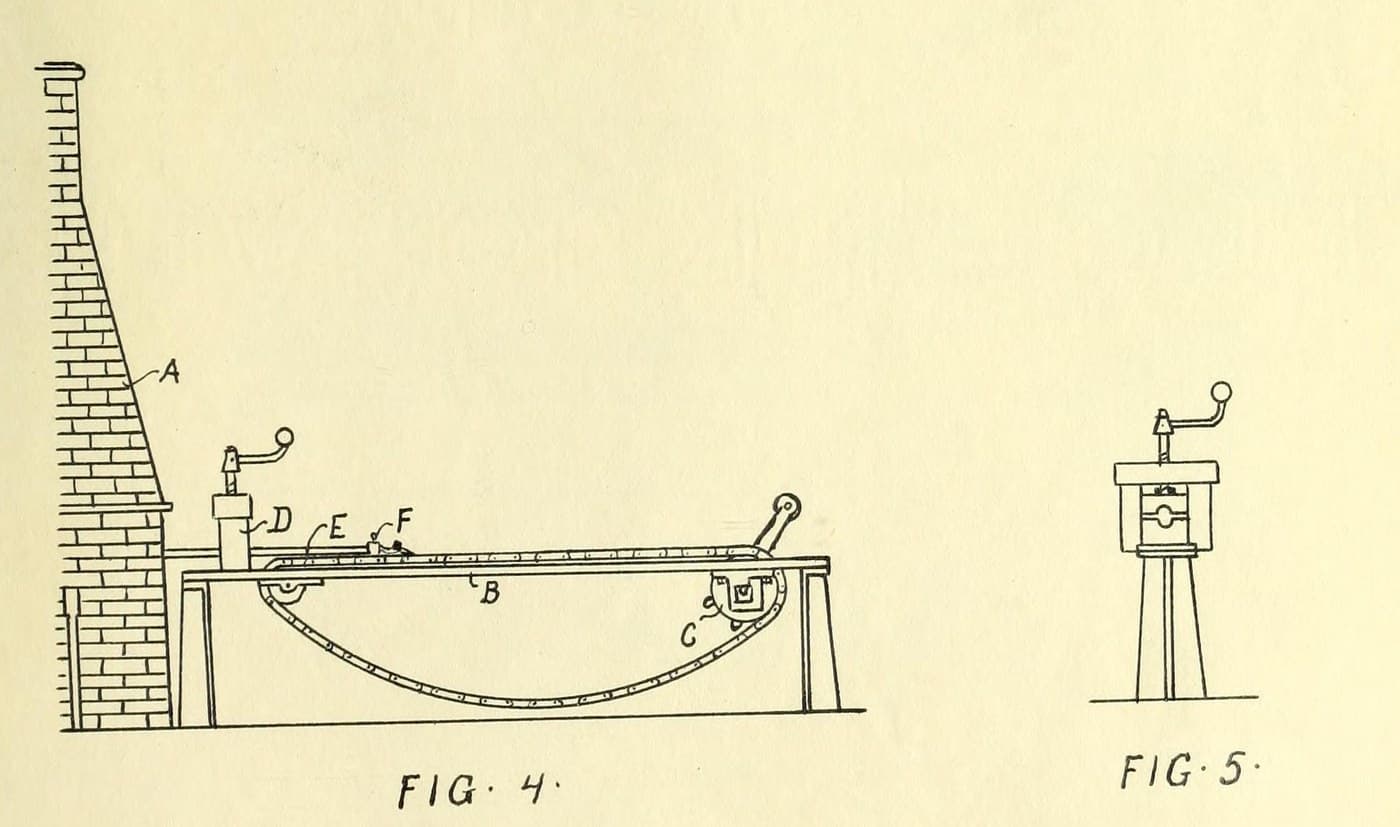
Butt-weld steel pipe, 1/8 to 3 inches, as National Tube made it in 1921: hot skelp is pulled by tongs and a draw-bench chain through a bell a little larger than the finished pipe, which curls it into a tube and presses its edges together into a weld. The pipe is then rolled to size, straightened, cleaned, threaded and pressure-tested.
Each length, 20 to 40 ft, is welded in one pull. Every pipe is tested inside at 700 to 800 lb per square inch.
Source: National Tube Co., "National" Modern Welded Pipe (1921), pp. 41-47. Picture: drawing butt-weld pipe.
Avanzato
Unknown
Istruzioni
1
1
Heat the skelp
Heat the skelp
Charge the skelp from the rear into a long welding furnace, a little longer than the skelp, with a narrow opening at each end, and bring it to welding heat.
Materiali per questo passaggio:
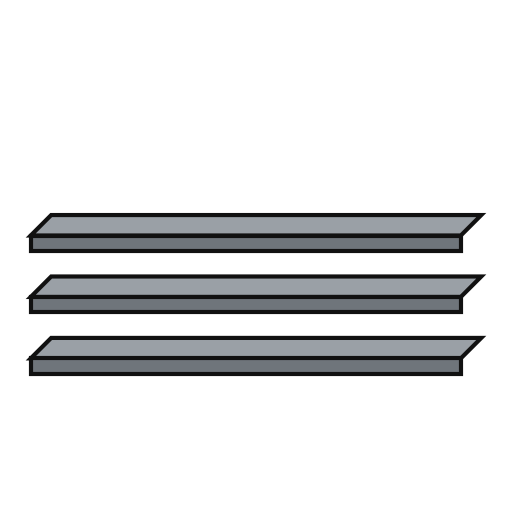 Nastro d’acciaio per tubi1 one piece per length of pipe
Strumenti necessari:
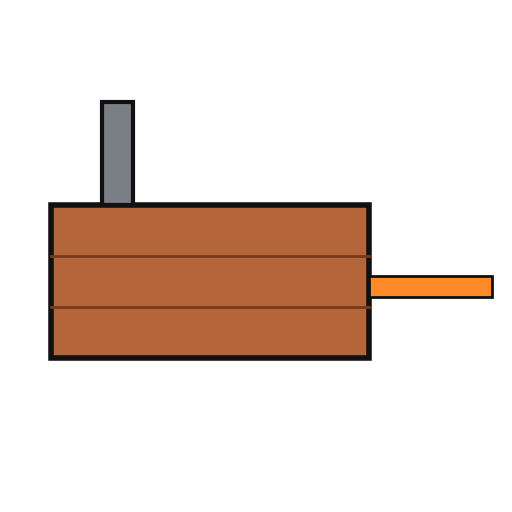 Forno di saldatura
2
2
Draw it through the bell
Draw it through the bell
Grip the trimmed end with long-handled tongs and pull it through a die, or bell, slightly larger than the finished pipe. Hook the tongs to the travelling chain of the draw bench, which pulls the whole length (20 to 40 ft) through. The skelp is a little wider than the bell's inside circumference, so it curls into a tube and its edges butt squarely and weld. Some sizes go through two bells at one heat, the second slightly smaller.
Strumenti necessari:
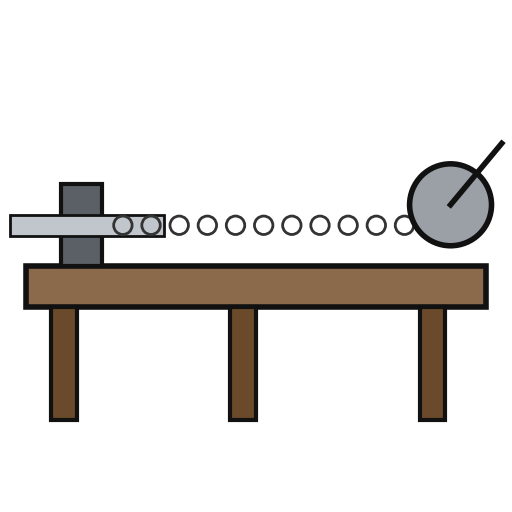 Banco di trafila
 Tenaglia da forgiaForno di saldatura
3
3
For Double Extra Strong pipe
For Double Extra Strong pipe
Thick skelp needs so great a pull that a strong bar is welded on its end as a 'bait' for the tongs. Draw it several times through bells of decreasing size, reheating between draws, so the seam is thoroughly welded.
Strumenti necessari:
Banco di trafilaTenaglia da forgiaForno di saldatura4
4
Size and round
Size and round
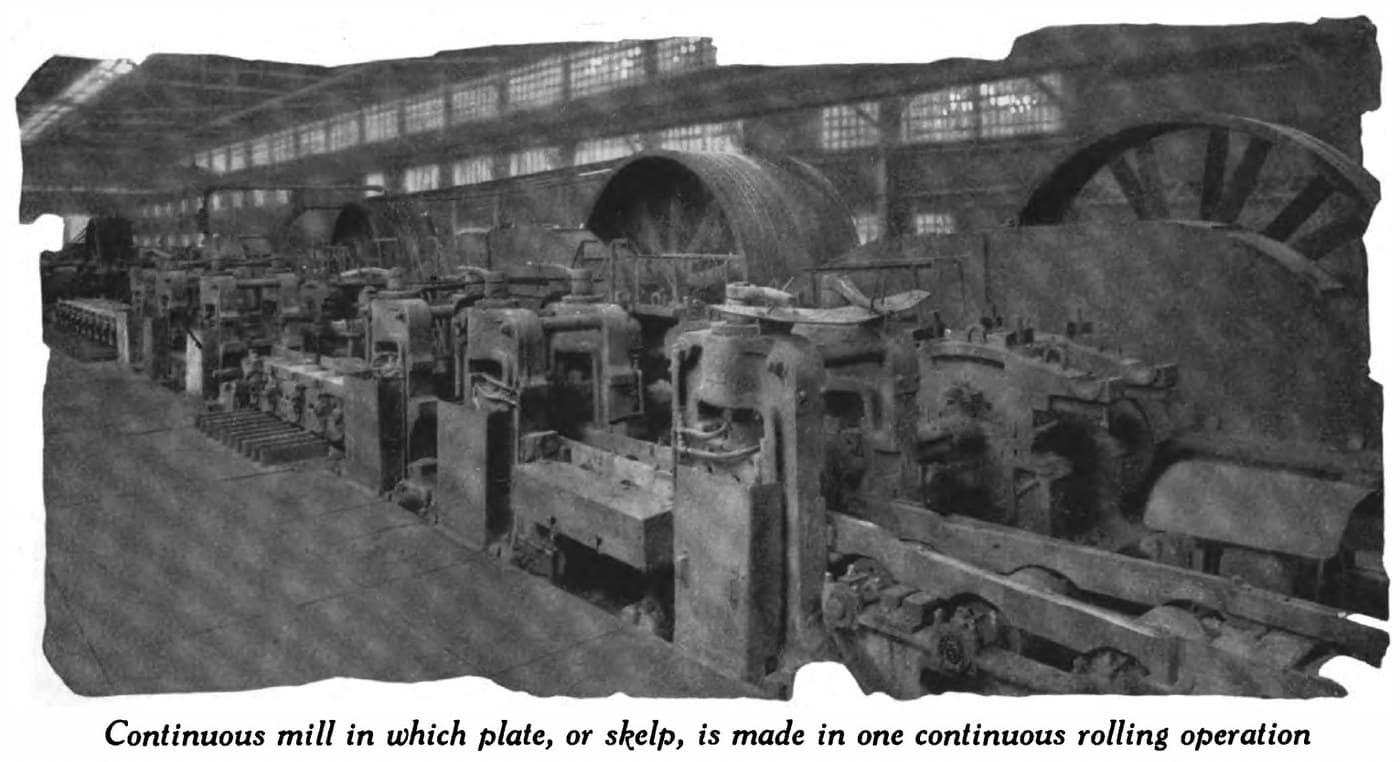
Pass the pipe through sizing rolls, which reduce it slightly, lengthen it and loosen the heavy welding scale. Then roll it to its finished size and circular shape, which removes the scale and leaves the walls smooth.
Strumenti necessari:
 Laminatoio
5
5
Cool, straighten and clean
Cool, straighten and clean
Let the pipe cool slowly as it crosses a table, then straighten and smooth it in cross rolls. Wash off the loosened scale in a tank; blow it out of the smaller sizes with compressed air.
Strumenti necessari:
Laminatoio Acqua
 Compressore d'aria
6
6
Cut, thread and test
Cut, thread and test
Cut off a short length at each end, where the tong jaws crushed it. Thread the pipe, then test it inside with water at 700 to 800 lb per square inch to prove the wall and the weld. Ours: hacksaw, die set and hand test pump; the booklet does not say how the ends are cut or threaded.
Strumenti necessari:
 Seghetto per metalli
 Serie di maschi e filiere
 Pompa manuale di prova in pressione
Materiali
1- 1 one piece per length of pipeSegnaposto
Strumenti richiesti
9- Segnaposto
- Segnaposto
- Segnaposto
- Segnaposto
- Segnaposto
- 1 vendor sell this, none ship to you yetSegnaposto
- Segnaposto
- Segnaposto
- Segnaposto
Materiali dei progetti collegati
Questo progetto realizza

CC0 Pubblico dominio
Questo progetto è rilasciato sotto CC0. Sei libero di copiare, modificare, distribuire e utilizzare quest'opera per qualsiasi scopo, senza chiedere permesso.
Supporta il Maker acquistando prodotti tramite il suo progetto dove guadagna una Commissione Maker stabilita dai venditori, oppure crea una nuova iterazione di questo progetto e includilo come collegamento nel tuo progetto per condividere i ricavi.