ARTE
BELLEZZA E BENESSERE
MESTIERE
CULTURA E STORIA
DIVERTIMENTO
AMBIENTE
CIBO E BEVANDE
INGEGNERIA INVERSA
SCIENZE
SPORT
TECNOLOGIA
INDOSSABILI
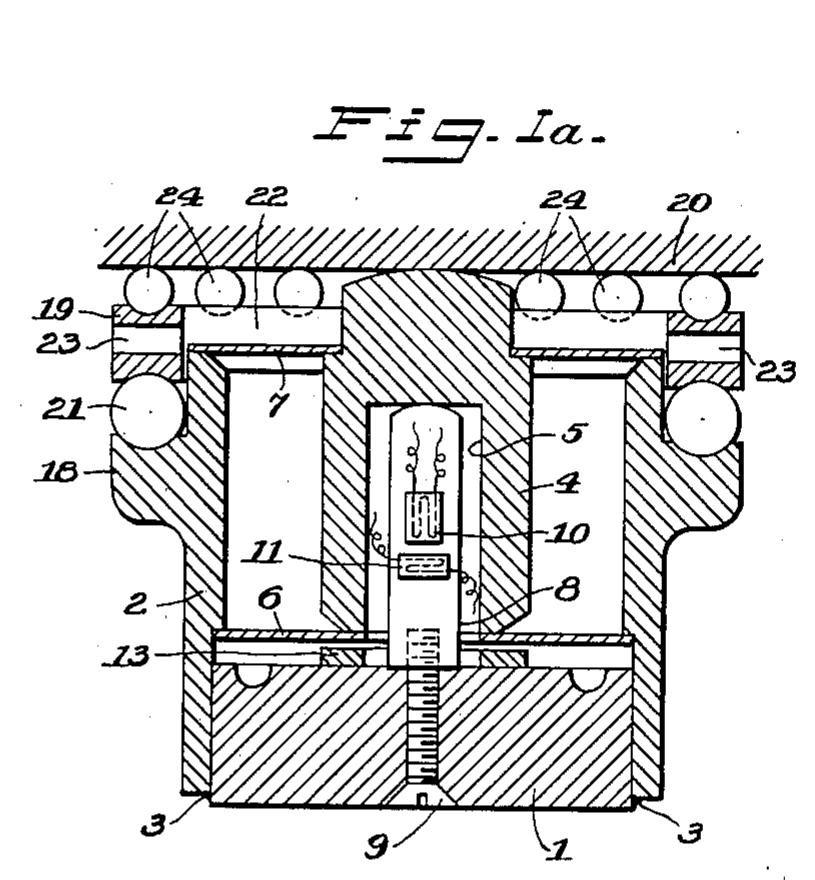


Strain-Gauge Load Cell with Floating Piston: Ruge, 1949
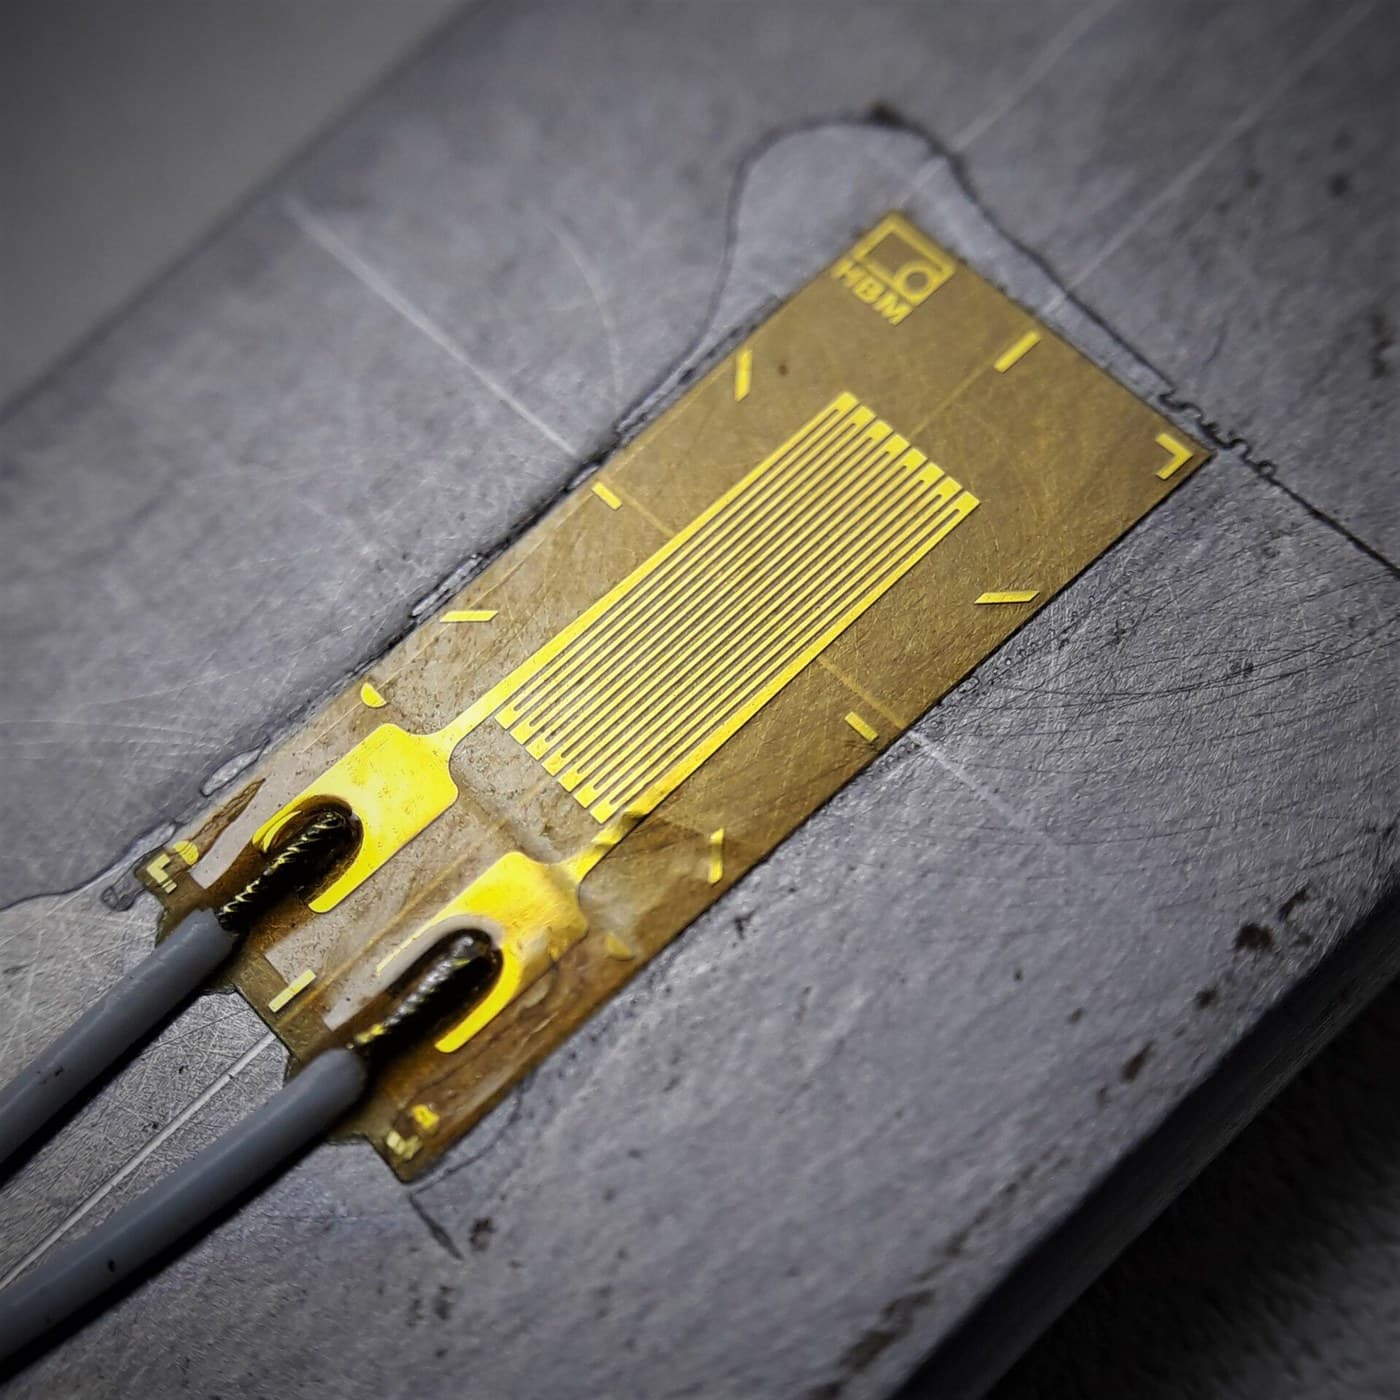
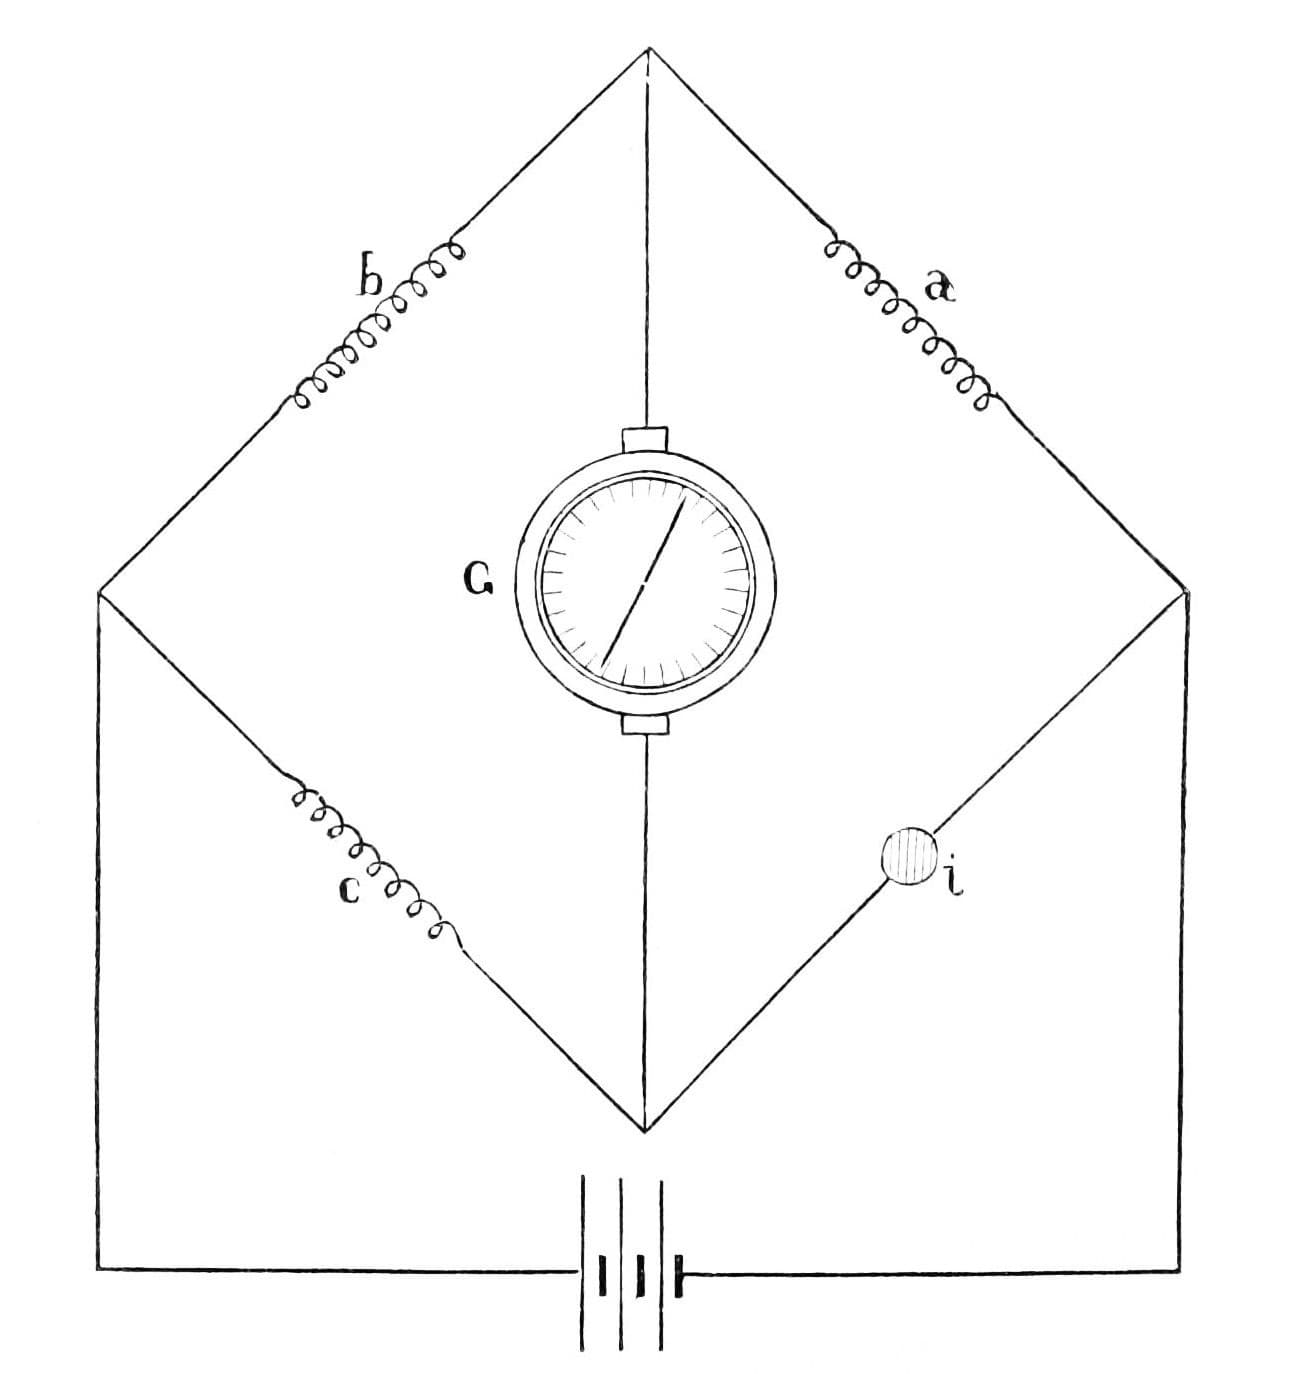
Arthur C. Ruge of Cambridge, Massachusetts, one of the two inventors of the bonded wire strain gauge, patented this load weighing cell in 1949, US 2,472,047 (filed 1946). Tanks, bins and scales rest on such cells so the weight of their contents can be read at any time. A floating piston, held in a heavy shell by two diaphragms, passes the load straight down onto a column carrying bonded strain gauges, so tilted, off-centre and twisting loads barely affect the reading. The gauges' change of resistance can be read on a Wheatstone bridge.
Avanzato
Workshop process
Istruzioni
1
1
Base and shell
Base and shell
Weld a rigid, preferably cylindrical shell to a relatively heavy base, or secure it some other way.
Materiali per questo passaggio:
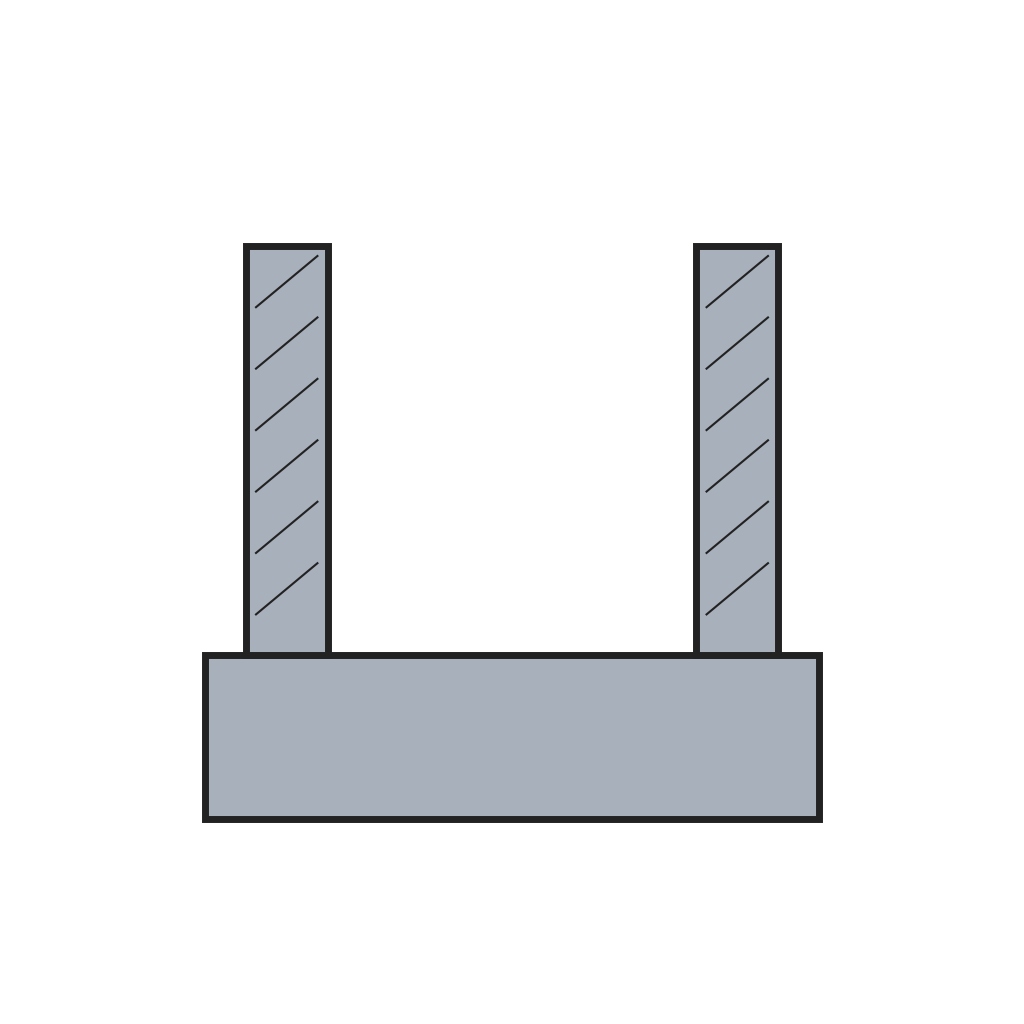 Base e involucro cilindrico della cella di carico1 pezzo
Strumenti necessari:
 Saldatrice ad arco
2
2
Load column and gauges
Load column and gauges
Screw the lower end of the load-sensitive column rigidly to the base; round its upper end to a half-sphere. Bond wire strain gauges to its surface at several points around it, so bending cancels out, and mount gauges of the same type crosswise for temperature compensation. The column may be round, but square, solid or hollow, makes the gauges easier to apply. Its capacity is set by its cross-section and the stiffness of its material.
Materiali per questo passaggio:
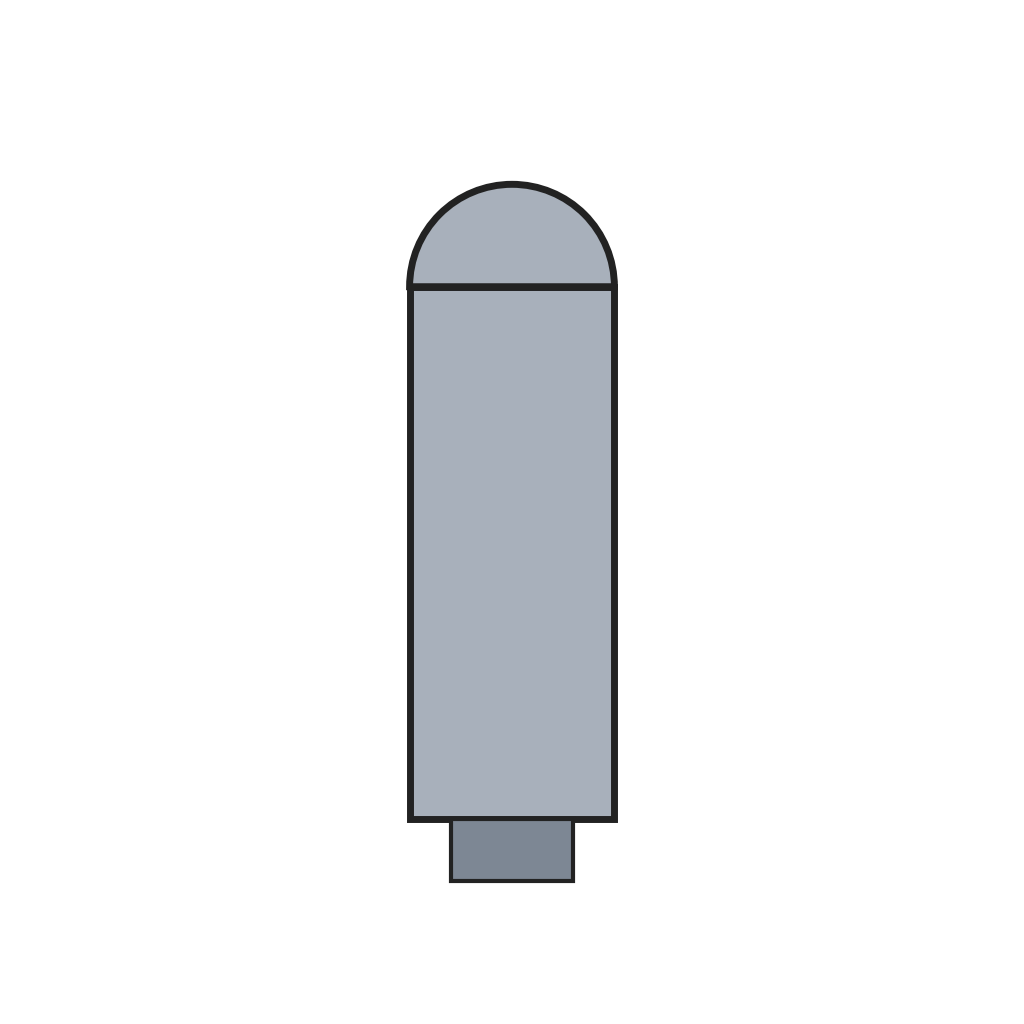 Colonna sensibile al carico1 pezzo
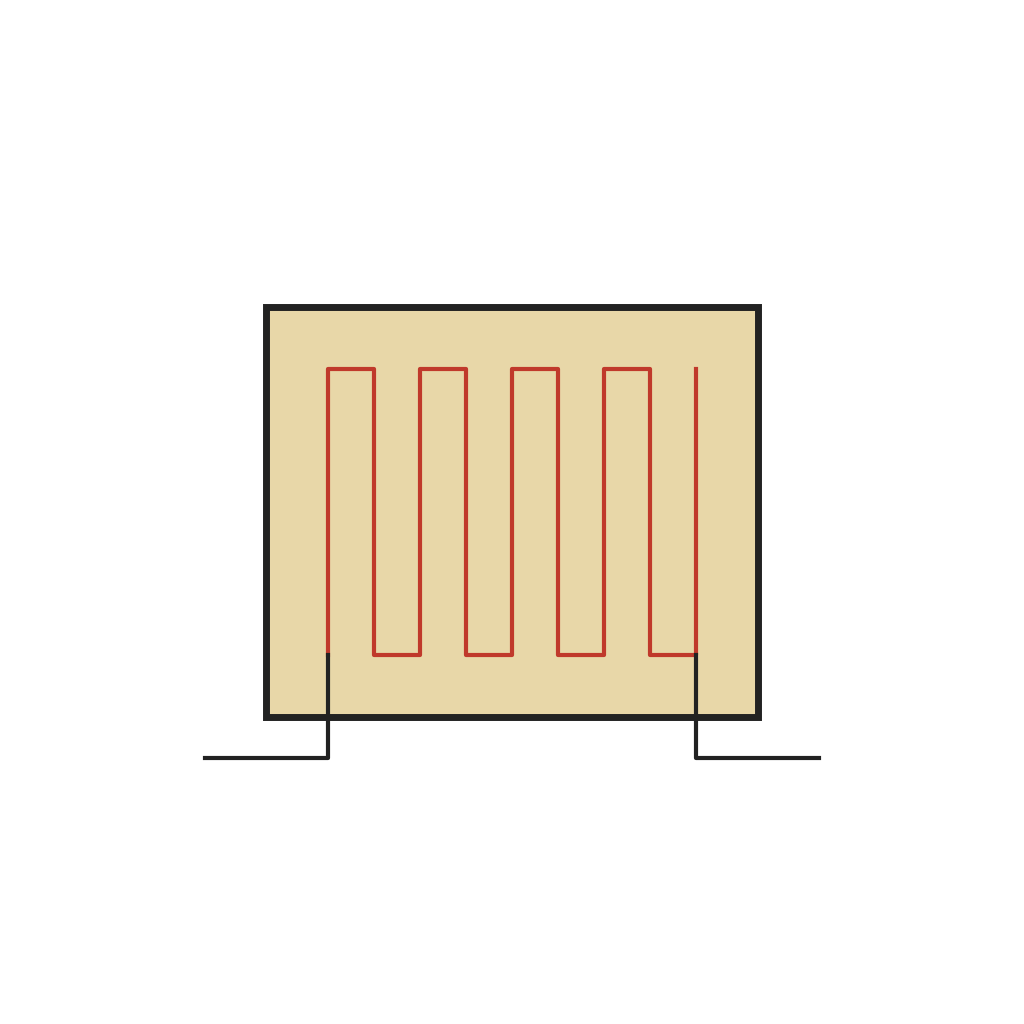 Estensimetro a filo incollato1 set
Strumenti necessari:
 Set di cacciaviti
3
3
Floating piston
Floating piston
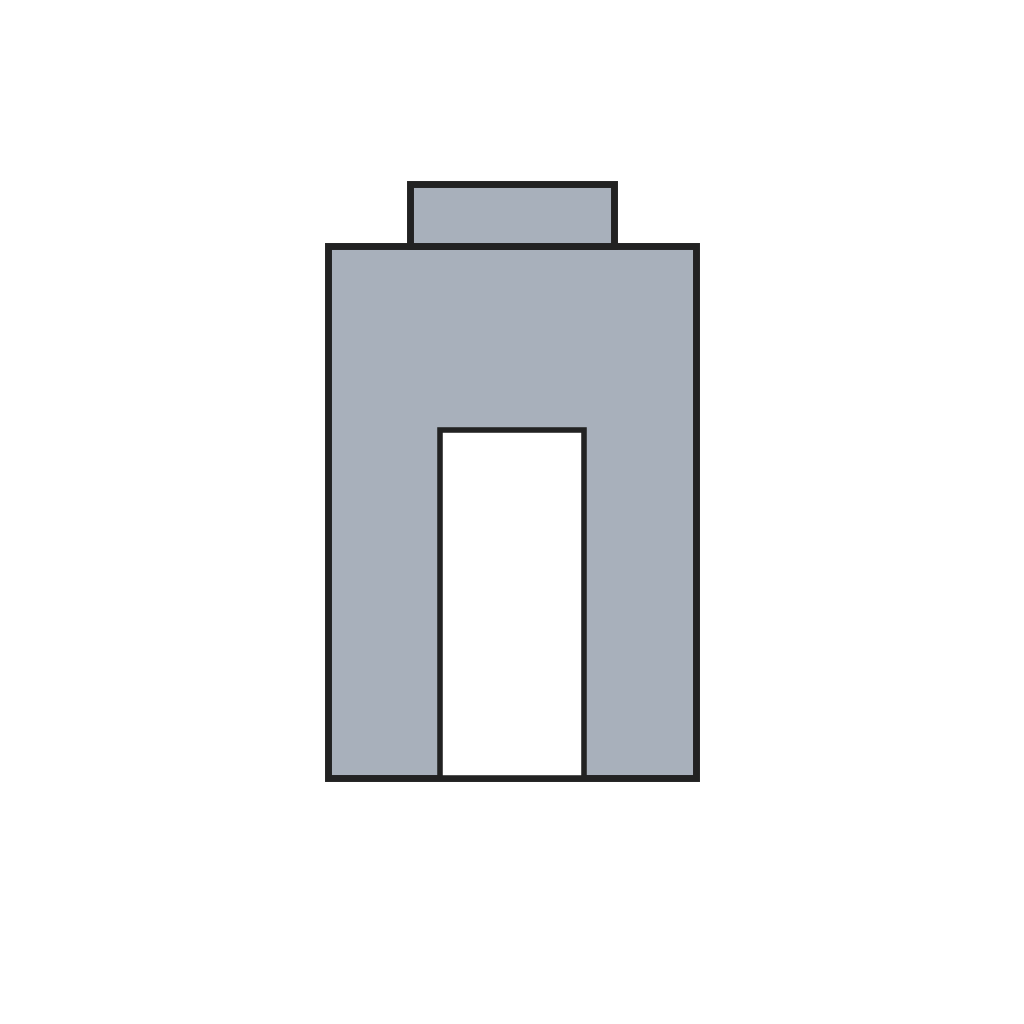
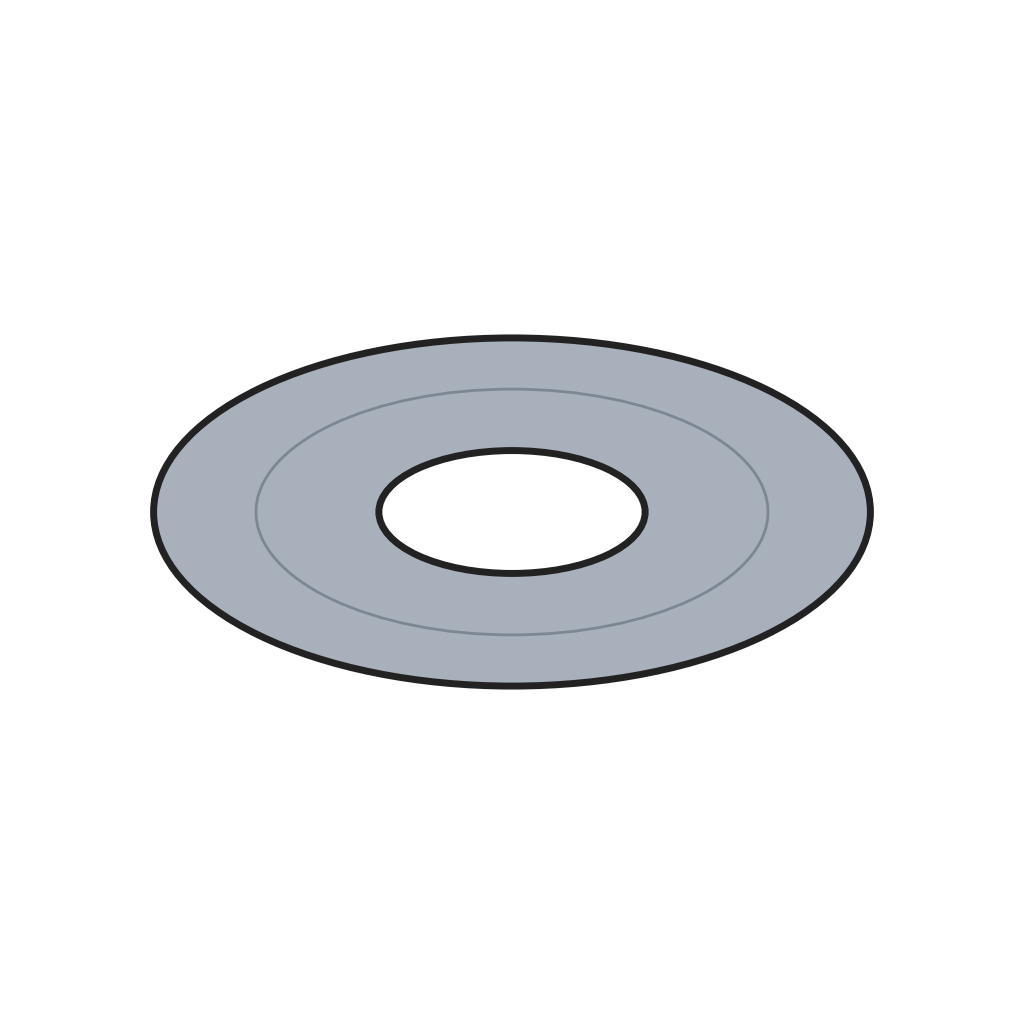
Bore the piston so the column reaches up inside it and its rounded end bears on the end of the bore. Centre the piston in the shell with two annular diaphragms, upper and lower, welded or brazed to piston and shell: widely spaced, they let it move freely up and down but resist side loads and off-centre loads.
Materiali per questo passaggio:
 Pistone di carico flottante1 pezzo
 Diaframma di guida anulare2 pezzi
Strumenti necessari:
 Tornio per metalliSaldatrice ad arco
4
4
Overload ring and leads
Overload ring and leads
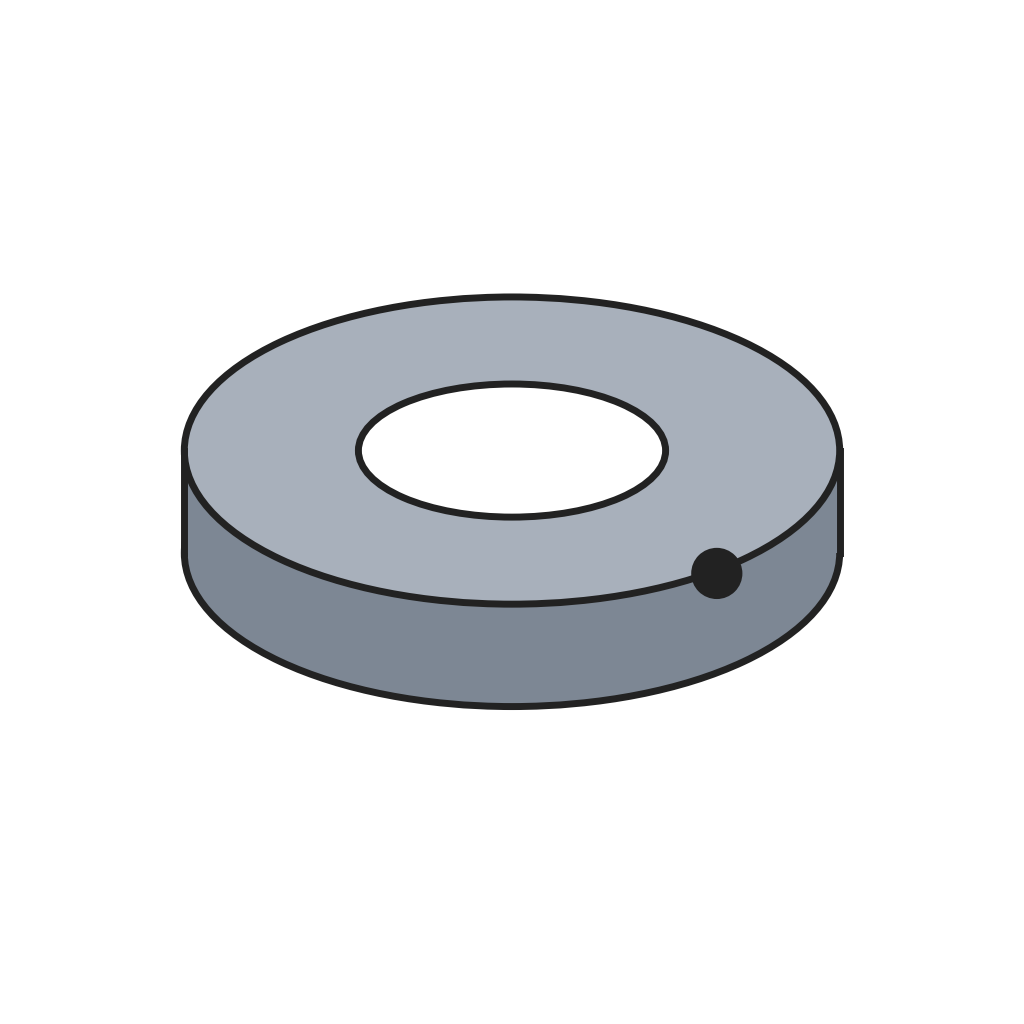
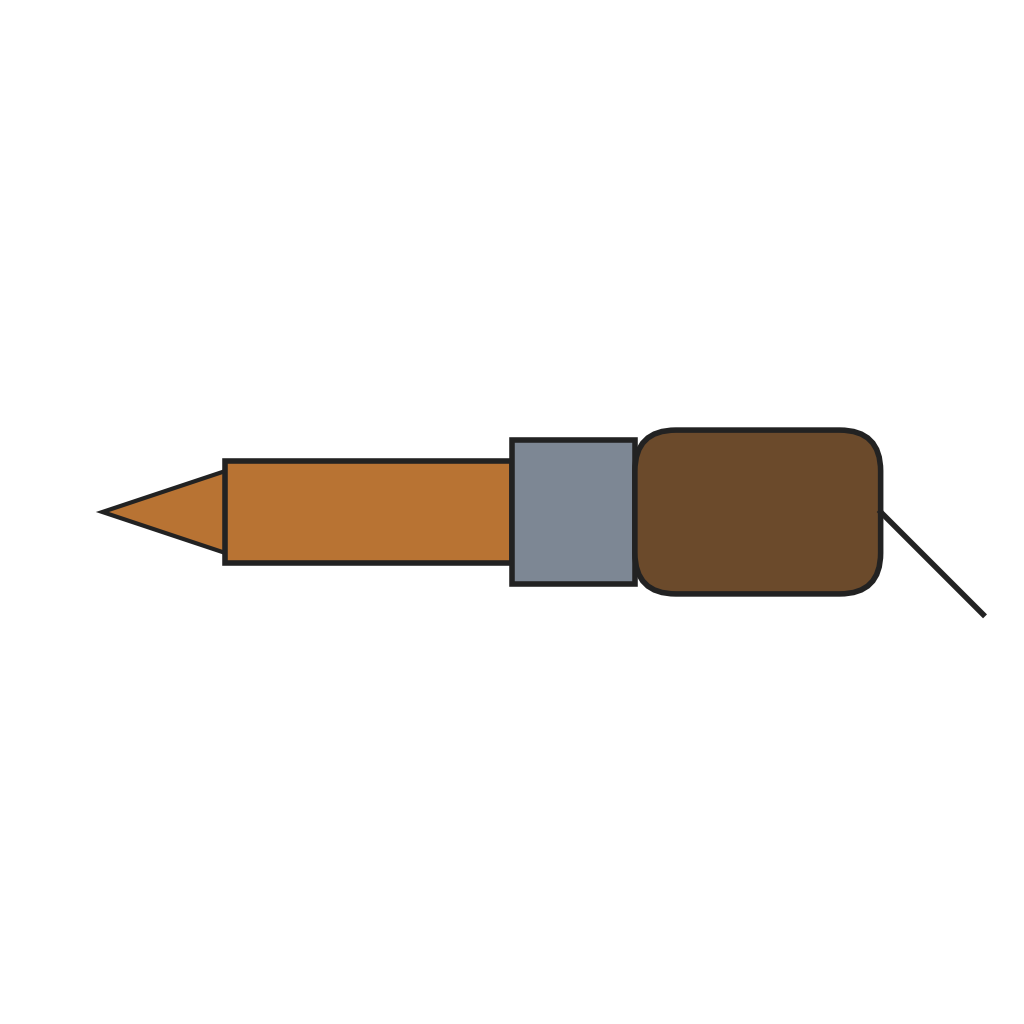
Set a safety ring under the piston with a small clearance: past a safe load, the piston lands on it and the excess goes straight to the base. Bring the gauge leads down through a hole in the ring and out through the lower diaphragm to an external cable. The gauges may be wired as a Wheatstone bridge. The cell can be sealed all round by brazing, or potted.
Materiali per questo passaggio:
 Anello di sicurezza contro il sovraccarico1 pezzo
 Cavo multipolare1 pezzo
 Filo per saldatura1 as required
Strumenti necessari:
 Saldatore elettrico
 Spelafili
5
5
Zero check
Zero check
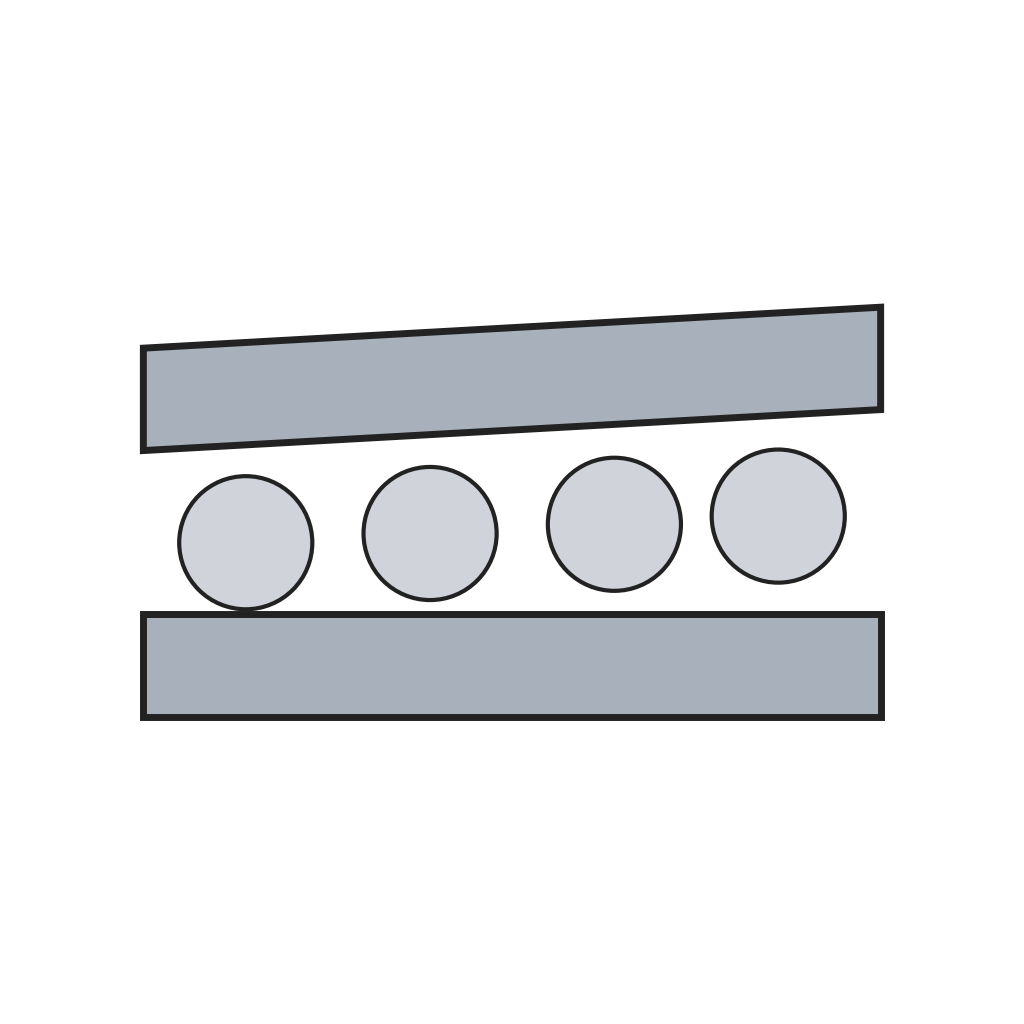
To read the zero without moving the tank, seat a fixed ball race on top of the shell and a turning race above it, with balls between on a slightly inclined cam surface and a second row of balls under the loaded surface. Turning the upper race with a bar or spanner lifts the load a few thousandths of an inch off the piston; read the bridge, then turn it back.
Materiali per questo passaggio:
 Coppia di piste a sfere con camma1 pezzo
 Cuscinetti a sfere in acciaio1 set
Strumenti necessari:
 Chiave a rullino
Materiali
10- Segnaposto
- 1 pezzoSegnaposto
- Segnaposto
- 1 pezzoSegnaposto
- 2 pezziSegnaposto
- Segnaposto
- 1 pezzoSegnaposto
- 1 as requiredSegnaposto
- Segnaposto
- Segnaposto
Strumenti richiesti
6- Segnaposto
- Segnaposto
- Segnaposto
- Segnaposto
- Segnaposto
- Segnaposto
Questo progetto realizza
Blueprint correlati
Questi blueprint condividono conoscenze — tecniche, materiali o principi

CC0 Pubblico dominio
Questo progetto è rilasciato sotto CC0. Sei libero di copiare, modificare, distribuire e utilizzare quest'opera per qualsiasi scopo, senza chiedere permesso.
Supporta il Maker acquistando prodotti tramite il suo progetto dove guadagna una Commissione Maker stabilita dai venditori, oppure crea una nuova iterazione di questo progetto e includilo come collegamento nel tuo progetto per condividere i ricavi.