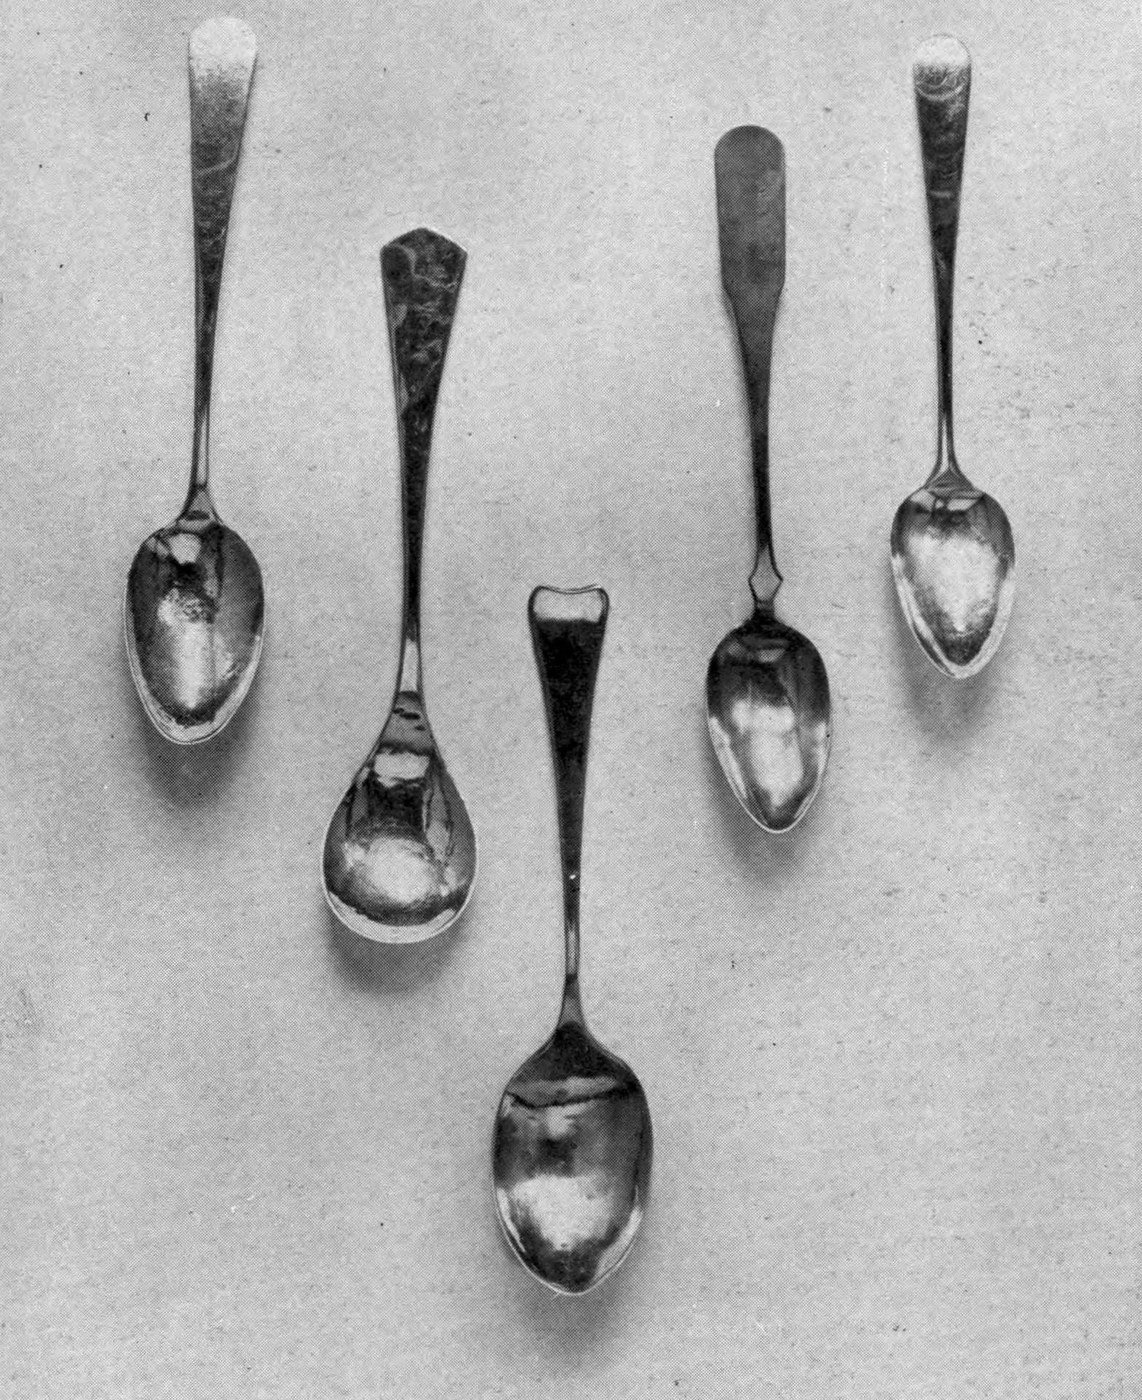


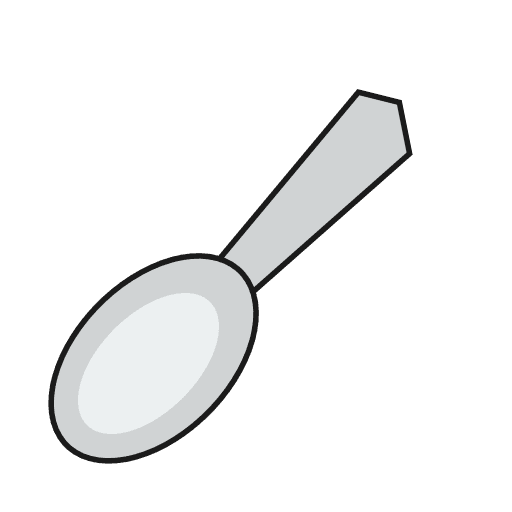
Teaspoon Forged from a Silver Bar (Payne 1914)
Istruzioni
Cut the silver bar
Cut the silver bar
Materiali per questo passaggio:
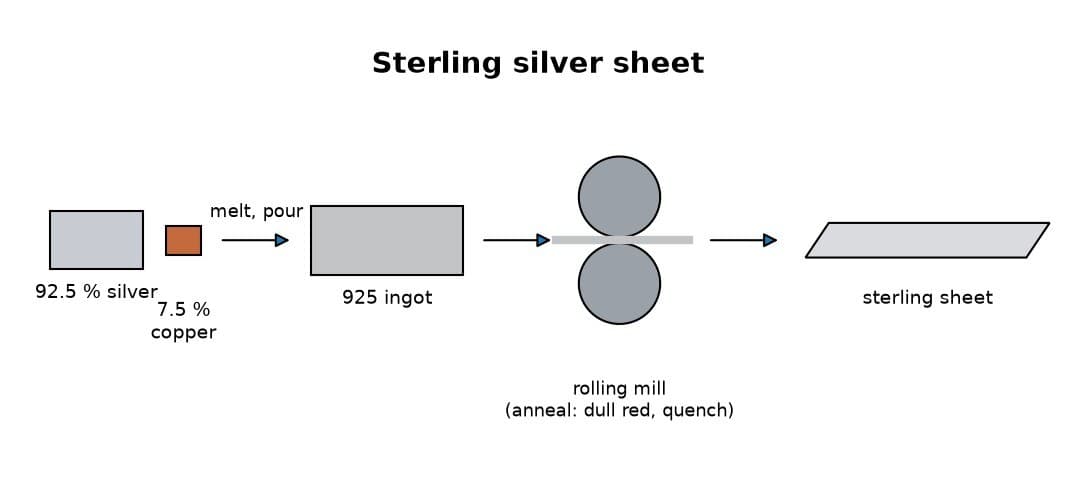
 Lamiera d'argento sterling1 piece 4 × ½ × ⅛ in
Strumenti necessari:
 Punta da tracciare
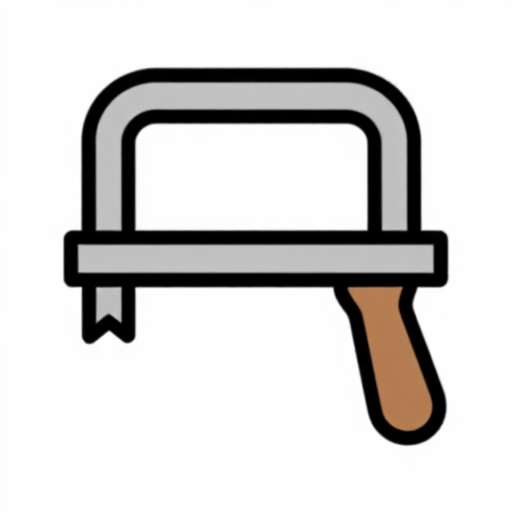 Sega da orafo
Forge out the bowl
Forge out the bowl
Strumenti necessari:
 Becco Bunsen
 Pinze
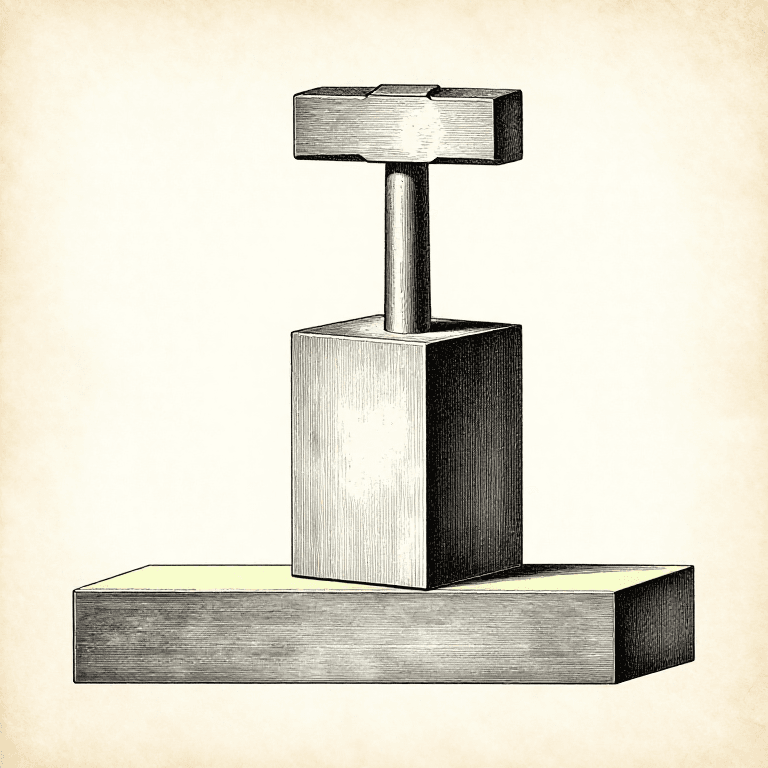
 Incudine
 Martello
Work bowl, then shank and handle
Work bowl, then shank and handle
Strumenti necessari:
IncudineMartelloAnneal and repeat
Anneal and repeat
Materiali per questo passaggio:
 Acqua1 as required
Strumenti necessari:
Becco BunsenPinze Recipiente di vetro
Trim with shears and file
Trim with shears and file
Strumenti necessari:
 Cesoie per lamiera pesanti
 Lime (lima a mano)
Polish out the file marks
Polish out the file marks
Strumenti necessari:
 Tela smeriglio
Anneal to even the fire scale
Anneal to even the fire scale
Materiali per questo passaggio:
Acqua1 as requiredStrumenti necessari:
Becco BunsenPinzeRecipiente di vetroPlanish with smooth hammers
Planish with smooth hammers
Strumenti necessari:
 Martello da spianareIncudine
 Picchetto
Final polish with rouge
Final polish with rouge
Strumenti necessari:
 Panno per lucidare i gioielli
 Rosso da gioielliere
Materiali
2- 1 piece 4 × ½ × ⅛ inSegnaposto
- 2 as requiredSegnaposto
Strumenti richiesti
14- Segnaposto
- Segnaposto
- Segnaposto
- Segnaposto
- Segnaposto
- Segnaposto
- Segnaposto
- Segnaposto
- Segnaposto
- Segnaposto
- Segnaposto
- Segnaposto
- Segnaposto
- Segnaposto
Questo progetto realizza
Blueprint correlati
Questi blueprint condividono conoscenze — tecniche, materiali o principi
CC0 Pubblico dominio
Questo progetto è rilasciato sotto CC0. Sei libero di copiare, modificare, distribuire e utilizzare quest'opera per qualsiasi scopo, senza chiedere permesso.
Supporta il Maker acquistando prodotti tramite il suo progetto dove guadagna una Commissione Maker stabilita dai venditori, oppure crea una nuova iterazione di questo progetto e includilo come collegamento nel tuo progetto per condividere i ricavi.