ARTE
BELLEZZA E BENESSERE
MESTIERE
CULTURA E STORIA
DIVERTIMENTO
AMBIENTE
CIBO E BEVANDE
INGEGNERIA INVERSA
SCIENZE
SPORT
TECNOLOGIA
INDOSSABILI
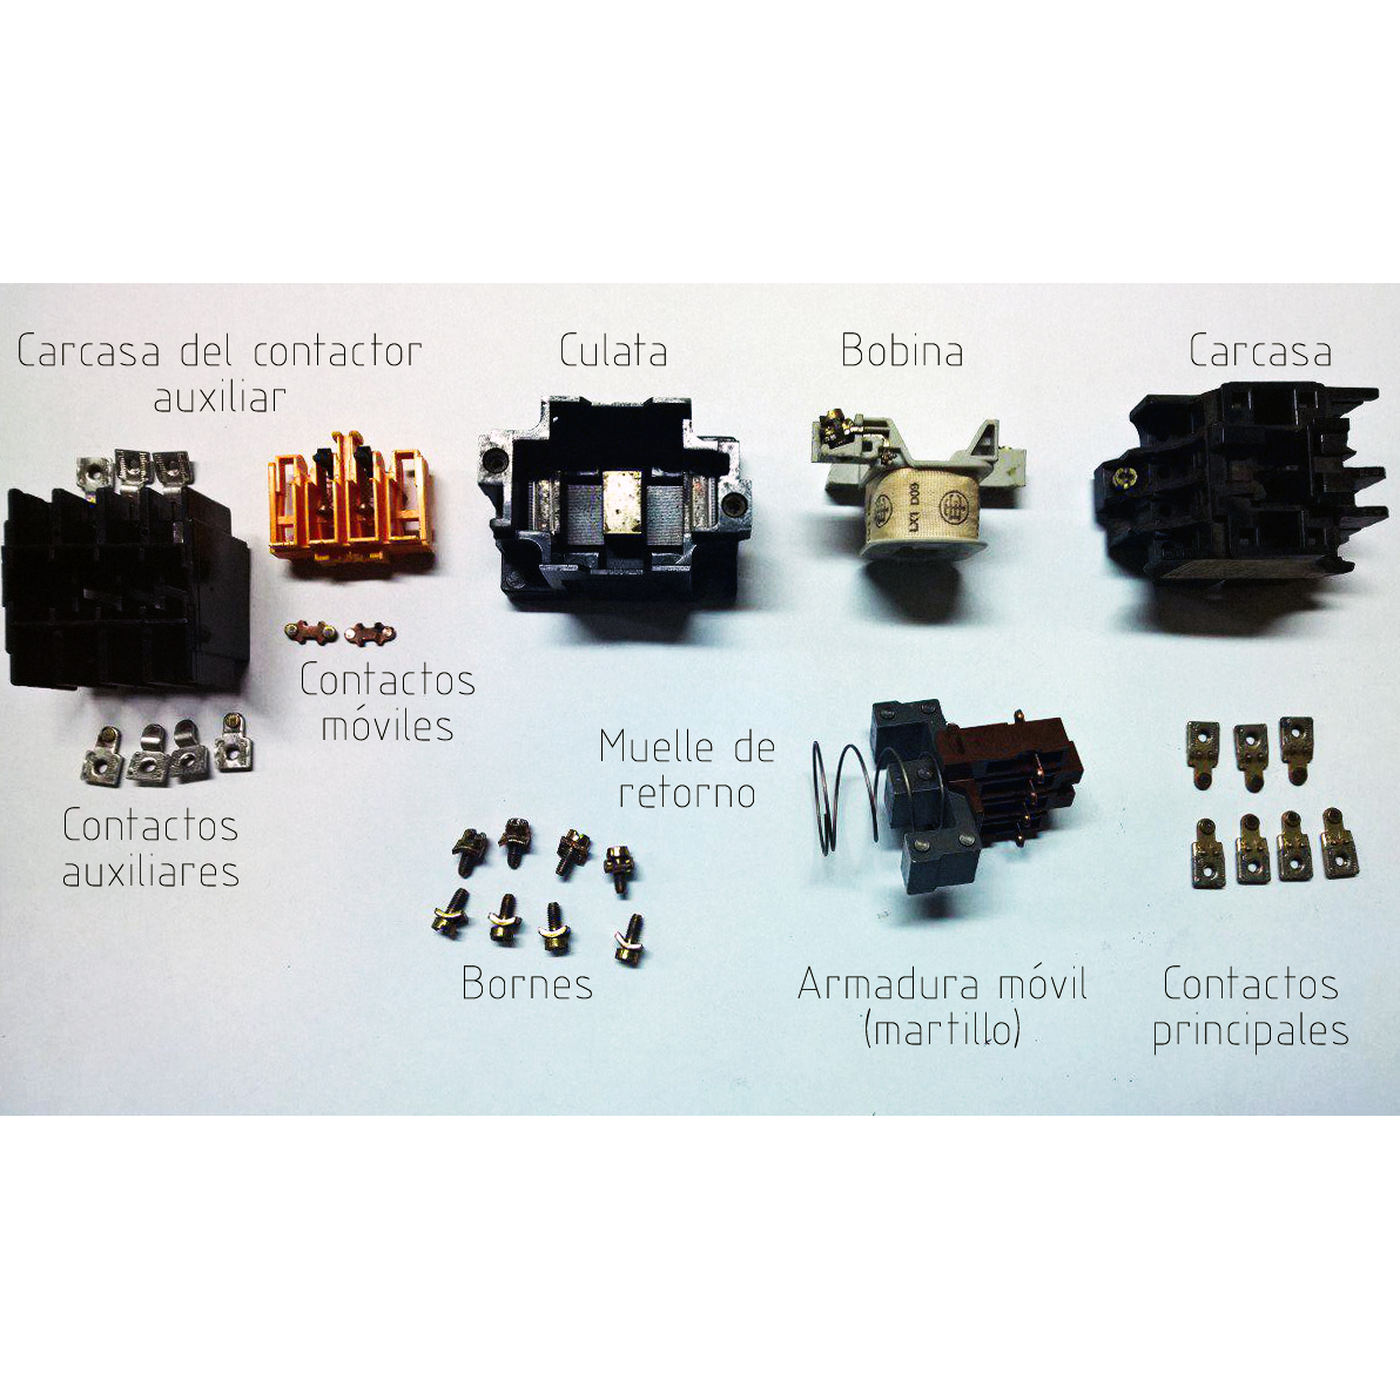


The Contactor: A Relay That Remembers to Stay Off
A motor's supply is too heavy for a hand switch to make and break safely, and a machine that starts by itself when the power returns can kill. The contactor answers both: a heavy relay whose main contacts switch the motor, controlled by a start button, a stop button and one of its own auxiliary contacts that holds it in once started.
That one extra contact — the seal-in — turns the relay into a memory. Press Start and it latches. Press Stop, or lose the supply for a moment, and it drops out and stays out until someone presses Start again. The same circuit, with an overload relay added, is the motor starter on almost every machine.
This rung simulates two- and three-wire control through a power cut, works out why a contactor holds at a lower voltage than it needs to pull in, and wires a working start/stop station on the bench.
Principiante
About 3 hours
Istruzioni
1
1
Seal-in logic, power cuts and pull-in voltage
Seal-in logic, power cuts and pull-in voltage
Caricamento del notebook Jupyter…
2
2
The start/stop station, step by step
The start/stop station, step by step
Spazio di lavoro Blockly
Loading Blockly workspace...
3
3
The seal-in is an OR with memory
The seal-in is an OR with memory
Start OR seal-in, AND NOT Stop: the starter is relay logic. The embedded blueprint builds the gates it is made of.
4
4
Wire a start/stop station at 12 V
Wire a start/stop station at 12 V
Use a 12 V relay with a changeover contact as the contactor: its coil is the contactor coil, one contact carries the load, and — for the seal-in — use a second relay driven from the same coil supply, or a relay with two sets of contacts.
Wire, from the 12 V supply: the **Stop** button (normally closed) → then **Start** (normally open) and the seal-in contact in parallel → the relay coil → 0 V. Wire the load contact to a geared DC motor through its own fused 12 V feed.
Press Start: the motor runs and keeps running when you let go. Press Stop: it stops. Start it again, then switch the power supply off and on: it stays stopped. Now remove the seal-in wire and wire a toggle switch in place of Start and Stop — two-wire control — and repeat the power cut: this time it restarts by itself.
Materiali per questo passaggio:
 Relè SPDT2 pezzi
 Pulsante2 pezzi
 Motoriduttore in corrente continua1 pezzo
 Cavetti ponticello1 pezzo
 Portafusibile CC1 pezzo
Strumenti necessari:
 Alimentatore in corrente continua
 Multimetro
 Saldatore a stagno
 Cavetti di prova con pinze a coccodrillo
5
5
A starter that will not start or will not stay in
A starter that will not start or will not stay in
Motor starter faults, from the control circuit outwards.
Flow
Loading...
6
6
Context and honest limits
Context and honest limits
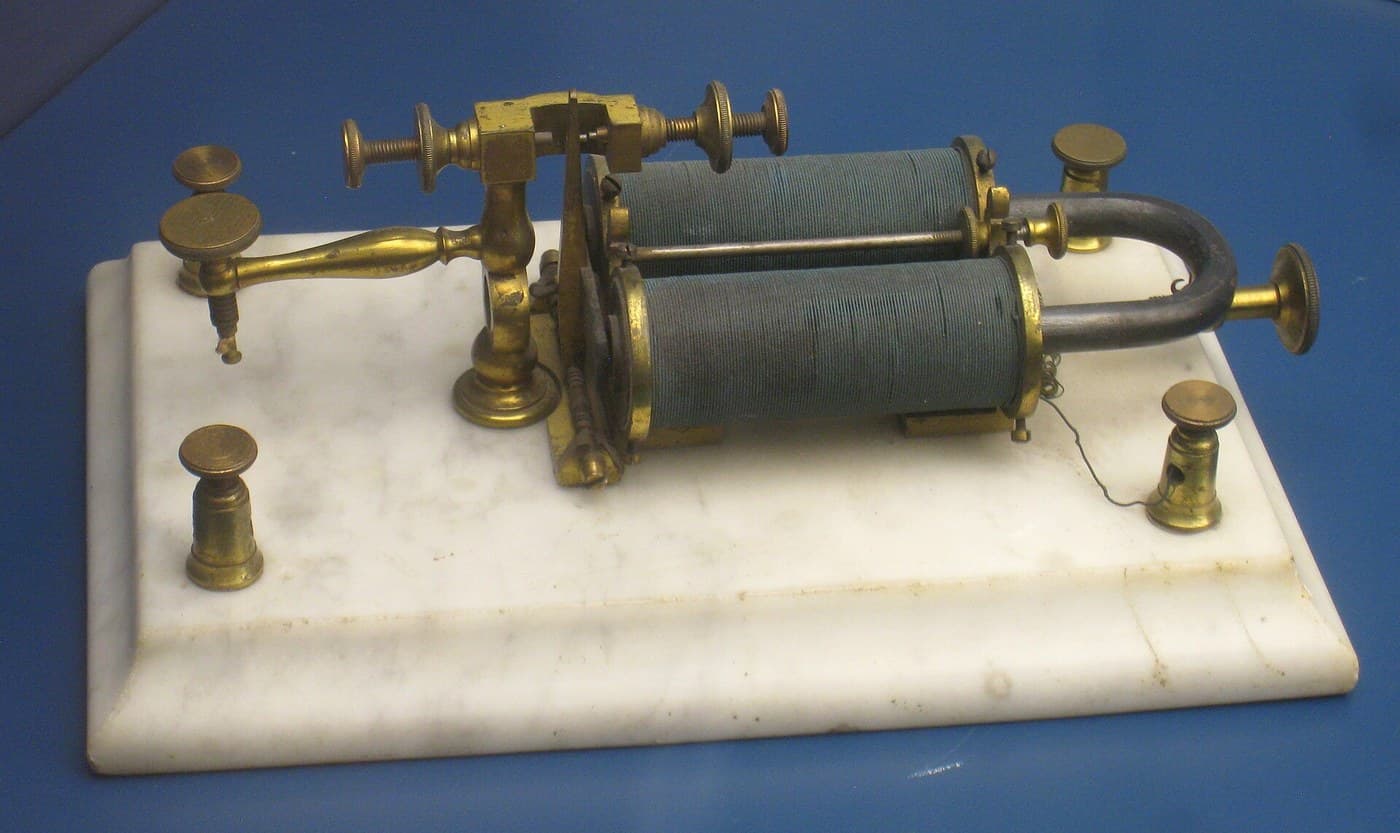
Magnetic motor starters with start and stop push buttons and a hold-in contact became the standard way to control industrial motors in the first half of the twentieth century, and the three-wire circuit is still drawn the same way in every motor-control manual.
**Honest limits.** A 12 V relay shows the logic, not the job: a real contactor's main contacts must break motor current, and mains and three-phase supplies must be wired only by someone qualified to do it. The pull-in figures in the notebook use the same air-gap-only magnet model as the solenoid valve and overstate the pull.
Materiali
5- 2 pezziSegnaposto
- Segnaposto
- Segnaposto
- Segnaposto
- 1 pezzoSegnaposto
Strumenti richiesti
4- Segnaposto
- Segnaposto
- 2 vendors sell this, none ship to you yetSegnaposto
- Segnaposto
Questo progetto realizza

Blueprint correlati
Questi blueprint condividono conoscenze — tecniche, materiali o principi

CC0 Pubblico dominio
Questo progetto è rilasciato sotto CC0. Sei libero di copiare, modificare, distribuire e utilizzare quest'opera per qualsiasi scopo, senza chiedere permesso.
Supporta il Maker acquistando prodotti tramite il suo progetto dove guadagna una Commissione Maker stabilita dai venditori, oppure crea una nuova iterazione di questo progetto e includilo come collegamento nel tuo progetto per condividere i ricavi.