ARTE
BELLEZZA E BENESSERE
MESTIERE
CULTURA E STORIA
DIVERTIMENTO
AMBIENTE
CIBO E BEVANDE
INGEGNERIA INVERSA
SCIENZE
SPORT
TECNOLOGIA
INDOSSABILI
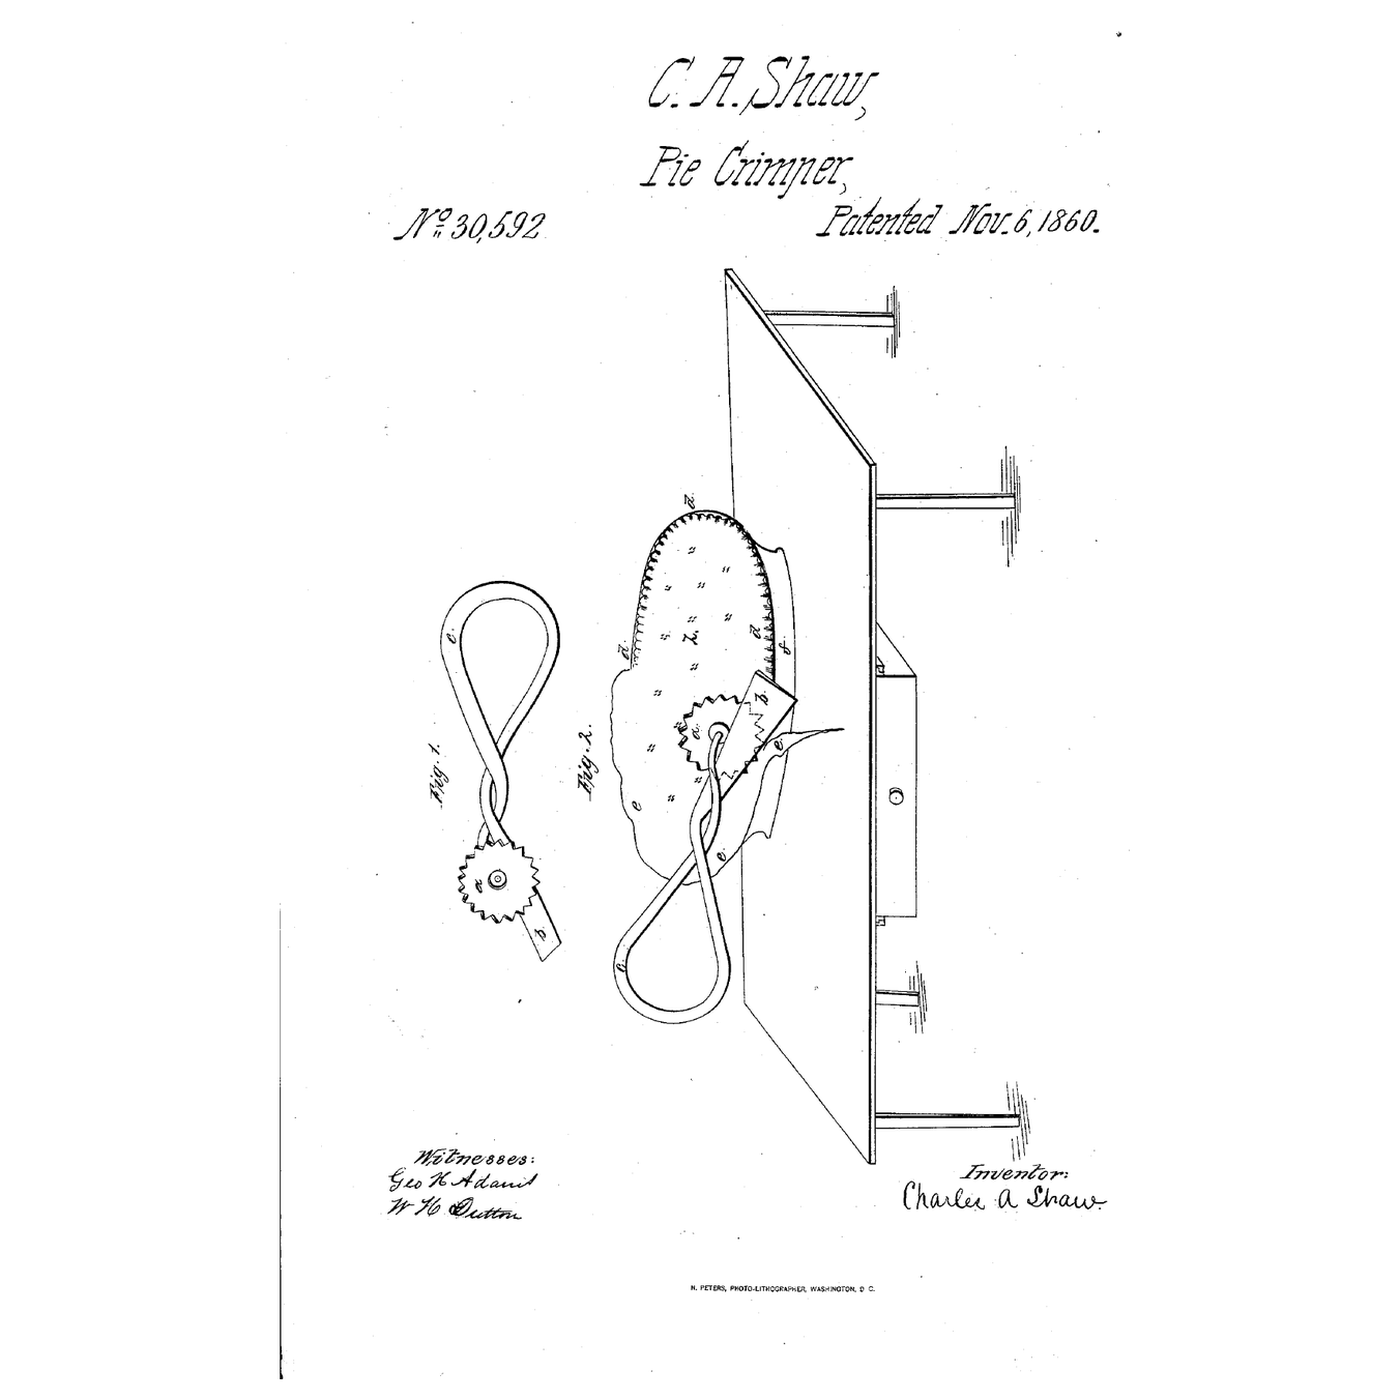


The Pie Crimper and Trimmer: Seal, Mark and Trim in One Pass
A covered pie needs two jobs at its edge: the crusts pressed together so the filling stays in, and the overhang cut off. Most cooks do them with a fork and a knife, one after the other.
Charles A. Shaw of Biddeford, Maine, received US 30,592, dated 6 November 1860, for a pie-crimper that combines "a cutting instrument for trimming the pie, and a wheel for crimping and ornamenting the edge" on one handle of bent and twisted wire.
This rung counts the crimps a wheel leaves round a pie, then bends a crimper from wire and a small gear and uses it on an apple pie.
Principiante
About 2 hours
Istruzioni
1
1
Crimps round the pie
Crimps round the pie
Caricamento del notebook Jupyter…
2
2
A wheel that counts its path
A wheel that counts its path
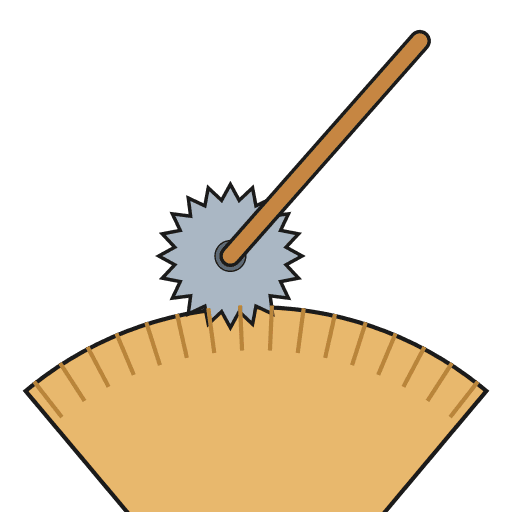
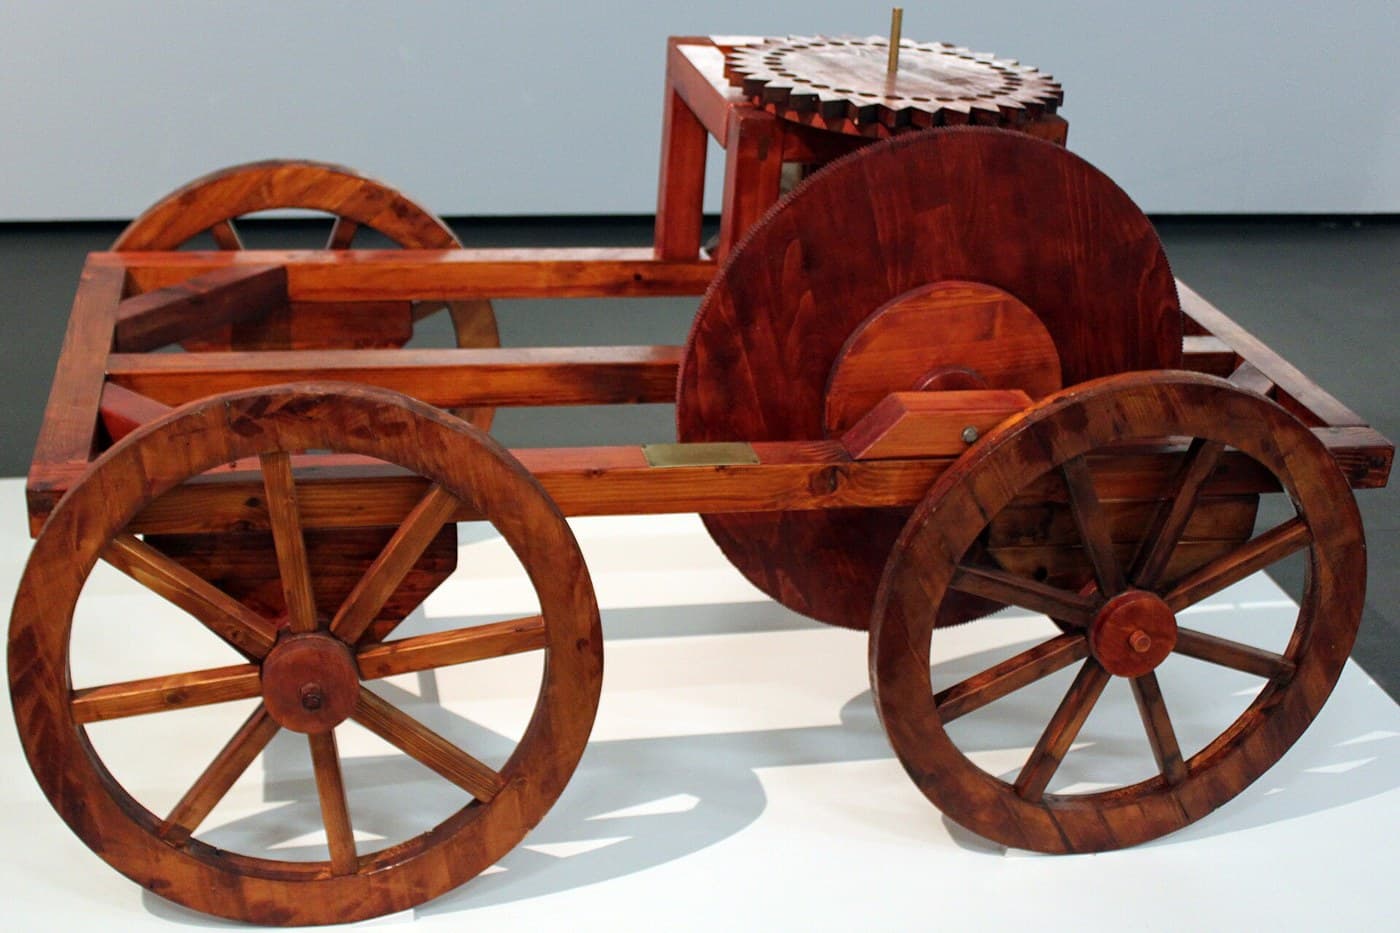
The embedded blueprint rolls a wheel along a road and counts its turns to measure distance. Shaw's wheel rolls round the edge of a pie and leaves one mark per tooth.
3
3
Read US 30,592
Read US 30,592
"It is well known that in making pies the upper and lower crusts have to be pressed together firmly at the edges to make them adhere to each other, and before baking those parts of the crusts projecting beyond the plate are trimmed off with a knife".
"The nature of my invention consists in the use, when combined in the same implement, of a cutting instrument for trimming the pie, and a wheel for crimping and ornamenting the edge."
"I am aware that a wheel with cogs is an old device".
4
4
Bend a crimper and crimp an apple pie
Bend a crimper and crimp an apple pie
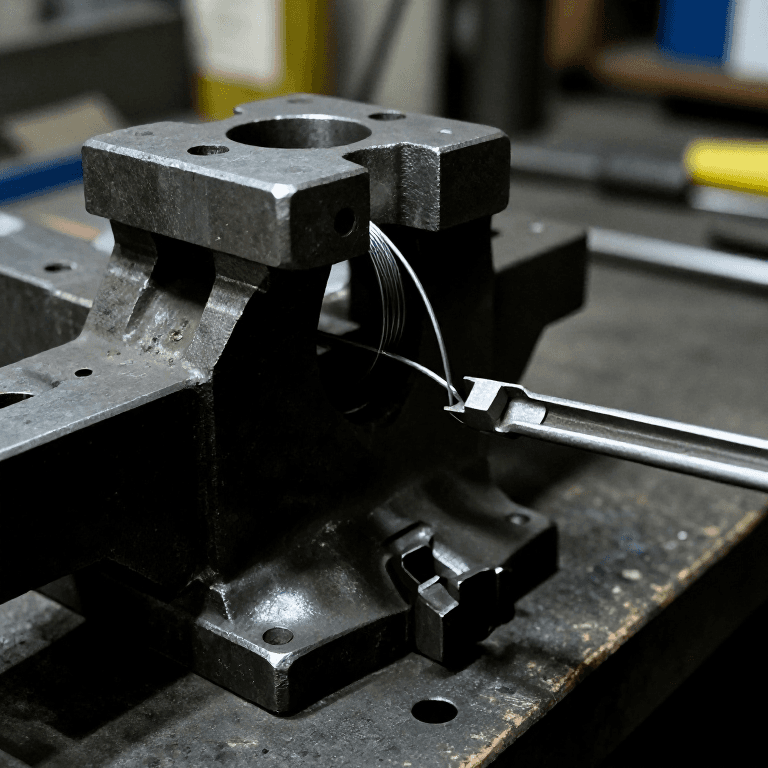
Scrub a small steel gear free of oil. Bend a length of steel wire into a long loop for a handle and twist its two strands together, as in the patent drawing. Thread one end through the gear's hole and bend it over so the gear turns freely. Hammer the other end flat on the vise and file it to a blunt blade.
Rub 125 g of cold butter into 250 g of flour with a pinch of salt, add about 4 tablespoons of cold water and press it into a dough. Roll half into the pie dish, fill it with sliced apples and a little sugar, and lay the other half on top.
Press the blade against the rim of the dish and draw the crimper round once: the blade trims and the wheel seals and marks. Time it with the stopwatch, then time a fork and knife on a second pie. Bake at about 200 °C until golden.
Materiali per questo passaggio:
 Filo di acciaio1 pezzo
 Serie di ingranaggi cilindrici (acciaio, 20 denti)1 pezzo
 Farina multiuso250 g
 Burro125 g
 Sale1 pinch
 Acqua60 ml
 Mela4 pezzi
 Zucchero granulato50 g
Strumenti necessari:
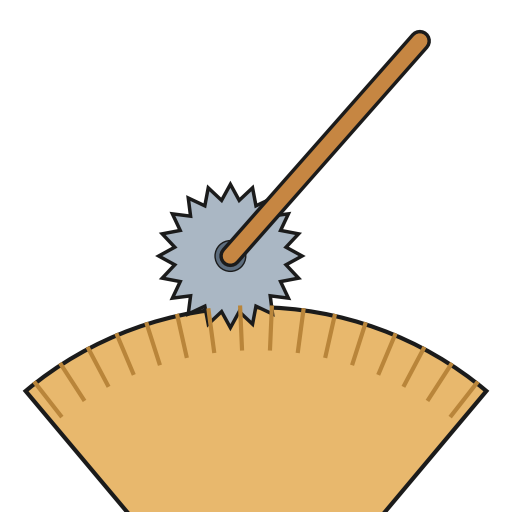 Rotella tagliapasta
 Tortiera
 Pinza a becchi lunghi
 Martello
 Morsa da banco
 Lima per metalli
 Matterello
 Forno
Forno Cronometro
 Bilancia digitale da cucina
5
5
A crimper that tears, skips or will not trim
A crimper that tears, skips or will not trim
Pie crimper troubleshooting.
Flow
Loading...
6
6
History and honest limits
History and honest limits
**Charles A. Shaw** of Biddeford, Maine, received US 30,592, dated 6 November 1860. He did not claim the cog wheel or a guided crimper on their own, only the knife and wheel "combined to crimp and trim a pie at one operation".
**Honest limits.** The notebook assumes the wheel rolls without slipping; on soft pastry it slips a little. Pie and wheel sizes are examples. Your two stopwatch times are the measurement.
Materiali
8- 1 pezzoSegnaposto
- Segnaposto
- 250 gSegnaposto
- 125 gSegnaposto
- 1 pinchSegnaposto
- 60 mlSegnaposto
- 4 pezziSegnaposto
- Segnaposto
Strumenti richiesti
10- Segnaposto
- Segnaposto
- Segnaposto
- Segnaposto
- Segnaposto
- Segnaposto
- Segnaposto
- Segnaposto
- Segnaposto
- Segnaposto
Questo progetto realizza
Blueprint correlati
Questi blueprint condividono conoscenze — tecniche, materiali o principi


CC0 Pubblico dominio
Questo progetto è rilasciato sotto CC0. Sei libero di copiare, modificare, distribuire e utilizzare quest'opera per qualsiasi scopo, senza chiedere permesso.
Supporta il Maker acquistando prodotti tramite il suo progetto dove guadagna una Commissione Maker stabilita dai venditori, oppure crea una nuova iterazione di questo progetto e includilo come collegamento nel tuo progetto per condividere i ricavi.