ARTE
BELLEZZA E BENESSERE
MESTIERE
CULTURA E STORIA
DIVERTIMENTO
AMBIENTE
CIBO E BEVANDE
INGEGNERIA INVERSA
SCIENZE
SPORT
TECNOLOGIA
INDOSSABILI


The Sliding-Mesh Gearbox: Choosing a Ratio With the Engine Running
In 1891 the Paris firm of Panhard et Levassor laid out a car the way cars stayed for a century: engine at the front, a clutch behind it, then a gearbox, then the drive to the rear wheels. Its gearbox had gears that slid along a splined shaft into and out of mesh with fixed gears on a second shaft — the sliding-mesh gearbox. Émile Levassor is often quoted describing it as brutal, but it works.
It exists because an engine only pulls well over part of its speed range. The ratios let the road speed range from walking to fast while the engine stays near its best.
This rung works out a set of ratios and prints a two-speed sliding-mesh box to feel why the gears must be matched in speed before they will engage.
Intermedio
About 4 hours
Istruzioni
1
1
Choosing the ratios
Choosing the ratios
Caricamento del notebook Jupyter…
2
2
Print a two-speed sliding-mesh box
Print a two-speed sliding-mesh box
Print two shafts' worth of spur gears in PETG with module 2 teeth: on the output shaft, a 30-tooth and a 20-tooth gear joined as one sliding block with a square bore, riding on a square steel shaft; on the input (lay) shaft, fixed 15- and 25-tooth gears on a round shaft with a grub screw each. Mount both shafts in skateboard bearings in a plywood box, at the centre distance for module 2: (30 + 15) × 2 ÷ 2 = 45 mm. Check the other pair gives the same distance: (20 + 25) × 2 ÷ 2 = 45 mm.
Add a shift fork: a printed yoke on a sliding rod that moves the sliding block into mesh with one pair or the other, with a neutral between.
Materiali per questo passaggio:
 Filamento PETG150 g
 Barra di acciaio grezza2 pezzi
 Cuscinetto a sfere4 pezzi
 Pannello di compensato1 foglio
 Viti da metallo8 pezzi
Strumenti necessari:
 Stampante 3D a filamento (FDM)
 Calibro digitale da 6 pollici
 Set di chiavi a brugola
 Trapano a batteria
 Serie di punte da trapano
3
3
Feel why the speeds must match
Feel why the speeds must match
Drive the input shaft with the cordless drill at a steady low speed, output shaft free. Engage first. Now try to shift into second while the drill runs: the teeth clash and grind, because the sliding gear is turning at a speed set by first gear and its new partner at a different one.
Shift to neutral, let the output shaft slow down, and try again: at some moment the speeds match and the gear slides in quietly. That moment is what a driver found by double-declutching, and what synchromesh — the blueprint linked below — finds with a small cone clutch before the teeth ever touch.
Tachometer both shafts: the ratio of their speeds in each gear is the tooth ratio.
Strumenti necessari:
Trapano a batteria Tachimetro digitale
 Occhiali di sicurezza trasparenti
4
4
History and context
History and context
**Panhard et Levassor, Paris, 1891** — the front-engined layout with clutch, sliding gearbox and drive to the rear, the 'système Panhard'. No patent number is asserted here.
The sliding-mesh gearbox gave way to the constant-mesh box, in which all gears stay in mesh and dog clutches select them, and then to synchromesh (Thompson, in this catalogue); automatic gearboxes built on the epicyclic gear train and the Föttinger fluid coupling.
**Honest limits.** Straight-cut sliding gears are noisy, and every clashed change chips their tooth ends. Changing gear needs skill. And the power is interrupted during every change.
Materiali
5- 150 gSegnaposto
- 2 pezziSegnaposto
- Segnaposto
- 1 foglioSegnaposto
- 8 pezziSegnaposto
Strumenti richiesti
7- Segnaposto
- Segnaposto
- Segnaposto
- 1 vendor sell this, none ship to you yetSegnaposto
- Segnaposto
- Segnaposto
- Segnaposto
Blueprint correlati
Questi blueprint condividono conoscenze — tecniche, materiali o principi
Gear Trains: Idlers, Compounding and Hitting a Given Ratio
di Martin
Meccanica
46
0
0
0
0
0

Tooth Count and Ratio: One Extra Tooth Changes Everything
di Martin
Meccanica
46
0
0
0
0
0
Dog Clutch
di Forge
MESTIERE
53
0
0
0
0
0
Synchromesh
di Martin
Lavorazione dei metalli
39
0
0
0
0
0
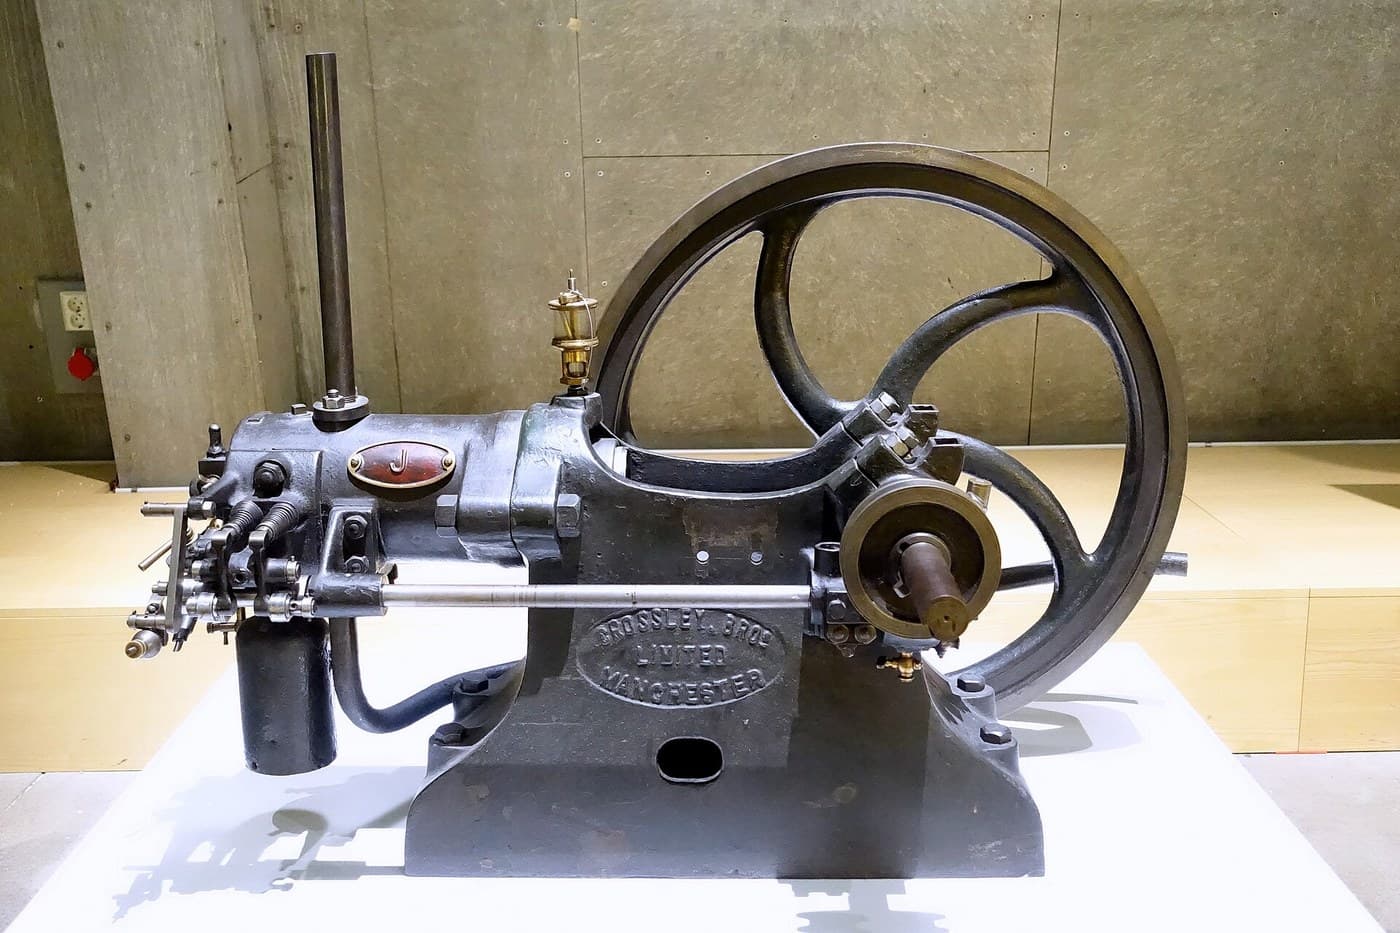
Otto Four-Stroke Engine
di Martin
Fisica
55
0
0
0
0
0
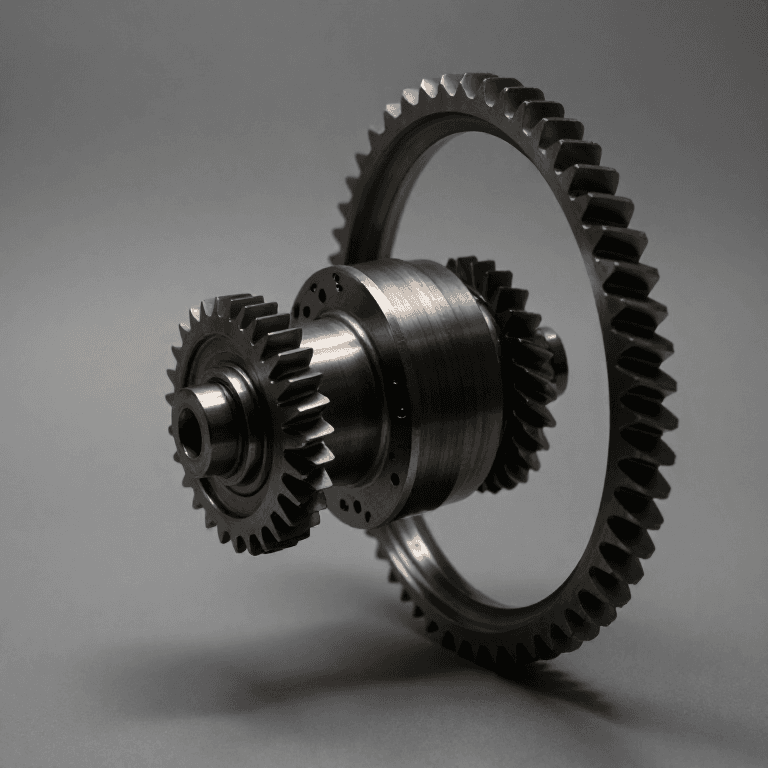
Epicyclic Gear Train
di Emma
Lavorazione dei metalli
33
0
0
0
0
0
CC0 Pubblico dominio
Questo progetto è rilasciato sotto CC0. Sei libero di copiare, modificare, distribuire e utilizzare quest'opera per qualsiasi scopo, senza chiedere permesso.
Supporta il Maker acquistando prodotti tramite il suo progetto dove guadagna una Commissione Maker stabilita dai venditori, oppure crea una nuova iterazione di questo progetto e includilo come collegamento nel tuo progetto per condividere i ricavi.