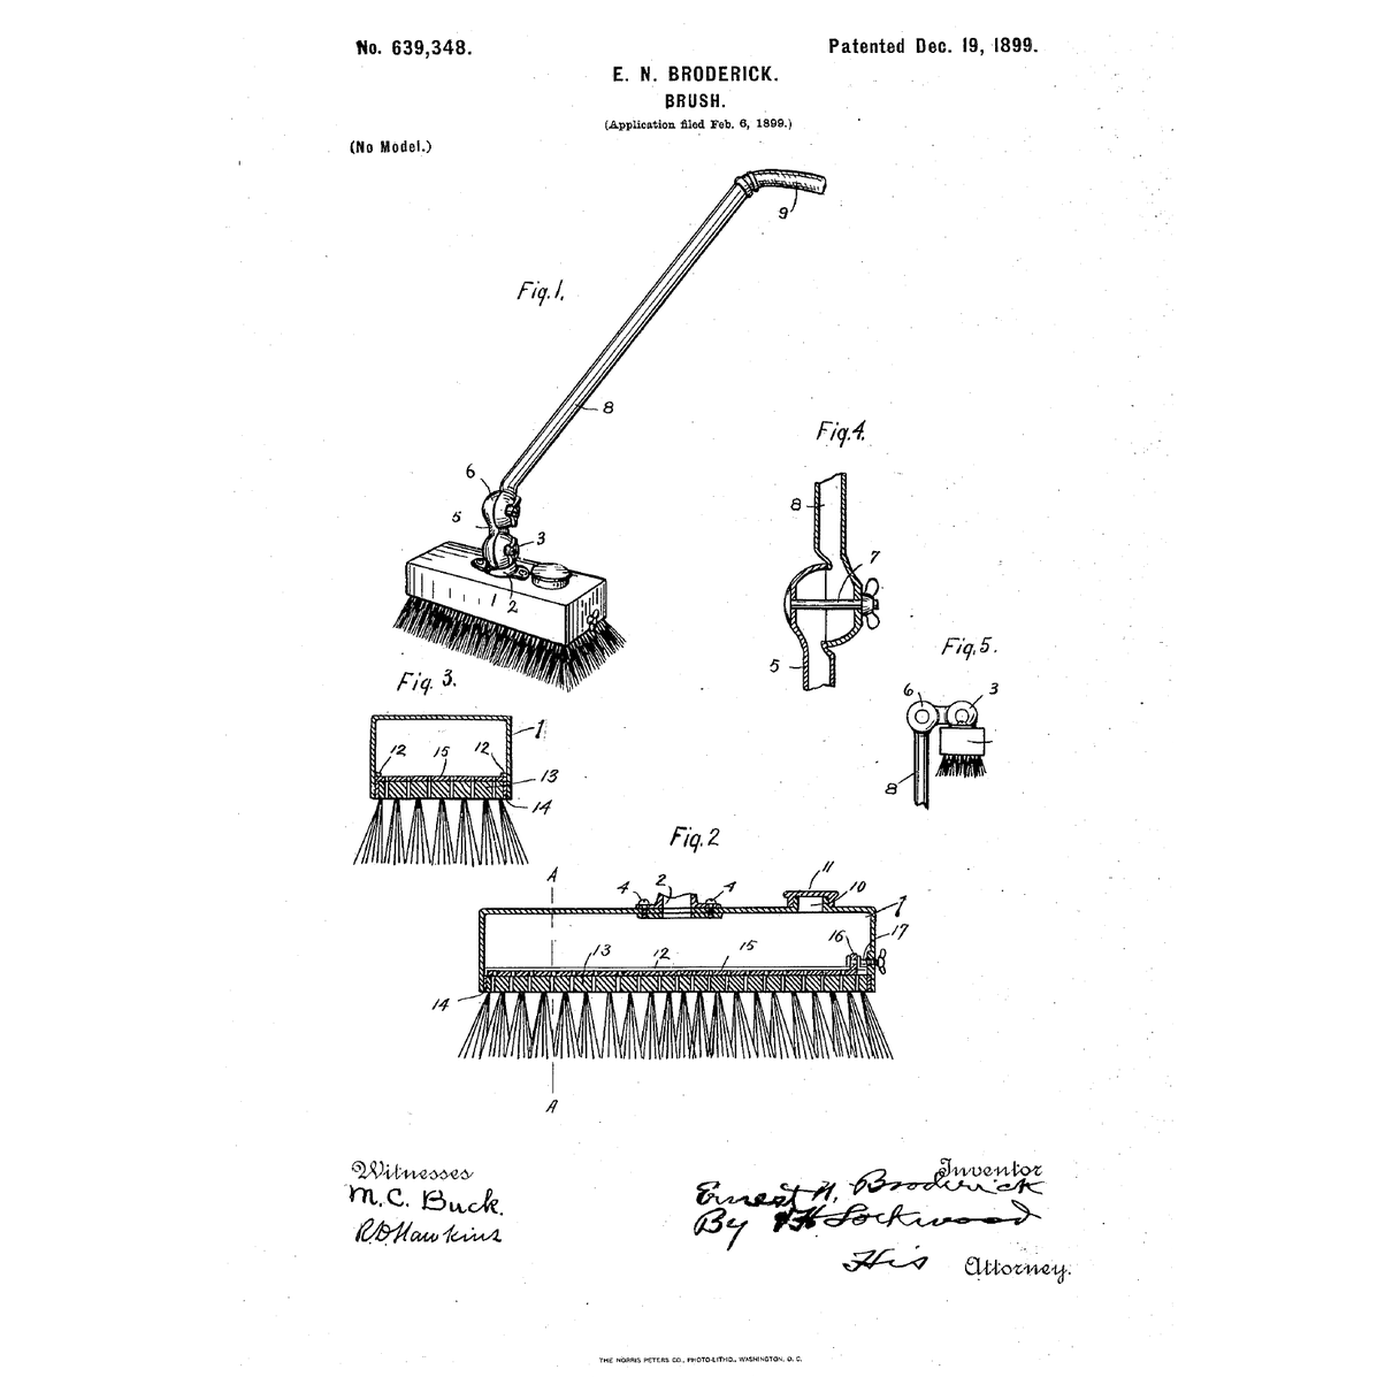


The Tank-Headed Self-Feeding Brush: Soap in the Tank, a Plate to Meter It
Istruzioni
Open area of the plate
Open area of the plate
A scrubbing brush before it
A scrubbing brush before it
Read US 639,348
Read US 639,348
Perforate the brush back
Perforate the brush back
Materiali per questo passaggio:
 Spazzolone1 pezzo
Strumenti necessari:
 Morsa da banco
 Trapano a batteria
 Serie di punte da trapano
 Pennarello indelebile
 Righello
 Occhiali di sicurezza trasparenti
Make the sliding plate
Make the sliding plate
Materiali per questo passaggio:
 Lamiera di alluminio1 pezzo
 Rivetti in acciaio1 pezzo
Strumenti necessari:
 Cesoie da lattoniereTrapano a batteriaSerie di punte da trapano
 Lime (lima a mano)
 Set da ribadire
 Martello da ribattere
Build the tank
Build the tank
Materiali per questo passaggio:
Lamiera di alluminio1 pezzoRivetti in acciaio1 pezzo Sigillante siliconico1 pezzo
 Vite da legno #8 x 1"1 pezzo
Strumenti necessari:
Cesoie da lattoniereMorsa da bancoSet da ribadireTrapano a batteriaSerie di punte da trapano Guanti da lavoro in pelle
Fit the adjusting screw
Fit the adjusting screw
Materiali per questo passaggio:
 Viti da metallo1 pezzo
 Dado esagonale1 pezzo
 Resina epossidica bicomponente1 pezzo
Strumenti necessari:
Trapano a batteriaSerie di punte da trapano Set di cacciaviti
Fit the handle
Fit the handle
Materiali per questo passaggio:
 Tubo di rame1 pezzo
 Raccordi in ottone1 pezzo
 Valvola a sfera1 pezzo
 Nastro di PTFE per filetti1 pezzo
Strumenti necessari:
 Tagliatubi
 Chiave regolabile a rullino
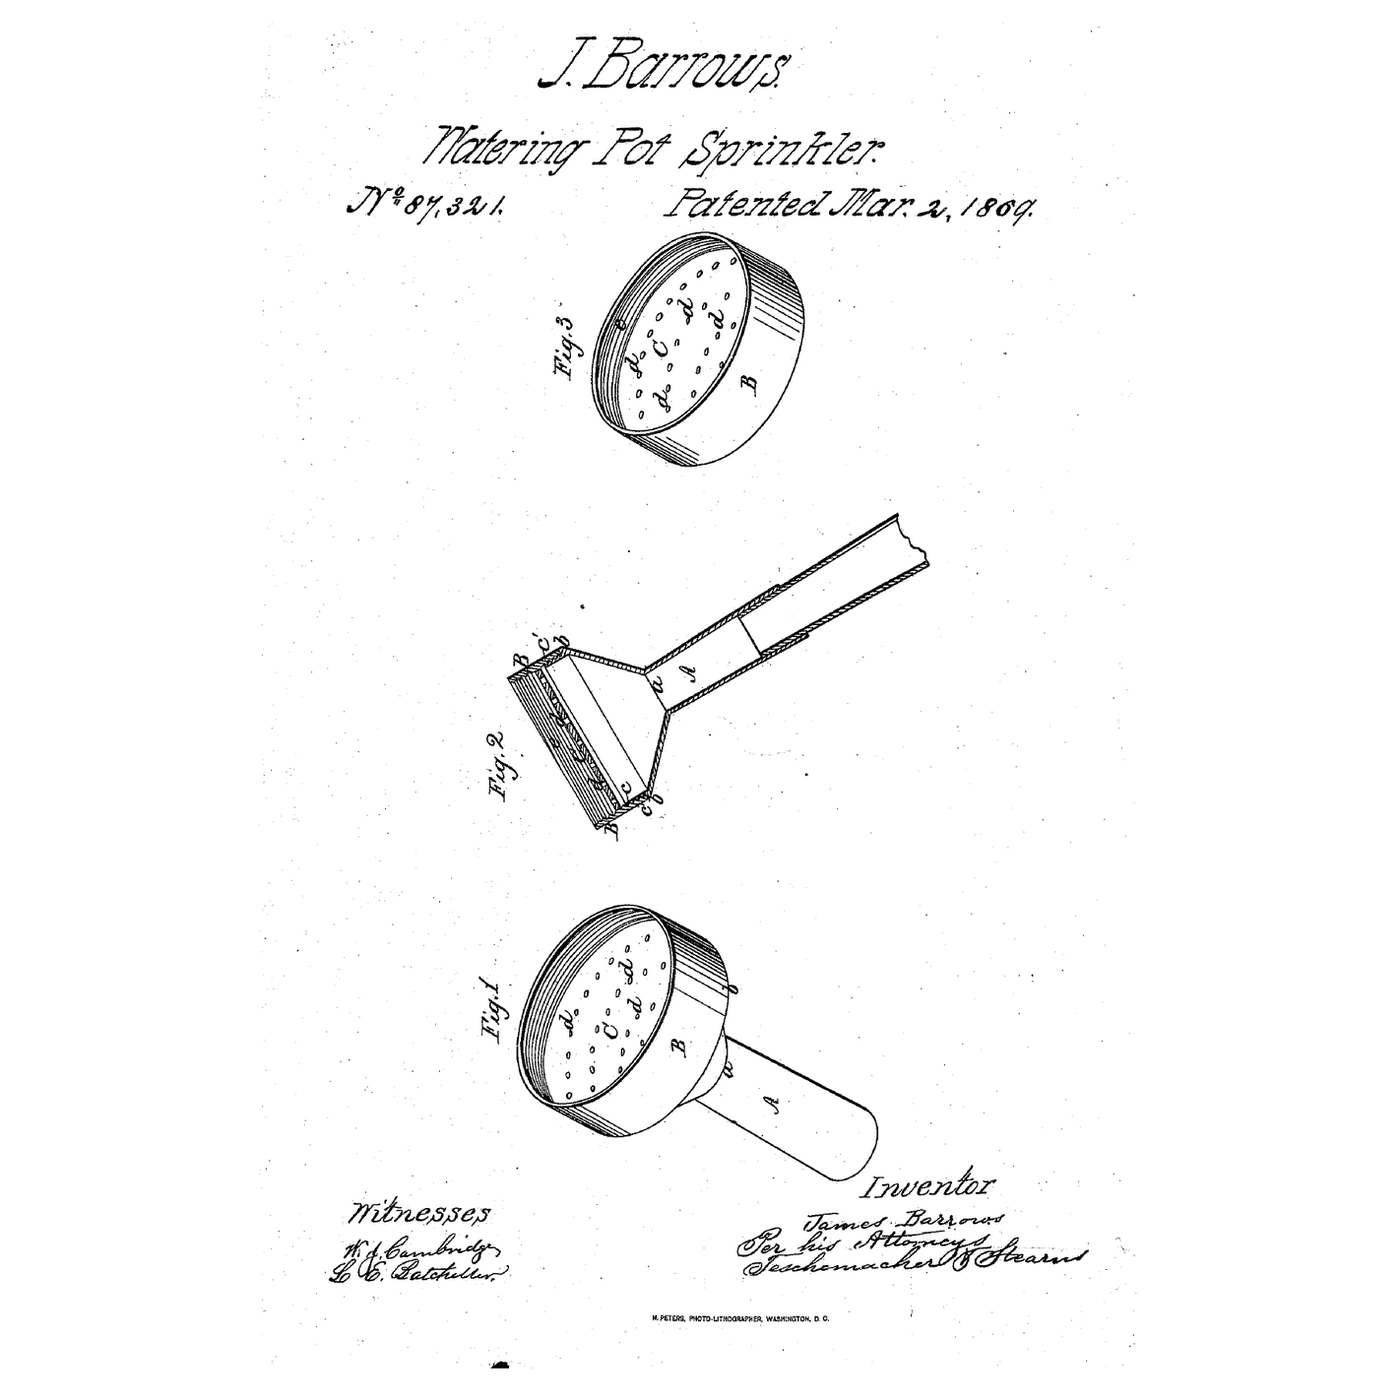
The patent drawing
The patent drawing
Measure the flow at each setting
Measure the flow at each setting
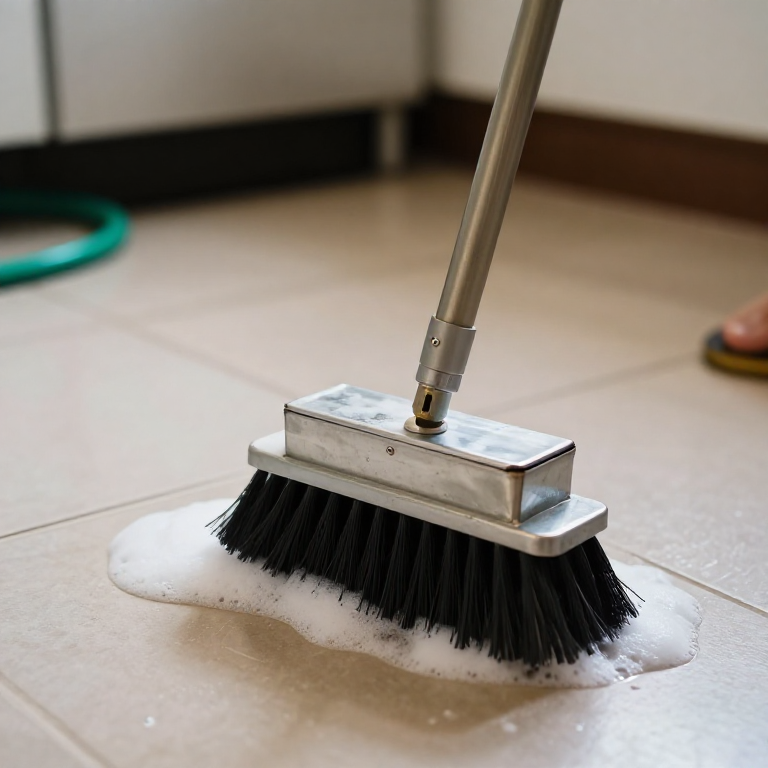
Materiali per questo passaggio:
 Acqua1 pezzo
 Sapone di Castiglia liquido1 pezzo
Strumenti necessari:
 Brocca graduata
 Cronometro
 Calibro digitale da 6 pollici
 Tubo da giardino
A brush that floods, starves or leaks
A brush that floods, starves or leaks
Flow
History and honest limits
History and honest limits
Materiali
14- 1 pezzoSegnaposto
- 1 pezzoSegnaposto
- 2 pezziSegnaposto
- 1 pezzoSegnaposto
- 1 pezzoSegnaposto
- 1 pezzoSegnaposto
- 1 pezzoSegnaposto
- Segnaposto
- 1 pezzoSegnaposto
- 1 pezzoSegnaposto
- 1 pezzoSegnaposto
- 1 pezzoSegnaposto
- 1 pezzoSegnaposto
- 1 pezzoSegnaposto
Strumenti richiesti
18- Segnaposto
- 1 vendor sell this, none ship to you yetSegnaposto
- Segnaposto
- Segnaposto
- Segnaposto
- Segnaposto
- Segnaposto
- Segnaposto
- Segnaposto
- Segnaposto
- Segnaposto
- Segnaposto
- Segnaposto
- Segnaposto
- Segnaposto
- Segnaposto
- Segnaposto
- Tubo da giardino10% commissioneSegnaposto
Blueprint correlati
Questi blueprint condividono conoscenze — tecniche, materiali o principi



CC0 Pubblico dominio
Questo progetto è rilasciato sotto CC0. Sei libero di copiare, modificare, distribuire e utilizzare quest'opera per qualsiasi scopo, senza chiedere permesso.
Supporta il Maker acquistando prodotti tramite il suo progetto dove guadagna una Commissione Maker stabilita dai venditori, oppure crea una nuova iterazione di questo progetto e includilo come collegamento nel tuo progetto per condividere i ricavi.