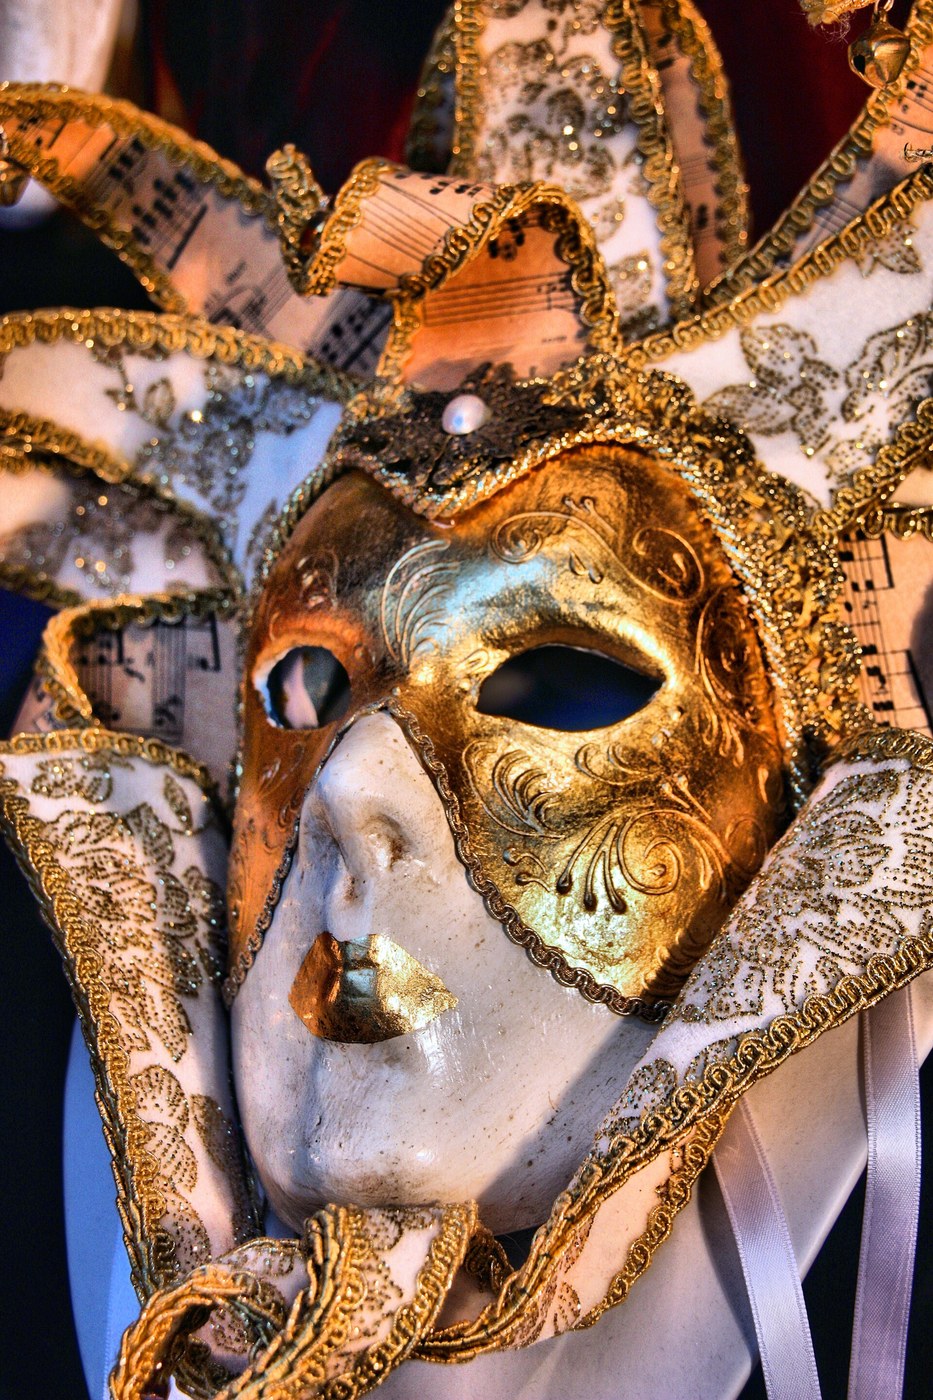

Venetian Carnival Mask
Venice regulated masks by law, which tells you how seriously they were taken. During carnival, masking collapsed the visible distinctions the city ran on — noble and commoner, citizen and foreigner — and the authorities alternated between permitting it and restricting it for centuries.
The classic white bauta is the one worth understanding. Its lower edge juts forward and its chin is left open, and both are deliberate: the shape projects the voice and disguises it, and the open chin lets the wearer eat and drink without unmasking. It was designed for a long anonymous night out.
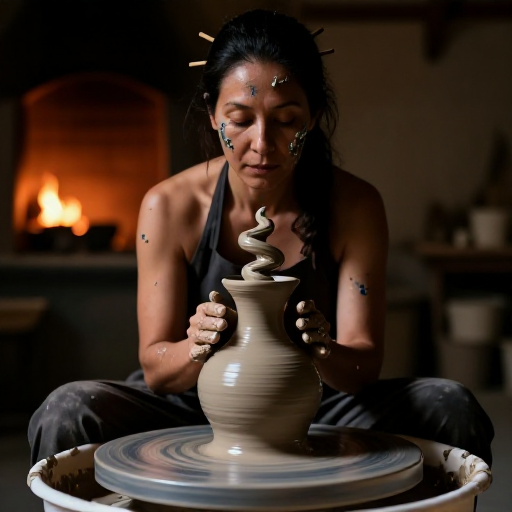
Construction is papier-mâché over a modelled clay form — light, rigid, cheap, and quick to make in quantity. The same layered-over-a-form method as a Greek theatre mask, several centuries and one sea apart.
Istruzioni
Model the face form in clay
Model the face form in clay
Build a solid clay form of a face, oversized by 10 mm all round so the finished mask sits clear of the skin. This is a working form, not a fired piece.
Materiali per questo passaggio:
 Argilla da grès5 kg
Project the lower face forward
Project the lower face forward
Extend the area below the nose forward and outward into a jutting shape. This projection is the defining feature of the bauta and it is what alters the voice.
Leave the chin open
Leave the chin open
Stop the form short of the chin so the finished mask has no lower edge across the jaw. The open chin is what allows eating, drinking and speaking while still masked.
Cut generous eye openings
Cut generous eye openings
Make the eye holes large enough for real peripheral vision. Venetian masks were worn in crowded night streets and on stairs — restricted sight is a genuine hazard, not a stylistic choice.
Grease the form
Grease the form
Rub a thin film of grease or wax over the clay as a release layer. Without it the paper bonds to the clay and tears as you lift it.
Materiali per questo passaggio:
 Cera d'api in pastiglie20 g
Lay the first paper layer
Lay the first paper layer
Tear paper into strips, soak in thin glue, and lay them over the form with overlaps. Tear rather than cut — torn edges feather into each other and disappear.
Materiali per questo passaggio:
 Carta1 pezzo
 Colla di pelle200 ml
Cross the direction of each layer
Cross the direction of each layer
Build up six to eight layers, changing the strip direction about 45° each time. Crossed layers give rigidity in every direction; parallel layers stay floppy across the grain.
Dry slowly and release
Dry slowly and release
Dry for 24 hours, then ease the shell off the clay. Forcing a damp shell distorts the face permanently, and the projected lower section is the first thing to deform.
Trim and gesso
Trim and gesso
Trim the edges cleanly, then skim with a thin gesso of chalk and glue. Sand smooth. Gesso is what gives the characteristic dead-flat white surface.
Strumenti necessari:
 Carta abrasiva
Paint it white first
Paint it white first
Paint the whole mask flat white and let it dry. The traditional bauta is stark white — resist decorating before this base is even, because every flaw shows through gilding.
Materiali per questo passaggio:
 Set di pigmenti minerali in polvere1 set
Gild the raised edges only
Gild the raised edges only
Apply gold leaf to the raised contours — brow, cheekbones, the edge of the projection. Gilding the high points catches candlelight and lets the mask read across a dark room.
Materiali per questo passaggio:
 Foglia d'oro1 foglio
Fit ribbon ties and test the voice
Fit ribbon ties and test the voice
Fit ribbon ties at the temples. Then put it on and speak. Your voice should sound noticeably deeper and less recognisably yours — if it does not, the lower projection is not deep enough.
Materiali per questo passaggio:
 Nastro gros-grain1 metro
History & Context
History & Context
A mask the state legislated about. Venice repeatedly regulated when and where masks could be worn, and by whom. That is the clearest evidence of what masking actually did: in a city organised around visible rank, a mask suspended the entire system. Authorities permitted it during carnival and periodically restricted it at other times, and the rules changed many times across the centuries — so be wary of any source giving one flat account of "the law".
The bauta is designed, not styled. Three features work together. The jutting lower face projects and distorts the voice, so the wearer is not identified by speech. The open chin allows eating and drinking without removing it. And the shape carries a tricorn hat and cloak, completing a disguise that hides body shape as well as face. It is a complete anonymity system, not a decorative object.
Why papier-mâché. Light enough to wear all night, rigid when built up in crossed layers, cheap enough for a whole city to own one, and fast to produce over a reusable form. The maskmakers of Venice were a recognised trade with their own guild, working essentially the technique in this blueprint.
The same method, far apart. Layers of fibre and glue over a modelled form is exactly how Greek theatre masks are reconstructed, two thousand years and a sea away. The constraints are identical — light, rigid, cheap, comfortable over a face — and they push toward the same answer.
The moretta, worth knowing. Another Venetian form, worn by women, was held in place by a button gripped between the teeth. It made the wearer silent as well as anonymous. Set beside the bauta, which was engineered to let its wearer talk, eat and drink freely all night, the pair says something quite pointed about who carnival anonymity was actually built for.
Materiali
7- 5 kgSegnaposto
- Segnaposto
- 1 pezzoSegnaposto
- 200 mlSegnaposto
- Segnaposto
- 1 foglioSegnaposto
- 1 metroSegnaposto
Strumenti richiesti
1- Segnaposto
Questo progetto realizza
CC0 Pubblico dominio
Questo progetto è rilasciato sotto CC0. Sei libero di copiare, modificare, distribuire e utilizzare quest'opera per qualsiasi scopo, senza chiedere permesso.
Supporta il Maker acquistando prodotti tramite il suo progetto dove guadagna una Commissione Maker stabilita dai venditori, oppure crea una nuova iterazione di questo progetto e includilo come collegamento nel tuo progetto per condividere i ricavi.