コラボレーション
アート
美容とウェルネス
工芸
文化と歴史
エンターテインメント
環境
食品と飲料
リバースエンジニアリング
科学
スポーツ
テクノロジー
ウェアラブル
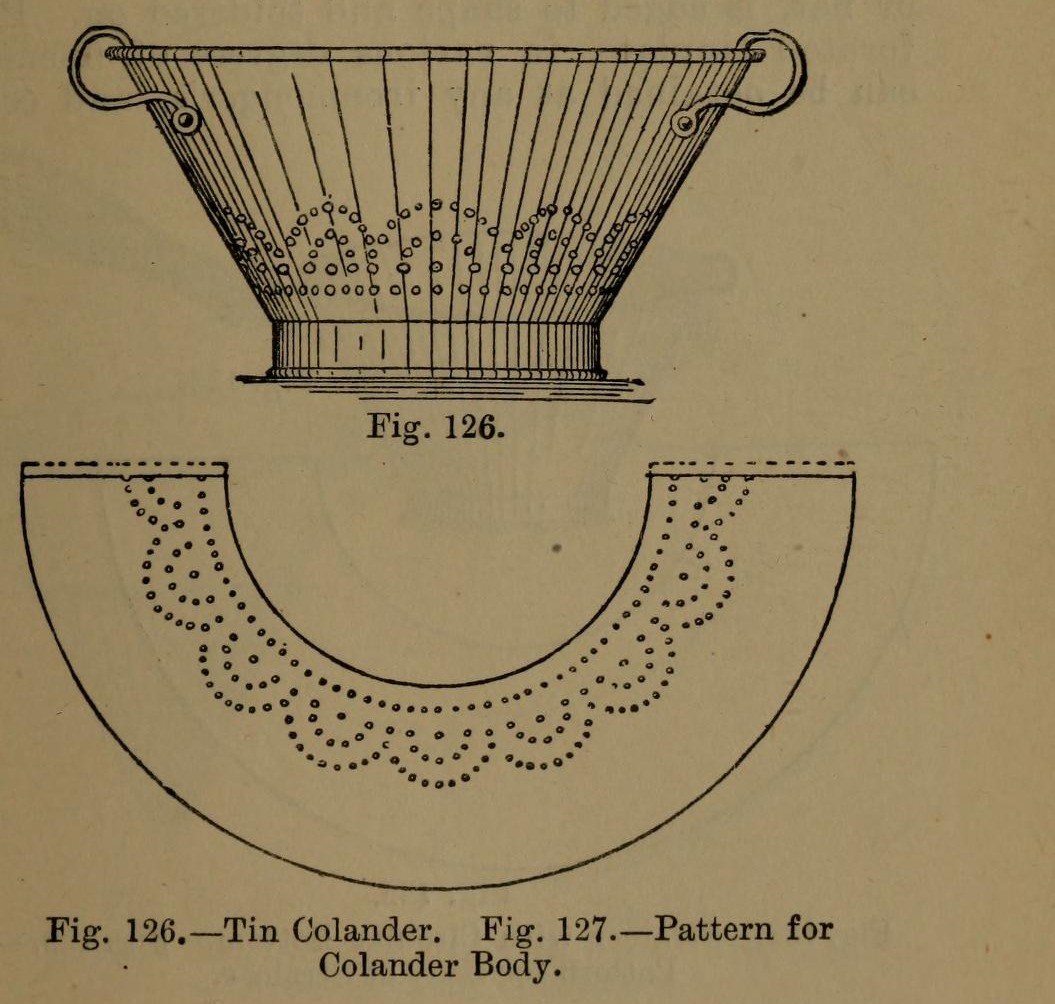


Colander: a Tinplate Colander with Perforated Body and Bottom (Hasluck, 1907)
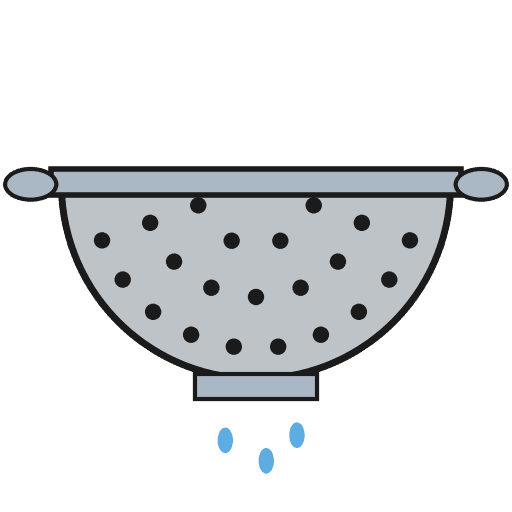
A tinsmith's colander for straining: a tapered tinplate body and a hollowed bottom, both punched full of holes, standing on a wired hoop, with two bow handles.
The body pattern is a ring segment: outer radius = top diameter, inner radius = bottom diameter, which gives sides at 60 degrees.
Source: Paul N. Hasluck, Tinplate Work (1907), pp. 50-51. Unknown: sizes, solder. Picture: Figs. 126-127 of the book.
中級者
Unknown
手順
1
1
Set out the body pattern
Set out the body pattern
Choose the top and bottom diameters. On tinplate, strike an arc with radius equal to the top diameter and, from the same centre, one equal to the bottom diameter (Fig. 127); the sides then slope at 60 degrees. Mark the rows of holes, add edges for a grooved seam and the wire, and cut it out.
このステップの材料:
 ブリキ板1 body
必要な工具:
 ディバイダー(両脚規)
 けがき針
 金切りばさみ
2
2
Break, punch and planish the body
Break, punch and planish the body
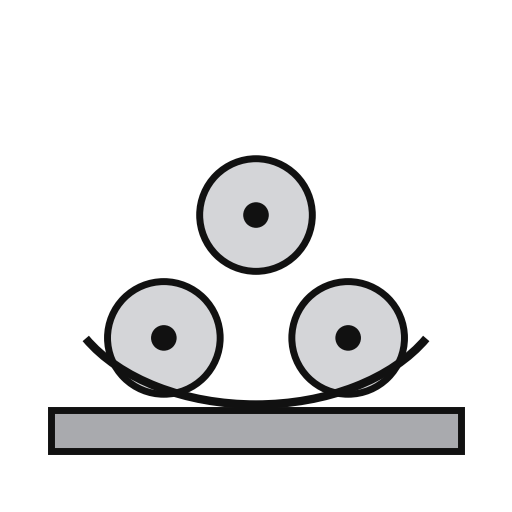
'Break' the pattern through the rollers, turning it the opposite way each pass, so it won't crease when bent. Punch the holes on a hardwood block, then flatten and planish the burrs.
必要な工具:
 板曲げロール
 板金用穴あけポンチ
 堅木のブロック
 均し槌
3
3
Seam and wire the body
Seam and wire the body
Set off the edges for a grooved seam, bend the body to shape and seam it. Solder the seam inside. Set off an edge on the wide end and wire it with No. 10 B.W.G. wire. If you like, raise a swage about 1 1/2 in below the wired edge: it stiffens the colander and looks better.
このステップの材料:
 鉄の針金1 No. 10 B.W.G.
 錫鉛はんだ1 seam
必要な工具:
 木槌
 杭
 電気はんだごて
 フラックス
4
4
Make and fit the bottom
Make and fit the bottom
Cut out the bottom, hollow it and edge it to fit the small end. Inside, mark circles from 1 in across at the centre, each 1 in wider than the last, out to the edge. Punch holes at short intervals round them and flatten the burrs on an upturned hollowing hammer. Solder the bottom on.
このステップの材料:
ブリキ板1 bottom錫鉛はんだ1 bottom必要な工具:
ディバイダー(両脚規)金切りばさみ板金用穴あけポンチ均し槌電気はんだごてフラックス5
5
Add the hoop and handles
Add the hoop and handles
Cut a strip 1 1/2 in wide, as long as the circumference of the bottom. Wire it with No. 10 B.W.G., round it, seam it and solder it on as the foot. Rivet a pair of bow handles opposite each other at the top.
このステップの材料:
ブリキ板1 hoop鉄の針金1 hoop錫鉛はんだ1 hoop 柄2 bow handles
 鉄リベット1 number not given
必要な工具:
金切りばさみ電気はんだごてフラックス リベットハンマー
6
6
Clean and scald
Clean and scald
Clean with turpentine and whiting, then polish with dry whiting. Before first use, steep it a short time in boiling water, as for any metal article for the kitchen.
必要な工具:
 テレビン油
 炭酸カルシウム(胡粉状の白亜)
 水
材料
5- 1 hoopプレースホルダー
- 1 hoopプレースホルダー
- 1 hoopプレースホルダー
- 2 bow handlesプレースホルダー
- 1 number not givenプレースホルダー
接続ブループリントの材料


この設計図で作るもの
CC0 パブリックドメイン
このブループリントはCC0で公開されています。許可を求めずに、自由にコピー、修正、配布、あらゆる目的で使用できます。
メイカーを応援するには、ブループリント経由で製品を購入してください。メイカーには メイカーコミッション がベンダーにより設定されています。または、このブループリントの新しいイテレーションを作成し、自分のブループリントにコネクションとして含めて収益を共有できます。