コラボレーション
アート
美容とウェルネス
工芸
文化と歴史
エンターテインメント
環境
食品と飲料
リバースエンジニアリング
科学
スポーツ
テクノロジー
ウェアラブル
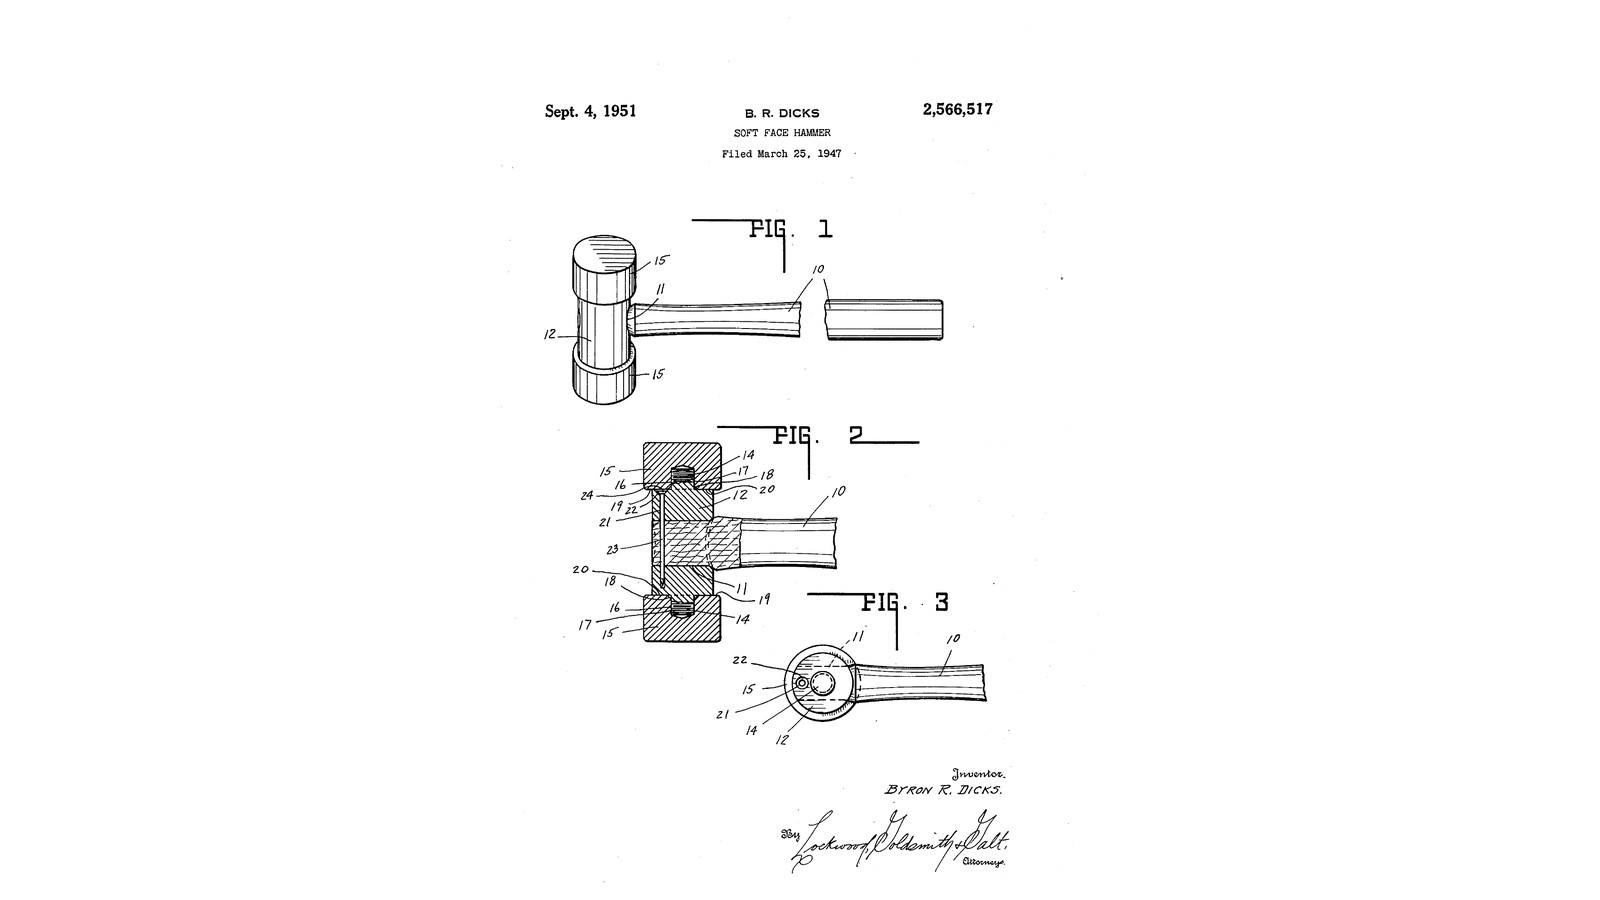


Threaded-Stud Rubber-Head Hammer: Heads Screw Onto the Body's Own Studs and Lock the Handle's Nail In (Dicks, 1951)
Byron R. Dicks of Lebanon, Indiana, received US 2,566,517, dated 4 September 1951, for a hammer made cheaply from bar stock with heads of any material. Each end of the cylindrical body has a threaded stud turned in one piece with it. Each head has a threaded socket chamfered at its mouth, so it bears on the body's flat end face in a true ring and the stud only connects. A nail driven down a bore beside the stud locks the handle. Its head sits in a counterbore, and the screwed-on head keeps it from ever coming out.
We give it two rubber heads, from his list of materials. The sizes are ours.
中級者
About 2 days
手順
1
1
Where the locking nail goes
Where the locking nail goes
Jupyter ノートブックを読み込み中…
2
2
Read US 2,566,517
Read US 2,566,517
"The nail when driven home obviously forms its own hole through the handle." "Obviously application of the head 15 retains the nail against loss if the same ever became somewhat loose in the handle."
3
3
Turn the body 12
Turn the body 12
From 38 mm steel round bar turn a body 80 mm long between end faces cut truly square, with a stud 14 16 mm across and 18 mm long standing out of each end; cut M16 threads on them with the die. Drill a 20 mm eye 11 through the middle, square to the axis, in a V-block, and flare its ends a little with a half-round file.
このステップの材料:
 軟鋼丸棒1 個
 切削油1 個
必要な工具:
 金属旋盤
 三つ爪旋盤チャック
 旋盤の切削工具
 突切りバイト
 ねじ切りタップダイスセット
 ダイスハンドル
 万力(ベンチバイス)
 ボール盤
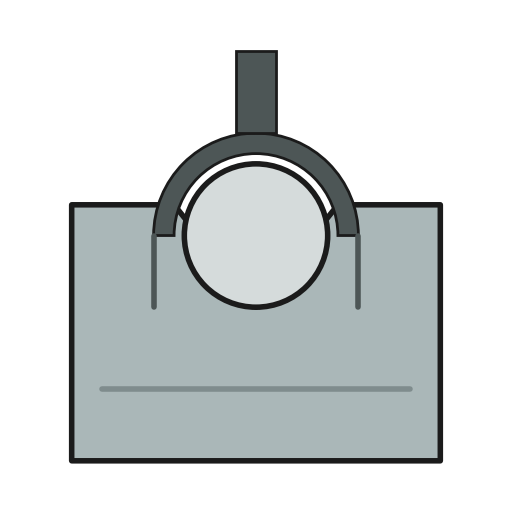 V ブロック
 ドリルビットセット
 ヤスリセット
 デジタルノギス 6インチ
 保護めがね
4
4
Bore for the locking nail 21
Bore for the locking nail 21
Scribe a line across one end face along the eye's direction. Centre-punch it 13 mm from the centre and drill 4.2 mm parallel to the axis, down into the eye, and counterbore the mouth 7 mm across and 4 mm deep for the nail's head.
必要な工具:
 けがき針
 センターポンチボール盤V ブロックドリルビットセットデジタルノギス 6インチ
5
5
Rubber heads 15
Rubber heads 15
For each head saw an M16 coupling nut to 25 mm and chamfer one end's thread 1 mm with a countersink: the socket 16 with its chamfered mouth 18. Cut 4 mm rubber discs 50 mm across: seven with a hole just round the nut and five solid. Bond them up round the nut with contact cement, the chamfered end flush with the head's inner face, and the solid discs at the striking face; clamp overnight and trim round.
このステップの材料:
 六角ナット2 個
 天然ゴムシート1 個
 接着ゴム系ボンド1 個
必要な工具:
 金切りのこ(ハクソー)万力(ベンチバイス)
 皿もみドリルセットボール盤
 方位磁針
 クラフトナイフ
 バークランプ
6
6
Handle, nail and heads
Handle, nail and heads
Turn an ash handle 300 mm long to drive tight into the eye. Drive it home, then drive a 4 mm nail 23 down the bore through the handle until its head sits in the counterbore below the end face. Screw the rubber heads onto the studs until each bears hard on its end face.
このステップの材料:
 堅木の板1 個
 釘1 個
必要な工具:
 木工旋盤
 旋盤工具セット(HSS)
 片手ハンマー(球頭)
7
7
Troubleshooting
Troubleshooting
Threaded-stud hammer troubleshooting.
Flow
Loading...
8
8
History and honest limits
History and honest limits
**Byron R. Dicks** of Lebanon, Indiana, US 2,566,517, dated 4 September 1951, filed 25 March 1947. He claimed a cylindrical body "having flat faces at both ends disposed at true right angles to the axis", "threaded extensions integral with said body", detachable heads with threaded sockets "in face to face contact" with the body, a transverse handle opening, a longitudinal bore offset from the extensions through it, and "a safety pin" in the bore sealed in by the heads. His heads were turned from bar or made of any of the materials he lists, rubber among them; ours are rubber discs bonded round a threaded steel insert. He gives no sizes; every size here is ours.
材料
7- 1 個プレースホルダー
- 1 個プレースホルダー
- 2 個プレースホルダー
- 1 個プレースホルダー
- 1 個プレースホルダー
- 1 個プレースホルダー
- 1 個プレースホルダー
必要な工具
23- プレースホルダー
- プレースホルダー
- プレースホルダー
- プレースホルダー
- プレースホルダー
- プレースホルダー
- プレースホルダー
- プレースホルダー
- プレースホルダー
- プレースホルダー
- プレースホルダー
- プレースホルダー
- プレースホルダー
- プレースホルダー
- プレースホルダー
- プレースホルダー
- プレースホルダー
- プレースホルダー
- プレースホルダー
- プレースホルダー
- プレースホルダー
- プレースホルダー
- プレースホルダー
この設計図で作るもの

関連ブループリント
これらのブループリントは知識を共有しています — 技術、材料、原理
CC0 パブリックドメイン
このブループリントはCC0で公開されています。許可を求めずに、自由にコピー、修正、配布、あらゆる目的で使用できます。
メイカーを応援するには、ブループリント経由で製品を購入してください。メイカーには メイカーコミッション がベンダーにより設定されています。または、このブループリントの新しいイテレーションを作成し、自分のブループリントにコネクションとして含めて収益を共有できます。