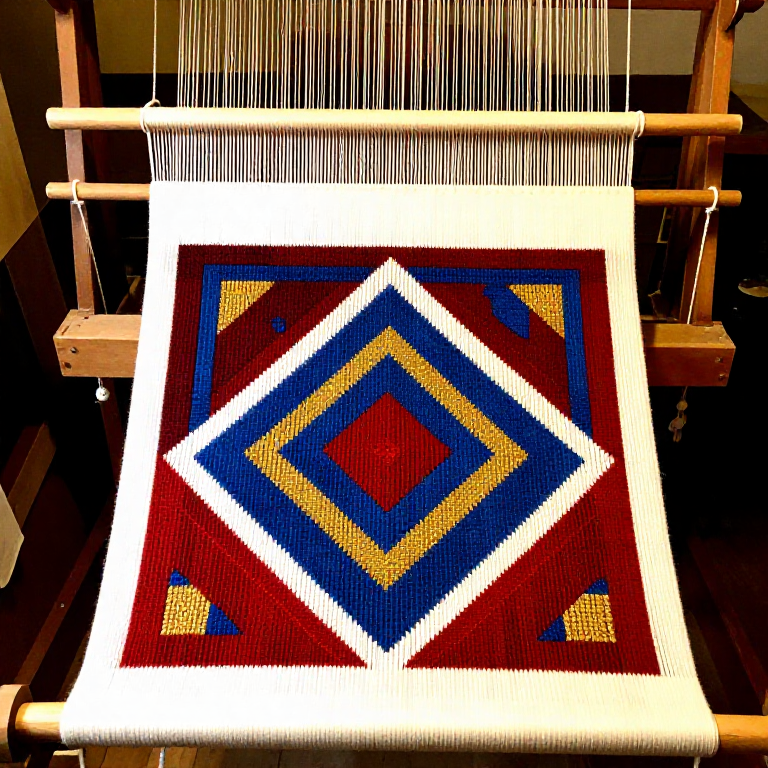
Weaving Silk on a Backstrap Loom — Izari-bata Silk Weaving
手順
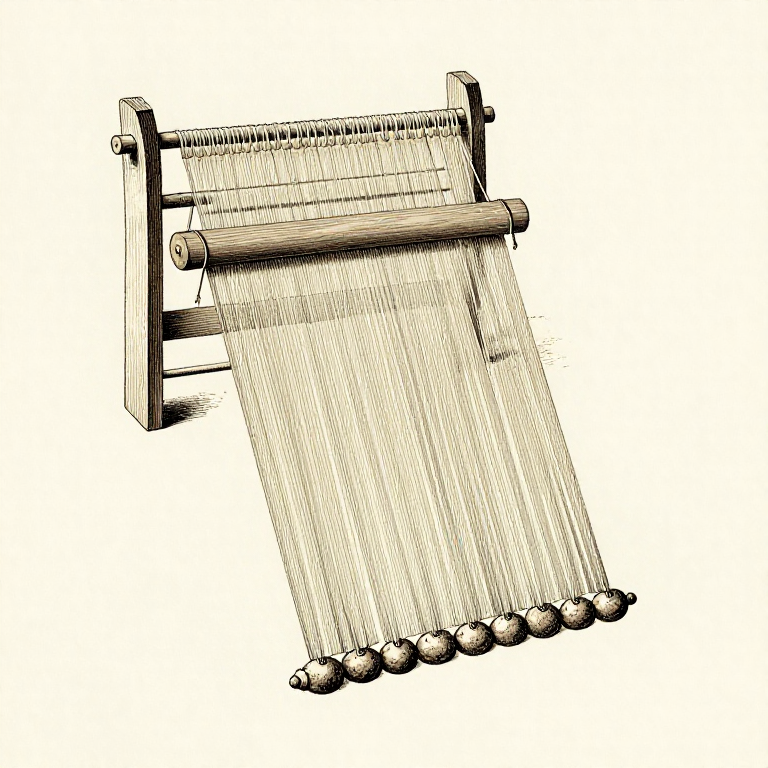
Prepare and Size the Warp
Prepare and Size the Warp
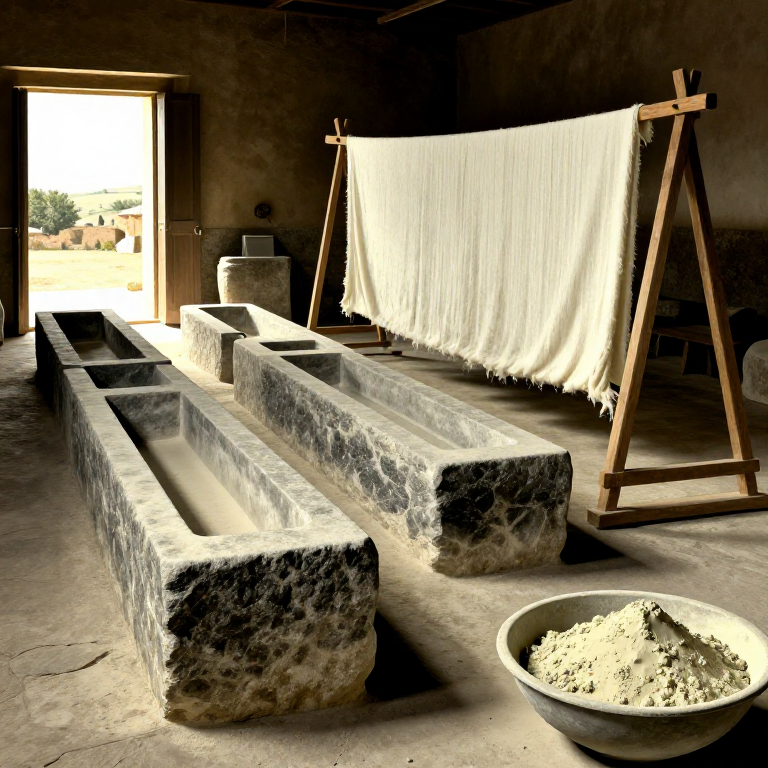
Wind the warp threads (the lengthwise threads that form the fabric skeleton) on a warping frame or between two pegs set 2-3 metres apart. The number of warp threads determines the fabric width — for silk, threads are spaced approximately 20-30 per centimetre. Cross the threads at one end to create the lease (a figure-eight crossing that keeps the threads in order). Size the wound warp by brushing it with dilute rice starch solution and allowing it to dry. Sizing adds temporary stiffness that prevents the fine silk threads from tangling and sticking during weaving. Silk warp threads must be uniform in tension — a single loose thread creates a visible flaw in the finished cloth.
このステップの材料:
必要な工具:
 Bobbin winder
Dress the Loom
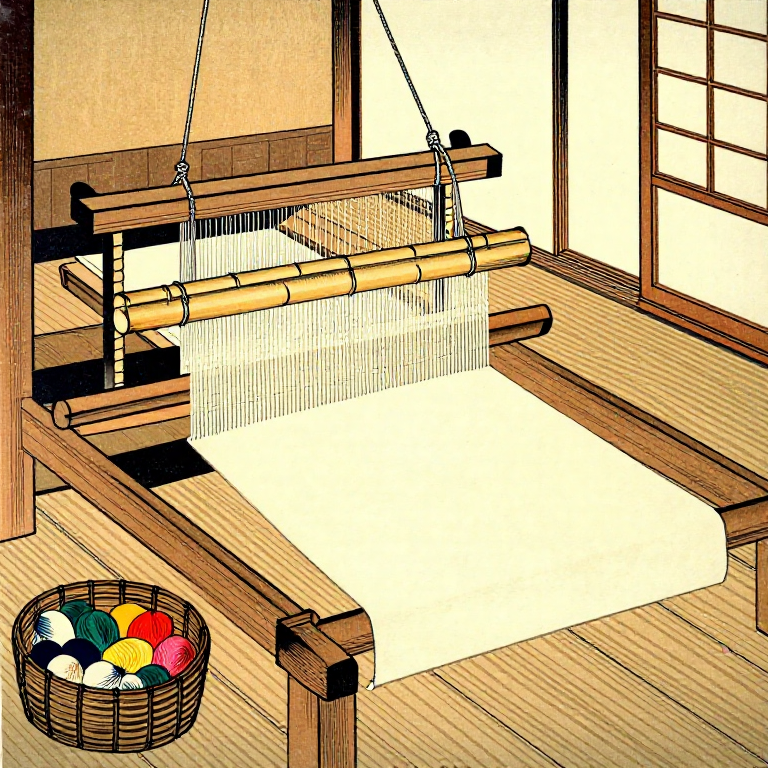
Dress the Loom
Tie the far end of the warp to the back beam (which will be anchored to a fixed point such as a post or heavy weight). Thread each warp end through the heddle — in a simple backstrap loom, the heddle is a row of string loops tied to a stick, with alternating warp threads passing through the loops and the remaining threads passing in front of the stick. Insert lease sticks at the thread crossing to maintain the threading order. Tie the near end of the warp to the breast beam. Strap the breast beam to your waist with a wide belt or cloth band. Sitting on the floor with legs extended, lean back to tension the warp. The entire loom is now under your body's control.
Weave the Plain Weave
Weave the Plain Weave
Lift the heddle rod toward you — this raises the set of warp threads that pass through the string loops, creating a gap (shed) between the raised and lowered threads. Pass the shuttle carrying the weft thread through this shed from one side to the other. Beat the weft into place by pulling the sword beater (a flat wooden sword) firmly toward you. Release the heddle and press down on the shed stick to open the alternate shed. Pass the shuttle back through and beat again. This over-under-over-under sequence is plain weave (tabby), the simplest and strongest weave structure. Maintain consistent weft tension — too tight and the fabric narrows, too loose and loops appear at the edges. Lean back to increase warp tension, forward to decrease it.
Manage Selvedges and Tension
Manage Selvedges and Tension
The selvedges (side edges) of the fabric must be neat and consistent. When the shuttle exits the shed, angle the weft thread slightly before beating so it has enough slack to cover the width without pulling in the edge threads. This prevents the common beginner problem of the fabric narrowing progressively (draw-in). Check the fabric width every few centimetres and adjust tension accordingly. As weaving progresses, the distance between the breast beam and heddle decreases. Periodically untie the breast beam, advance the woven cloth by rolling it onto the breast beam, and retie. This keeps the working area at a comfortable distance from your body.
Finish and Remove the Cloth
Finish and Remove the Cloth
Weave until you can no longer open a clean shed (the remaining warp is too short for the heddle to separate the threads). Cut the warp threads from both beams and remove the fabric. Tie or hem the cut warp ends to prevent raveling. The rice starch sizing can be washed out by soaking the finished fabric in warm water for 30 minutes, which reveals the silk's natural lustre and drape. Silk woven on a backstrap loom has a character distinct from mill-woven silk — slight irregularities in beat spacing and weft tension create a subtle textural variation that is considered a mark of handwork rather than a defect. Press the finished fabric with a warm iron to set the weave structure.
材料
3- プレースホルダー
- プレースホルダー
必要な工具
4- プレースホルダー
Related blueprints
Other builds that share materials, tools, or techniques with this one.

CC0 パブリックドメイン
このブループリントはCC0で公開されています。許可を求めずに、自由にコピー、修正、配布、あらゆる目的で使用できます。
メイカーを応援するには、ブループリント経由で製品を購入してください。メイカーには メイカーコミッション がベンダーにより設定されています。または、このブループリントの新しいイテレーションを作成し、自分のブループリントにコネクションとして含めて収益を共有できます。