アート
美容とウェルネス
工芸
文化と歴史
エンターテインメント
環境
食品と飲料
リバースエンジニアリング
科学
スポーツ
テクノロジー
ウェアラブル
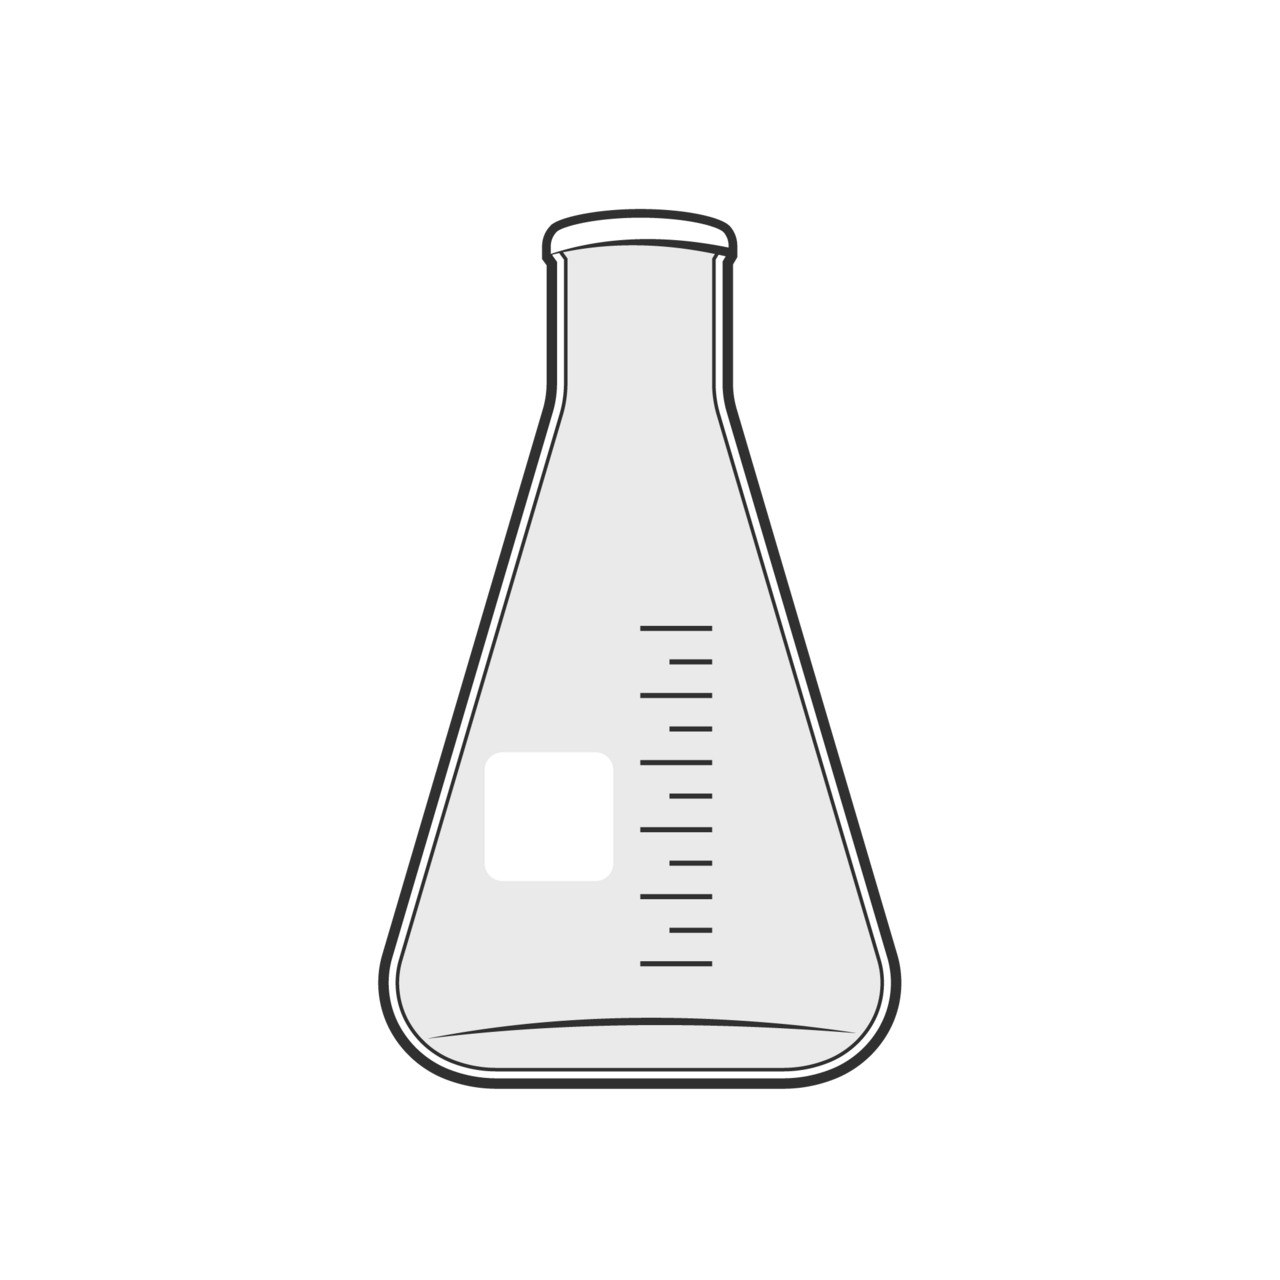


Erlenmeyer Flasks: a Blown Bulb Shaped into a Cone
Emil Erlenmeyer's flask of 1860 is a flat-bottomed cone with a straight neck: it can be swirled without spilling, vapour condenses on its sloping walls, and a funnel sits in its neck. Blow a bulb on a tube as for any flask, then shape it into a cone with a paddle while it turns and press the base flat.
The picture: an Erlenmeyer flask, drawn by NIAID (NIH BioArt).
上級者
An hour per flask, plus annealing
手順
1
1
Blow a bulb
Blow a bulb
Close one end of a tube, gather glass and blow a thick-walled bulb a little larger than the base you want.
このステップの材料:
 ガラス管キット1 個
必要な工具:
 卓上ガラス吹きバーナー
 保護めがね
 耐熱手袋
2
2
Shape the cone
Shape the cone
Reheat the bulb and, turning steadily, press the upper part in with a flat paddle held at an angle while blowing gently, so the sides run straight from the base to the neck.
必要な工具:
卓上ガラス吹きバーナー マーバー(ガラスの転がし板)耐熱手袋
3
3
Flatten the base
Flatten the base
Soften the bottom and press it flat on the marver so the flask stands level.
必要な工具:
卓上ガラス吹きバーナーマーバー(ガラスの転がし板)4
4
Finish the neck
Finish the neck
Cut the tube to neck length, fire-polish and flare the rim slightly with the jacks.
必要な工具:
 ダイヤモンドけがき針卓上ガラス吹きバーナー
 Jacks(ガラス職人のジャックス)
5
5
Anneal and mark
Anneal and mark
Anneal in the kiln and cool slowly. Fill with measured water and scratch rough volume marks.
このステップの材料:
 水0.5 リットル
必要な工具:
 窯
 メスシリンダーダイヤモンドけがき針
6
6
Cone volume
Cone volume
Jupyter ノートブックを読み込み中…
この設計図で作るもの

関連ブループリント
これらのブループリントは知識を共有しています — 技術、材料、原理

CC0 パブリックドメイン
このブループリントはCC0で公開されています。許可を求めずに、自由にコピー、修正、配布、あらゆる目的で使用できます。
メイカーを応援するには、ブループリント経由で製品を購入してください。メイカーには メイカーコミッション がベンダーにより設定されています。または、このブループリントの新しいイテレーションを作成し、自分のブループリントにコネクションとして含めて収益を共有できます。