Casting Copper Tools — Shaping the First Metal
手順
Prerequisite: Smelting Copper
Prerequisite: Smelting Copper
You need copper ingots from smelting. Complete this blueprint first:
前提ブループリント
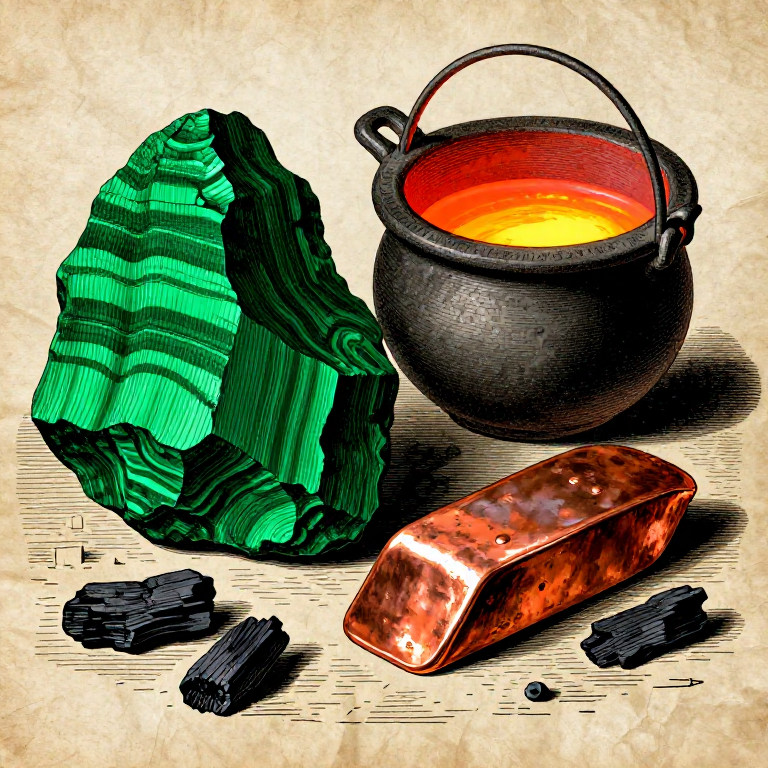
Smelting Copper from Malachite — The Birth of Metallurgy
このステップの材料:
 Casting Mold Box1 pc
必要な工具:
 Kiln (from Blueprint 02)
 Crucible tongs
 Ball peen hammer
 Anvil or flat stone
 Sandpaper / abrasive stone
Making the Mold
Making the Mold
Open Mold Casting (Simplest Method)
The earliest casting method: carve the shape of your tool into a flat stone or packed sand, pour molten copper in, let it solidify.
Stone Mold
- Find a piece of soapstone or sandstone — soft enough to carve, heat-resistant.
- Carve the profile of your tool into the flat face, 1-2cm deep. For a simple axe head, carve a trapezoidal shape.
- Carve a pouring channel from the edge to the mold cavity.
- Smooth the cavity — rough surfaces create rough castings.
- Pre-heat the mold near the kiln before pouring. Cold mold = premature freezing = incomplete fill.
Two-Part Mold (Advanced)
For thicker tools (axe heads, chisels), you need a two-part mold:
- Carve half the tool shape into each of two stones
- Align them with registration marks (notches that interlock)
- Bind together with wet clay or cord
- Pour through a hole in the top
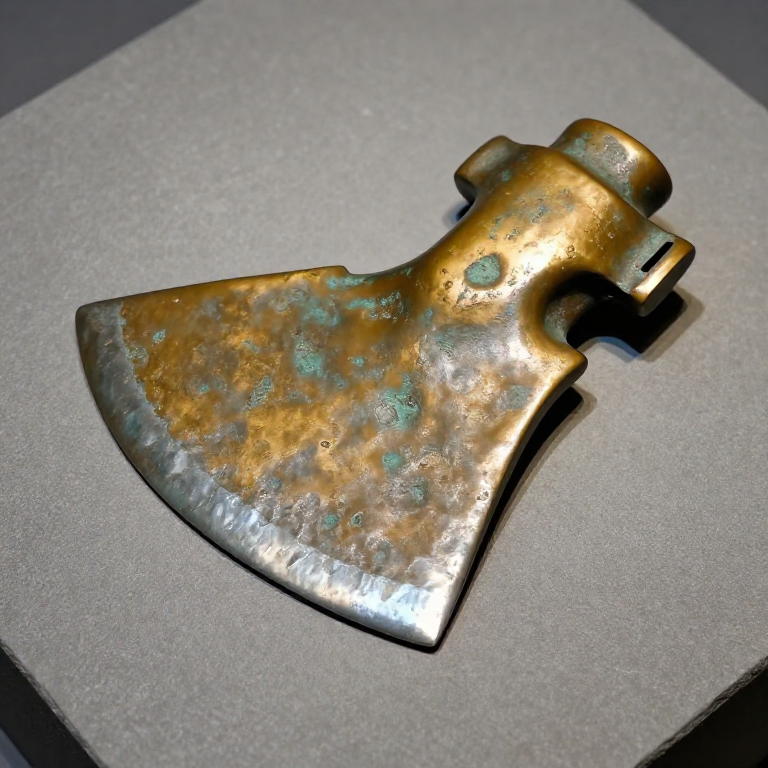
This was the technique used for Ötzi's copper axe — a flat axe cast in a two-part stone mold, then cold-hammered to final edge.
このステップの材料:
 Casting sand or clay5 kgCasting Mold Box1 pc
Melting and Pouring
Melting and Pouring
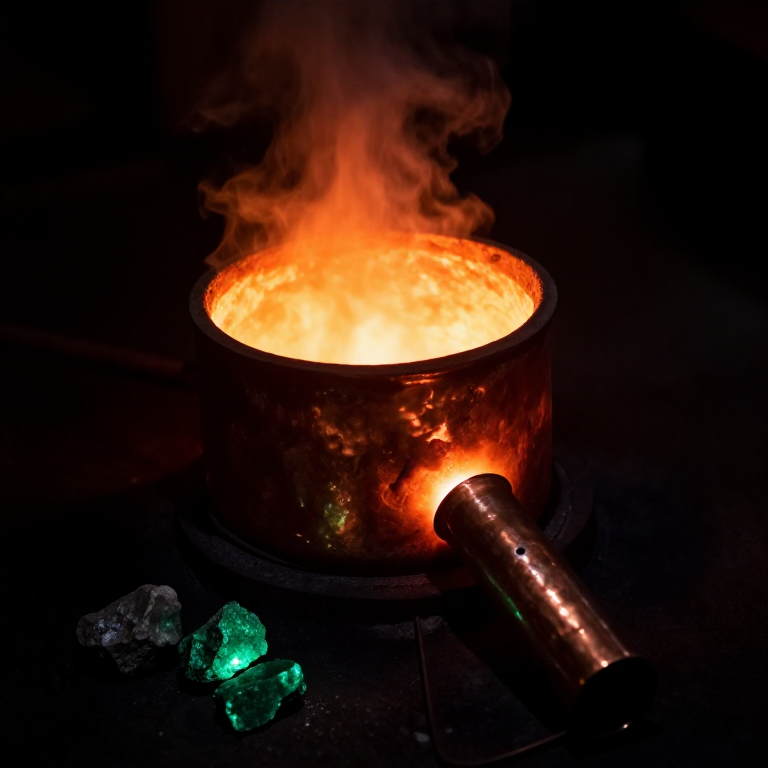
Melting the Copper
- Place copper pieces in the crucible. Fill loosely — copper expands when heated.
- Place crucible in the kiln, surrounded by charcoal.
- Bring to full temperature with bellows. Copper melts at 1085°C.
- Signs of melting: copper surface becomes mirror-bright, then liquid. Do not overheat — excessive temperature causes porosity from dissolved gases.
- Skim slag (dark crust) from the surface with a stick before pouring.
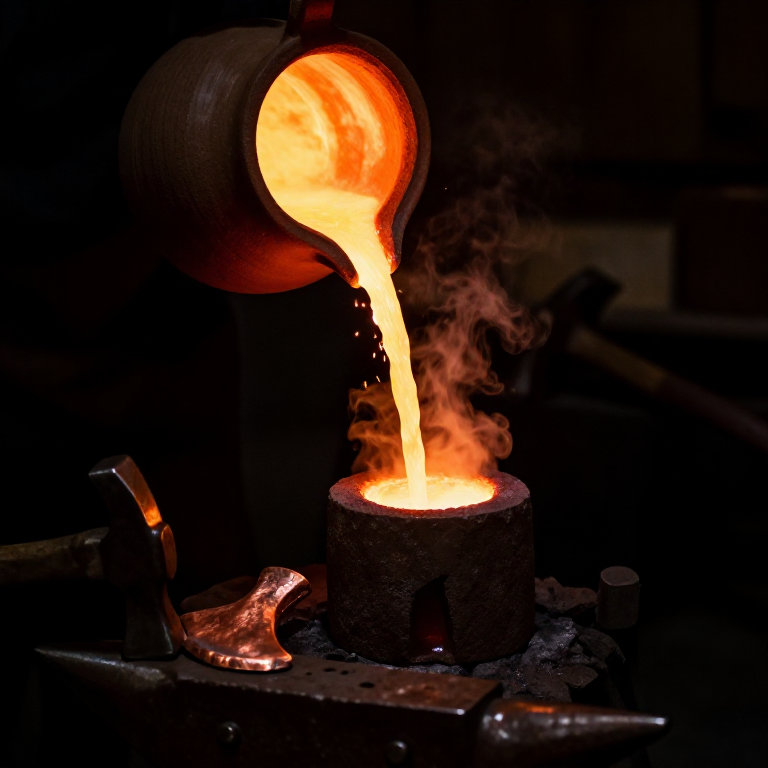
The Pour
- Lift the crucible with tongs. Move smoothly — sloshing = spills.
- Pour in one continuous, steady stream into the mold's pouring channel.
- Fill the mold completely — stopping mid-pour creates cold-shut defects.
- Let solidify naturally. Copper solidifies in 30-60 seconds for small castings.
- Wait at least 5 minutes before removing from mold.
このステップの材料:
 Crucible1 pcCasting Mold Box1 pc
Cold Working and Finishing
Cold Working and Finishing
Work Hardening
Cast copper is relatively soft. Ancient smiths discovered that hammering (cold working) makes it significantly harder — this is work hardening, where deformation compresses the crystal structure.
- Remove the casting from the mold. Break off the pouring sprue.
- Hammer the tool on an anvil/flat stone. Focus on the working edge (blade, cutting surface).
- Hammer in overlapping strokes from center outward. Rotate the piece regularly.
- When the copper becomes hard and brittle (resists further hammering, starts cracking at edges), it's fully work-hardened.
Annealing (If Needed)
If you need to reshape a work-hardened piece:
- Heat it to cherry red (~600°C) in the kiln
- Quench in water
- The copper is now soft again — you can continue hammering
This heat-hammer cycle (anneal → cold work → anneal) was the core metallurgical technique for 3,000 years.
Finishing
- Grind the working edge on sandstone to create a sharp blade.
- Polish with progressively finer abrasive (coarse sand → fine sand → leather).
What You've Made
A functional copper tool — but it's soft compared to stone. Copper axes lose their edge quickly. To make a truly superior metal, you need tin — see Blueprint 06: Extracting Tin and Blueprint 07: Alloying Bronze.
このステップの材料:
Casting sand or clay5 kgCasting Mold Box1 pc材料
6- プレースホルダー
- プレースホルダー
- プレースホルダー
接続ブループリントの材料
Related blueprints
Other builds that share materials, tools, or techniques with this one.


CC0 パブリックドメイン
このブループリントはCC0で公開されています。許可を求めずに、自由にコピー、修正、配布、あらゆる目的で使用できます。
メイカーを応援するには、ブループリント経由で製品を購入してください。メイカーには メイカーコミッション がベンダーにより設定されています。または、このブループリントの新しいイテレーションを作成し、自分のブループリントにコネクションとして含めて収益を共有できます。