コラボレーション
アート
美容とウェルネス
工芸
文化と歴史
エンターテインメント
環境
食品と飲料
リバースエンジニアリング
科学
スポーツ
テクノロジー
ウェアラブル
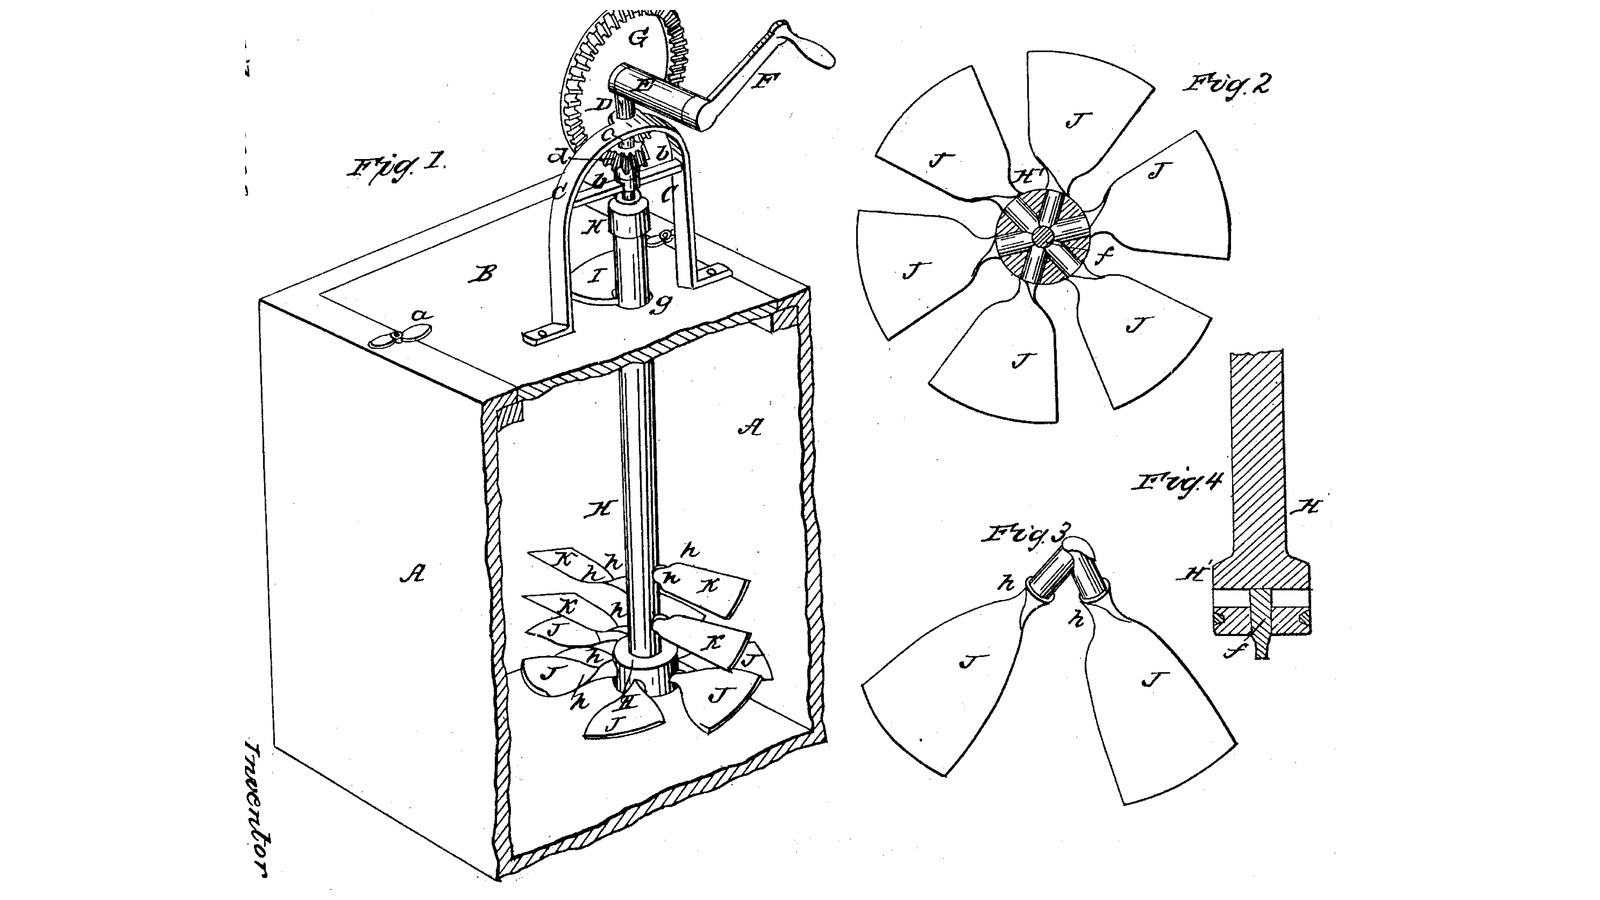

Interlocked-Blade Dasher Churn: Each Blade's Round Shank Is Bored Through by the Next, So They Key Each Other in the Hub
Salem T. Lamb of New Washington, Indiana, received US 30,411, dated 16 October 1860, for fastening the blades of a churn dasher so they never work loose. Each lower blade has a round shank driven into a hole bored to the middle of the hub; boring the next hole cuts the end of the last shank, so every shank keys the one before, and a spindle up the middle locks the set. The dasher turns by a crank and bevel gear on a bracket on the lid, its sloping blades pressing the cream down, and it lifts out through a large opening for cleaning.
The patent gives no sizes; every size here is ours.
中級者
About 3 days
手順
1
1
Where the shanks lock
Where the shanks lock
Jupyter ノートブックを読み込み中…
2
2
Sloping blades that drive the cream down, six months before
Sloping blades that drive the cream down, six months before
Lynch's propeller dasher also drives the cream down. Lamb's answer is how to keep such blades tight.
3
3
Read US 30,411
Read US 30,411
"Another radial hole is then bored for the next adjacent blade, the boring tool passing through or cutting off the end of the first shank. The second blade with the same preparation as the first one is then driven in or united, its shank fitting against and overlapping the first driven one, so as to answer as a key to it, to prevent it from turning or becoming loose."
4
4
Box A, lid B, cover I and buttons a
Box A, lid B, cover I and buttons a
Glue up hardwood for a box A 300 x 300 mm inside and 420 deep, sides 22 mm, joints sealed with silicone sealant. Rout a seat round the top for a 22 mm lid B. Cut an opening in the lid 120 mm wide running from 30 mm behind its centre to 140 mm in front; fit a cover I to it with a 22 mm hole at the centre for the shaft c and a slot from that hole to the cover's back edge, so it can be lifted off past the shaft. Turn two hardwood buttons a on screws at the lid's edge to hold it down.
このステップの材料:
 堅木の板4 個
 木工用接着剤1 個
 シリコーンシーラント1 個
 木ねじ24 個
必要な工具:
 テーブルソー
 ジグソー
 ルーター
 木工のみセット
 スペードビットセット
 コードレスドリル
 ドリルビットセット
 バークランプ
 ドライバーセット
 メジャー(巻尺)
5
5
Staff H, hub and band
Staff H, hub and band
Turn a hardwood staff 40 mm across and 375 mm long, with a hub H 76 mm across for its bottom 80 mm, and the top 15 mm turned to 28 mm for the cap. Turn a groove near the hub's foot and press on a ring cut from a stainless tube as the band, so the hub cannot split when it dries. Bore a 10.2 mm hole up the middle of the hub from below, 50 mm deep, for the spindle f.
このステップの材料:
堅木の板2 個木工用接着剤1 個 ステンレス鋼の管1 個
必要な工具:
 木工旋盤コードレスドリルドリルビットセット
 金切りのこ(ハクソー)
 やすり(手やすり)
6
6
Blades J and K
Blades J and K
Carve six lower blades J from hardwood 8 mm thick: 26 mm wide at the neck widening to 100 mm at the tip, reaching 135 mm from the staff's centre, slightly hollowed on top, each on a round shank 20 mm across and 52 mm long, so it reaches the centre, with a small shoulder i, the blade's twist running out along the neck into the shank as the spiral lines h. Carve six upper blades K the same way, 16 to 60 mm wide, reaching 125 mm, on 14 mm shanks 34 mm long.
このステップの材料:
堅木の板1 個必要な工具:
テーブルソージグソー 木彫り丸のみセット木工のみセット木工旋盤やすり(手やすり)
7
7
Lock the lower shanks
Lock the lower shanks
Bore a 20 mm radial hole level into the hub, 40 mm above its foot, to just past the centre. Coat the first J shank near its shoulder with food-safe silicone sealant (the patent used white lead or other cement) and drive it in with the blade sloped 30 degrees. Bore the next hole 60 degrees round, cutting off the end of the first shank, and drive the next blade so its shank overlaps the first. Go on round all six, each keying the last, every blade sloped the same way. Drive a 10 mm stainless rod 60 mm long up the centre hole through the shanks as the spindle f, leaving 14 mm below the hub.
このステップの材料:
シリコーンシーラント1 個 ステンレス鋼の丸棒1 個
必要な工具:
コードレスドリルスペードビットセットドリルビットセット金切りのこ(ハクソー)8
8
Set the upper blades
Set the upper blades
Bore three 14 mm radial holes 120 degrees apart into the staff 180 mm above the hub's foot and three more 210 mm up, turned 60 degrees, so the upper blades break spaces with each other and with the lower. Set the K blades in them with sealant, sloped the same way as the J blades.
このステップの材料:
シリコーンシーラント1 個必要な工具:
コードレスドリルスペードビットセット9
9
Print the step
Print the step
The step on the box's bottom: 60 mm across, 15 high, with a 10.6 mm hole 9 deep for the spindle f. PETG, 0.2 mm layers, 30 % infill, 4 walls.
10
10
Print the staff cap
Print the staff cap
The cap glued on the staff's top: 40 mm across, 30 high, a 28 mm socket 15 deep below and a 12.2 mm square socket above for the foot of shaft c. PETG, 0.2 mm layers, 30 % infill, 4 walls.
11
11
Print the crown wheel G
Print the crown wheel G
The driving wheel G on the crank shaft: a crown wheel of 42 teeth, module 2.5, 16.2 mm bore. PETG, 0.2 mm layers, 30 % infill, 4 walls.
12
12
Print the pinion d
Print the pinion d
The pinion d on shaft c: 14 teeth, module 2.5, 16.2 mm bore. PETG, 0.2 mm layers, 30 % infill, 4 walls.
13
13
Bracket C, shaft c, gears and crank F
Bracket C, shaft c, gears and crank F
Screw two hardwood posts 40 x 40 mm, 200 mm tall, to the lid either side of the opening, 160 mm apart over their inside faces; join them with a cross brace b 60 mm up and a top bar at the top, both bored 16.6 mm over the staff. Cut a 16 mm stainless shaft c 283 mm long, file its foot 12 mm square for 14 mm, and run it down through the bar and brace with the pinion d pinned on it above the bar. Screw two hardwood blocks 50 x 25 x 100 mm on the bar either side of the pinion as the sleeve E, bored 16.6 mm across 75 mm above the bar; run a 16 mm stainless crank shaft 180 mm long through them with the crown wheel G pinned on it meshing d, a shaft collar, and a crank F of mild steel flat bar, 100 mm throw, with a hardwood handle.
このステップの材料:
堅木の板1 個ステンレス鋼の丸棒1 個 Shaft Collar1 個
 割りピン3 個
 軟鋼平鋼1 個
 堅木のダボ1 個木工用接着剤1 個木ねじ12 個
 PETGフィラメント1 個
必要な工具:
 FDM 3D プリンターテーブルソーコードレスドリルドリルビットセット金切りのこ(ハクソー)やすり(手やすり)
 万力(ベンチバイス)バークランプドライバーセット
14
14
The build in 3D
The build in 3D
FreeCAD model of this build, the box cut open: the step, the staff with its banded hub, the six lower blades on interlocked shanks and the six upper blades, the lid with its opening and cover, and the bracket with shaft c, pinion, crown wheel and crank.
15
15
Churn, gather and lift out
Churn, gather and lift out
Pour about 20 litres of heavy cream at about 15 °C, checked with the thermometer, into the box. Tilt the dasher in through the opening, set its spindle in the step, swing the staff upright under shaft c so the square enters the cap, and put on the cover and lid. Turn the crank briskly so the blades press the cream down, timing it. When the butter comes, turn on the same way but much slower, so the blades roll it into masses. Take off the cover, lift the dasher slowly while turning it backwards by hand so it slips out through the butter. Gather the butter, pour the buttermilk into a bowl, wash the butter in cold water until it runs clear, salt and weigh it. Scald, wash and air-dry the dasher.
このステップの材料:
 生クリーム20 l
 粗い海塩1 個
 水1 個
必要な工具:
 差しっぱなしのプローブ温度計
 ストップウォッチ
 デジタルキッチンスケール
 ステンレス鋼の大きな混ぜ鉢
16
16
Troubleshooting
Troubleshooting
Interlocked-blade churn troubleshooting.
Flow
Loading...
17
17
History and honest limits
History and honest limits
**Salem T. Lamb** of New Washington, Clark County, Indiana, US 30,411, 16 October 1860, "Fastening Blades of Churn-Dashers". He claimed the "interlocking or overlapping of the shanks of the blades J, so that they shall serve to hold each other firmly in the staff". He set the shanks in white lead or other cement; we use food-safe silicone, as white lead is a lead compound. His hub band was molten metal run into a groove and his gears a cast bracket with bevel wheels; ours are a pressed stainless ring, wooden posts and printed crown gears. The patent gives no sizes; every size here is ours.
材料
14- 4 個プレースホルダー
- 3 個プレースホルダー
- 3 個プレースホルダー
- 36 個プレースホルダー
- 1 個プレースホルダー
- 1 個プレースホルダー
- 1 個プレースホルダー
- 3 個プレースホルダー
- 1 個プレースホルダー
- 1 個プレースホルダー
- 1 個プレースホルダー
- 20 lプレースホルダー
- 1 個プレースホルダー
- 1 個プレースホルダー
必要な工具
20- 1 vendor sell this, none ship to you yetプレースホルダー
- 1 vendor sell this, none ship to you yetプレースホルダー
- プレースホルダー
- プレースホルダー
- プレースホルダー
- 1 vendor sell this, none ship to you yetプレースホルダー
- プレースホルダー
- プレースホルダー
- プレースホルダー
- 1 vendor sell this, none ship to you yetプレースホルダー
- プレースホルダー
- プレースホルダー
- プレースホルダー
- プレースホルダー
- プレースホルダー
- プレースホルダー
- プレースホルダー
- プレースホルダー
- プレースホルダー
- プレースホルダー
設計ファイル
5

関連ブループリント
これらのブループリントは知識を共有しています — 技術、材料、原理
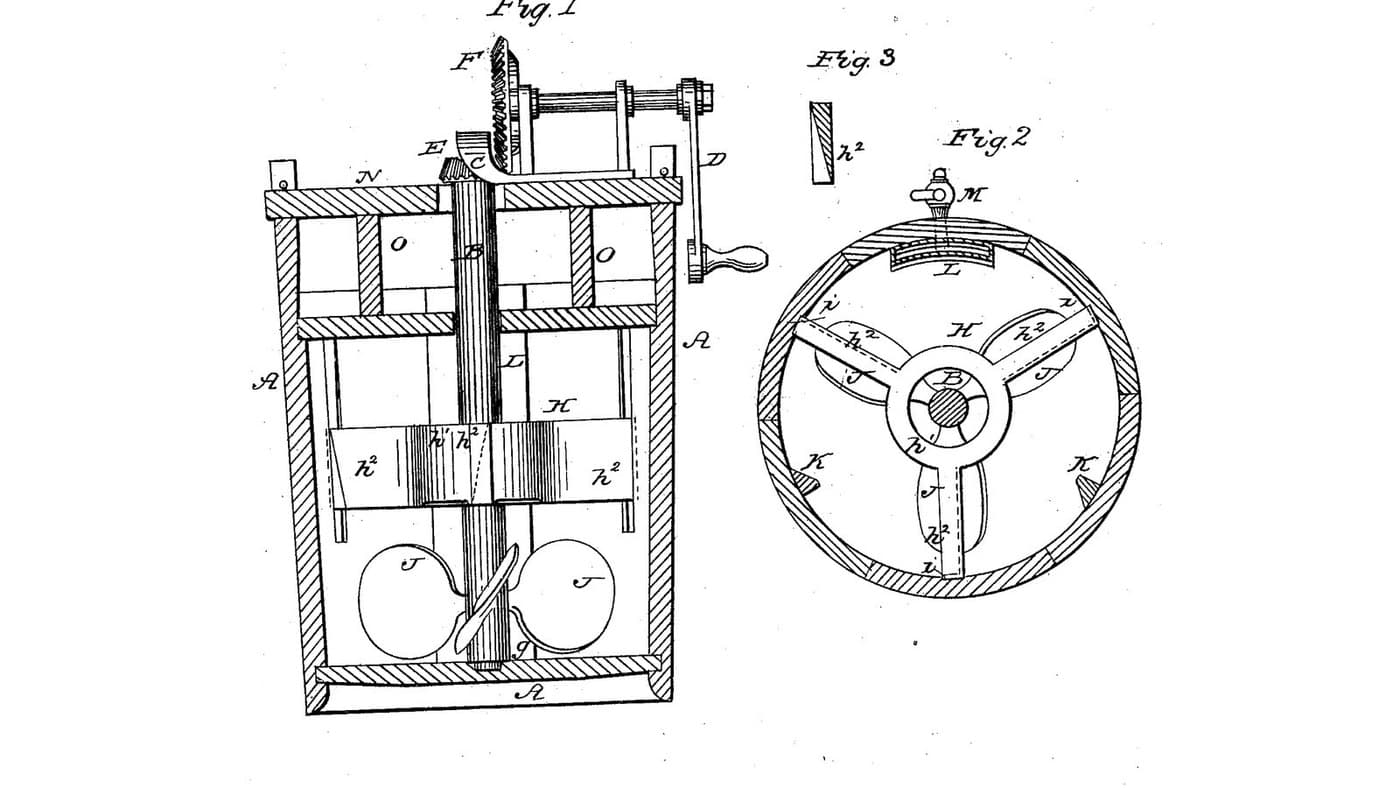
Floating-Breaker Churn: A Propeller Dasher Under a Breaker That Floats in Wall Grooves, a Water Tube Held by the Faucet
Buttercup 作
木工
0
0
0
0
0
0
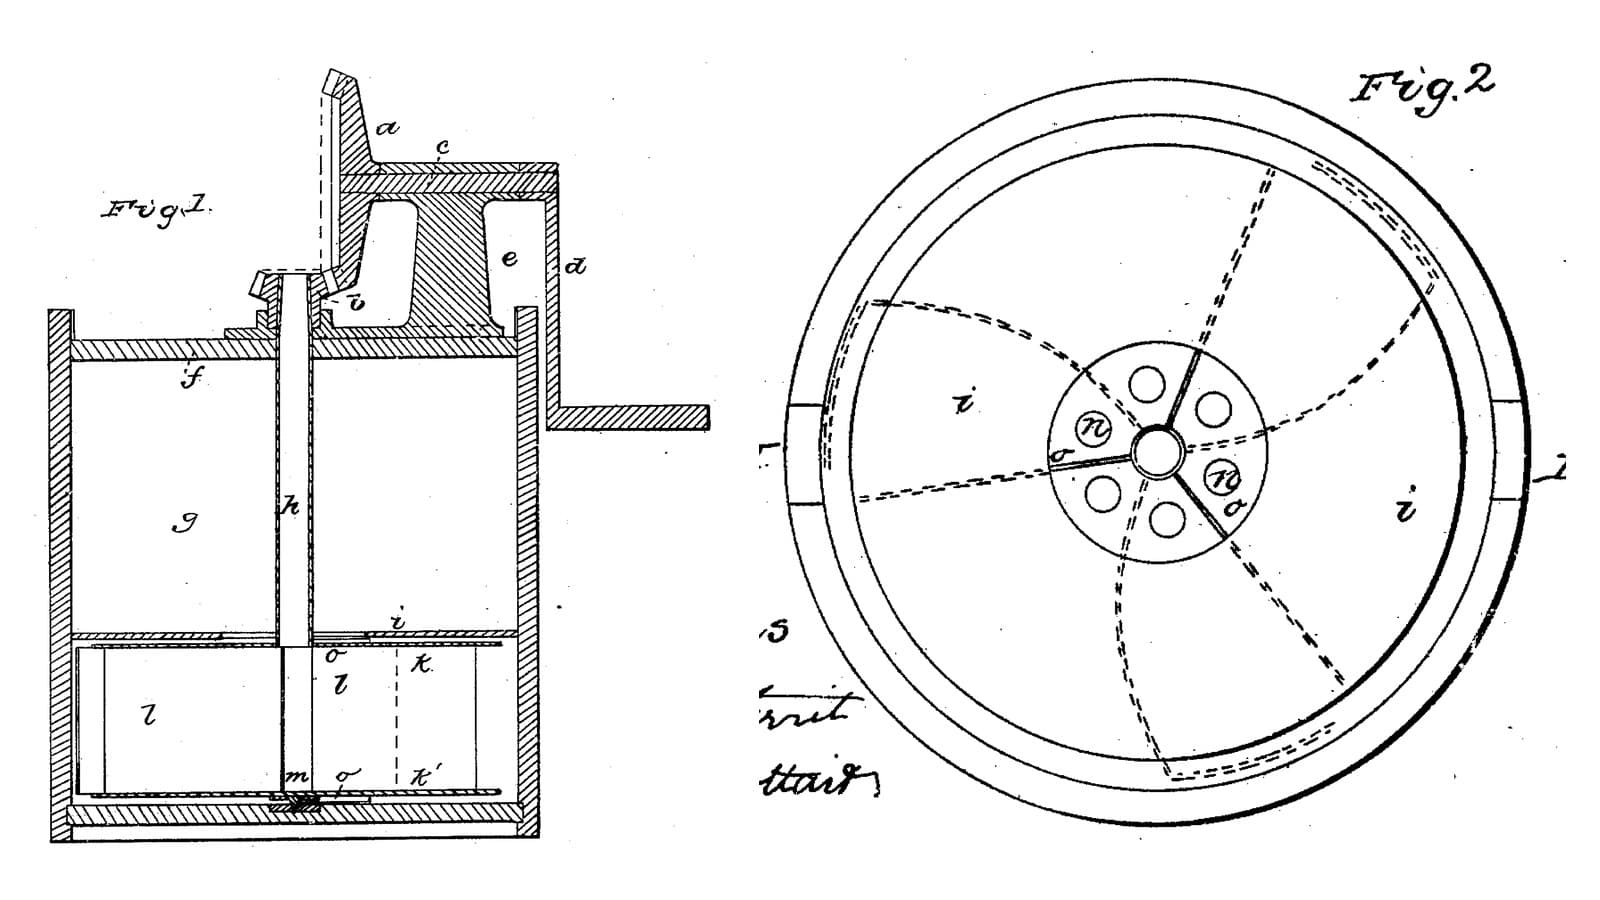
Centrifugal-Dasher Churn: Curved Wings on a Hollow Shaft Throw the Cream at the Wall, a Fixed Disk Turns It Back
Buttercup 作
木工
1
0
0
0
0
0
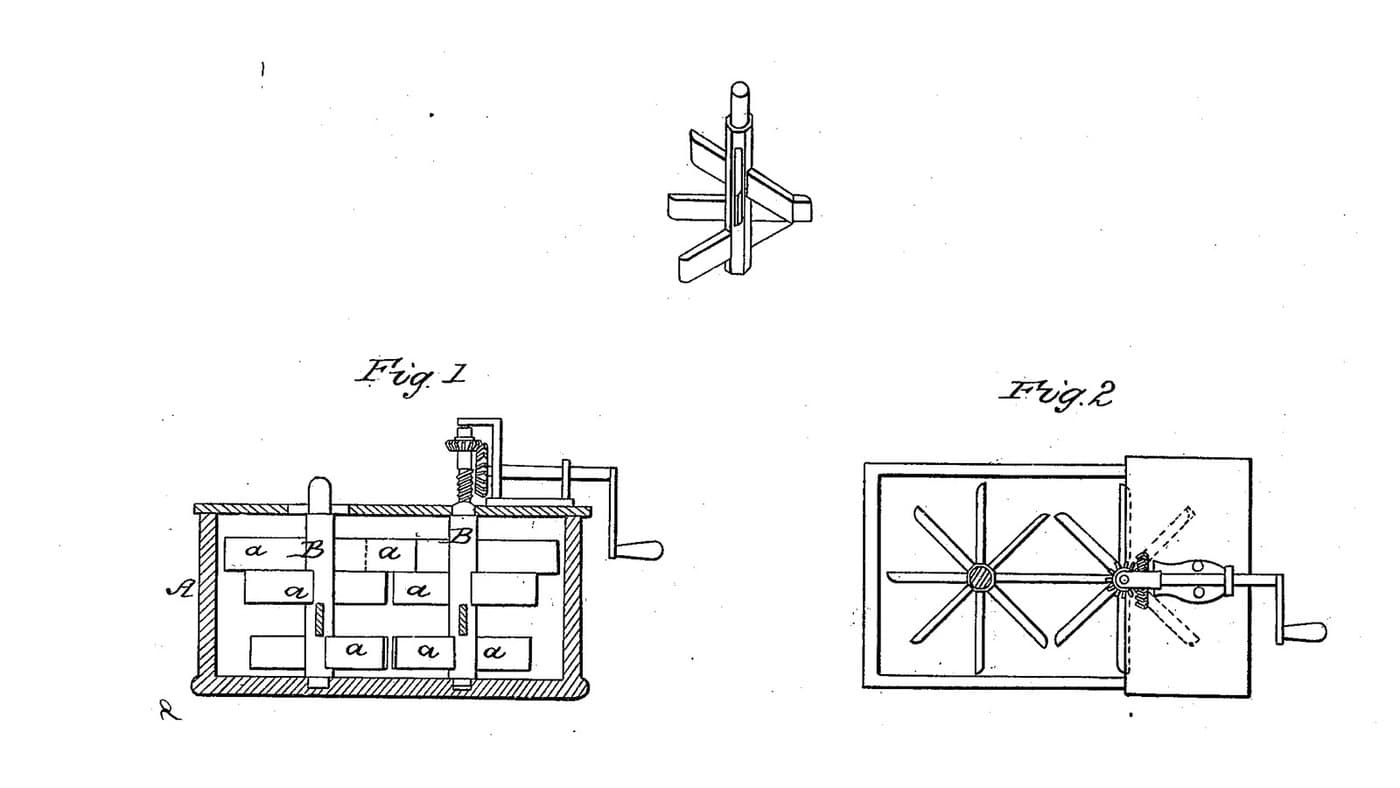
Interlapping Spiral-Dasher Churn: Two Upright Shafts With Arms Set in Screw Form Interlap, One Turning the Other
Buttercup 作
木工
0
0
0
0
0
0

Churning Butter from Cream — The 5,000-Year-Old Fat Separation
TheChef 作
工芸
60
0
0
0
0
0
CC0 パブリックドメイン
このブループリントはCC0で公開されています。許可を求めずに、自由にコピー、修正、配布、あらゆる目的で使用できます。
メイカーを応援するには、ブループリント経由で製品を購入してください。メイカーには メイカーコミッション がベンダーにより設定されています。または、このブループリントの新しいイテレーションを作成し、自分のブループリントにコネクションとして含めて収益を共有できます。