

Making a LilyPad Musical Patch
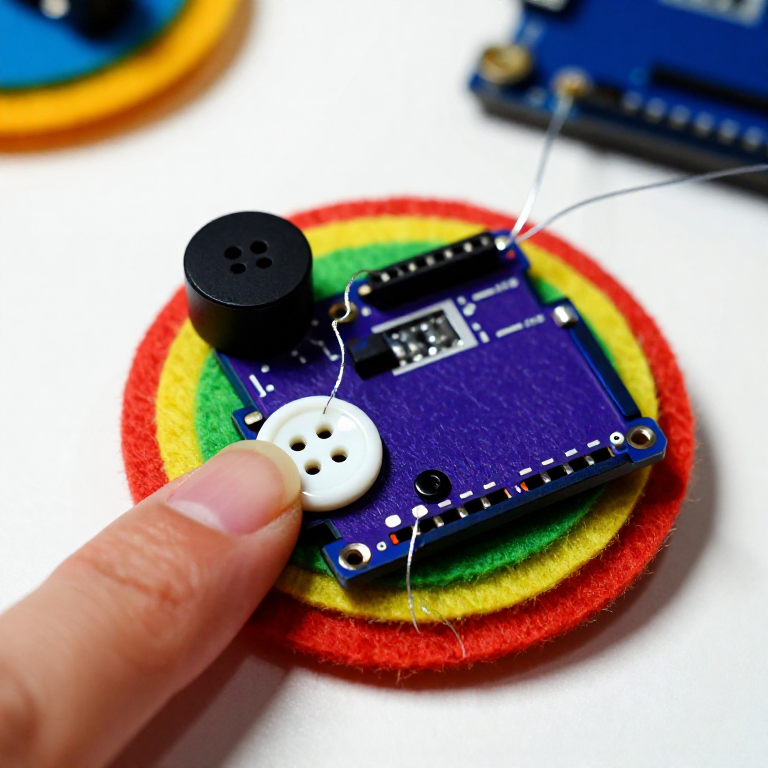
Sew a patch that plays a tune. A LilyPad buzzer and a button let the microcontroller sing a short melody whenever you press it — a musical badge, a fabric greeting card, or a costume piece. This project introduces the buzzer and the Arduino tone() function that turns pin signals into notes.
手順
Sew the board, buzzer and button
Sew the board, buzzer and button
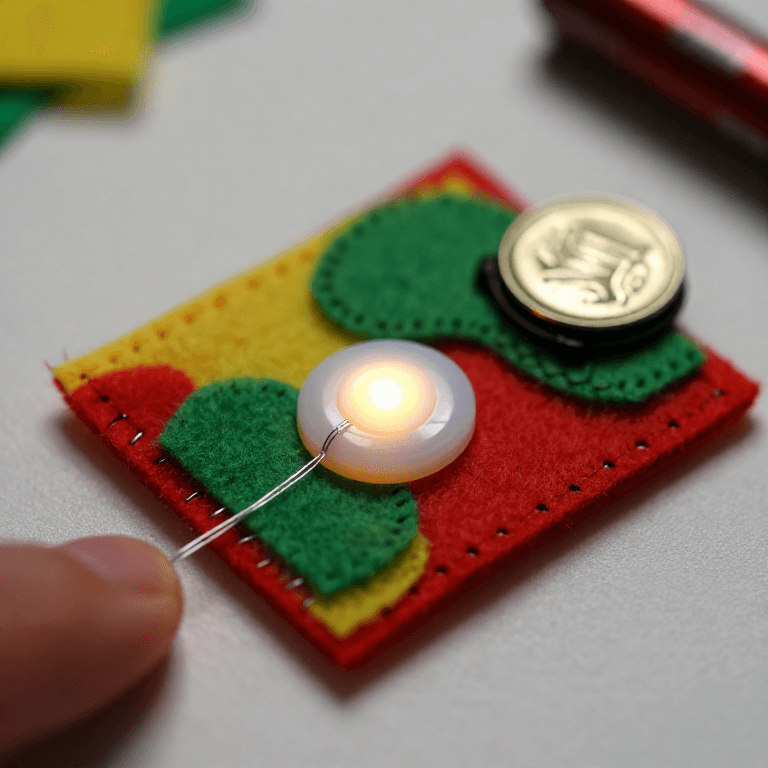
Sew a LilyPad Arduino, a LilyPad buzzer and a LilyPad button onto felt. Wire it: the buzzer's + tab to pin 9 and its - tab to -; the button's tabs to analog pin A2 and to -. Keep the lines from crossing.
このステップの材料:
 LilyPad Arduino Simple Board1 個
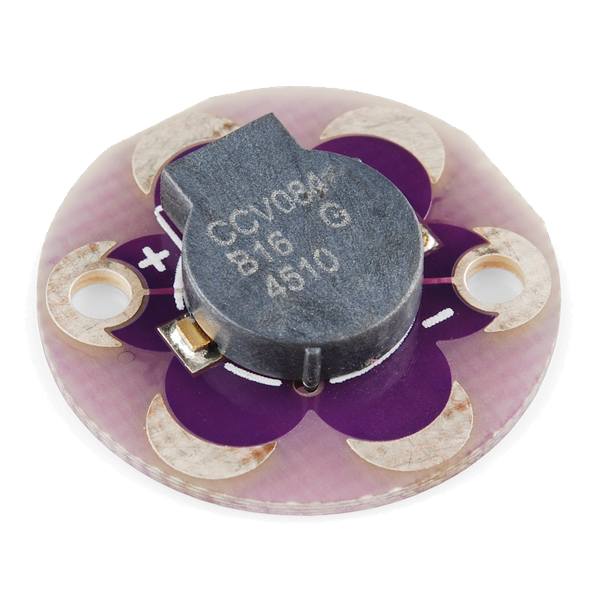 LilyPad Buzzer1 個
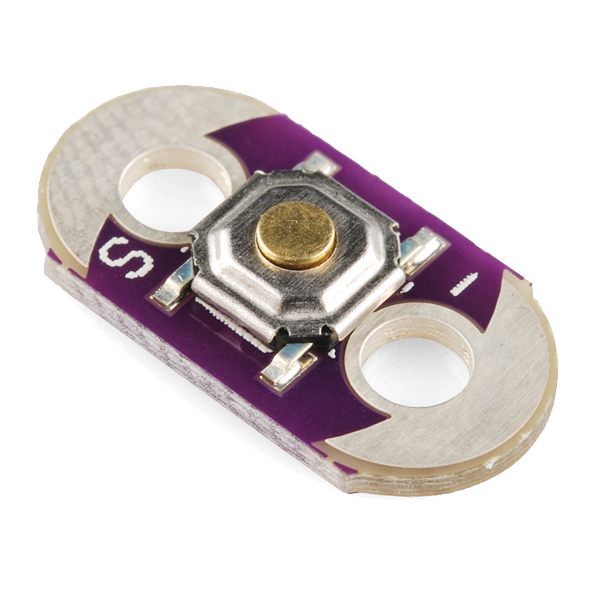 LilyPad Button Board1 個
 Conductive Thread - 60g (Stainless Steel)1 巻
 ウールフェルトシート1 枚
必要な工具:
 手縫い針
手縫い針Connect the programmer
Connect the programmer
Plug the LilyPad FTDI onto the programming header and connect the USB cable. Open the Arduino IDE and select the LilyPad Arduino board and its serial port.
必要な工具:
 Arduino IDE を入れたパソコン
 LilyPad FTDI Basic Breakout - 5V
 USB-B ケーブル
Upload the melody sketch
Upload the melody sketch
Paste this sketch and upload. Pressing the button plays a short rising scale on the buzzer.
Press to play, then compose
Press to play, then compose
Press the button — you should hear the five notes. Change the tune by editing the melody[] frequencies (higher number = higher note) and the durations[] in milliseconds, then re-upload. Add more notes to both arrays to make a longer song.
Go wireless and wear it
Go wireless and wear it
Unplug the FTDI, sew a LilyPad coin-cell holder to the board (+ to +, - to -), drop in a CR2032 and switch on. Sew the felt onto a badge or card — press it to play your tune anywhere.
このステップの材料:
 LilyPad Coin Cell Battery Holder - w/Switch - 20mm1 個
 CR2032 コイン電池1 個
材料
7- LilyPad Arduino Simple Board10%コミッション1 個¥31
- LilyPad Buzzer10%コミッション1 個¥12
- LilyPad Button Board10%コミッション1 個¥3
- 1 巻¥63
- 1 枚プレースホルダー
- ¥8
- 1 個プレースホルダー
必要な工具
4- プレースホルダー
- プレースホルダー
- LilyPad FTDI Basic Breakout - 5V10%コミッション¥23
- 1 vendor sell this, none ship to you yetプレースホルダー
関連ブループリント
これらのブループリントは知識を共有しています — 技術、材料、原理
CC0 パブリックドメイン
このブループリントはCC0で公開されています。許可を求めずに、自由にコピー、修正、配布、あらゆる目的で使用できます。
メイカーを応援するには、ブループリント経由で製品を購入してください。メイカーには メイカーコミッション がベンダーにより設定されています。または、このブループリントの新しいイテレーションを作成し、自分のブループリントにコネクションとして含めて収益を共有できます。