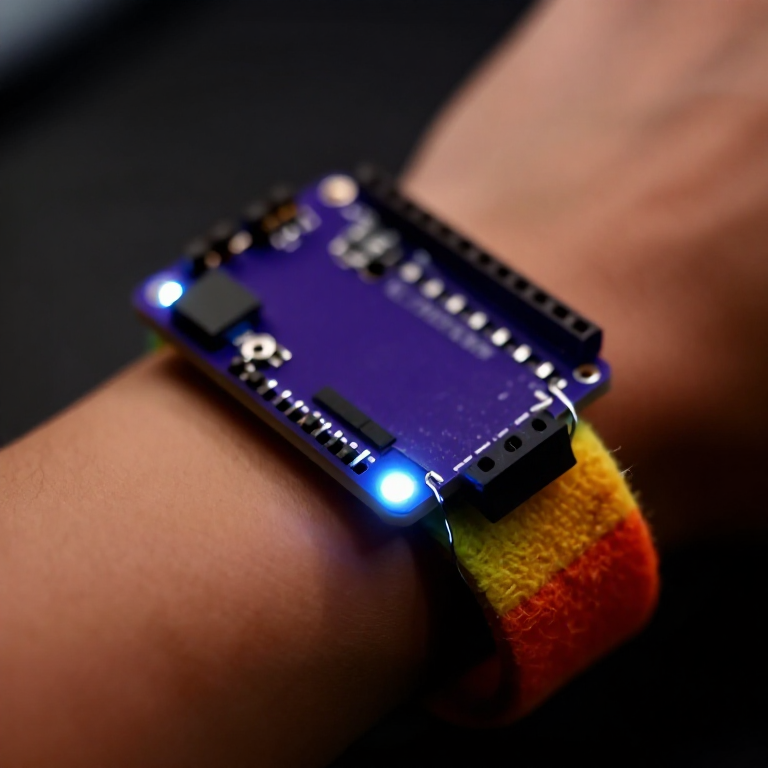


Making a Motion-Reactive LilyPad Patch
Sew a patch that lights up when it moves. A LilyPad accelerometer senses motion in three directions, and a short program flashes an LED whenever you shake or swing it — a reactive costume piece, a dance accessory, or a 'don't-touch' bag alarm. Introduces the accelerometer and reading three sensor axes at once.
手順
Sew the board, accelerometer and LED
Sew the board, accelerometer and LED
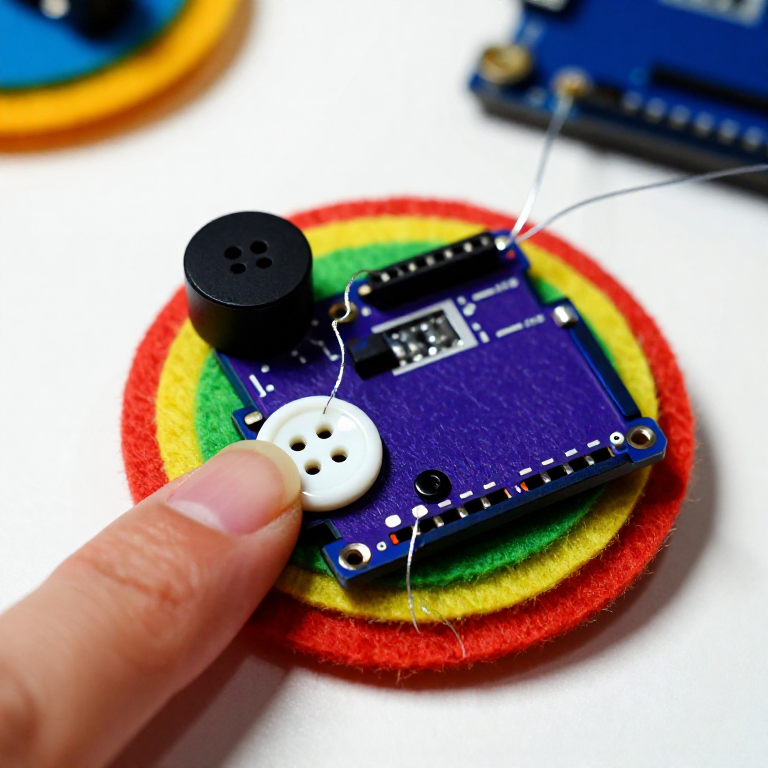
Sew a LilyPad Arduino, a LilyPad accelerometer and a LilyPad LED onto felt. Wire it: the accelerometer's + to the board's +, its - to -, and its X, Y and Z tabs to analog pins A2, A3 and A4; the LED to pin 5 and to -. Keep every line separate.
このステップの材料:
 LilyPad Arduino Simple Board1 個
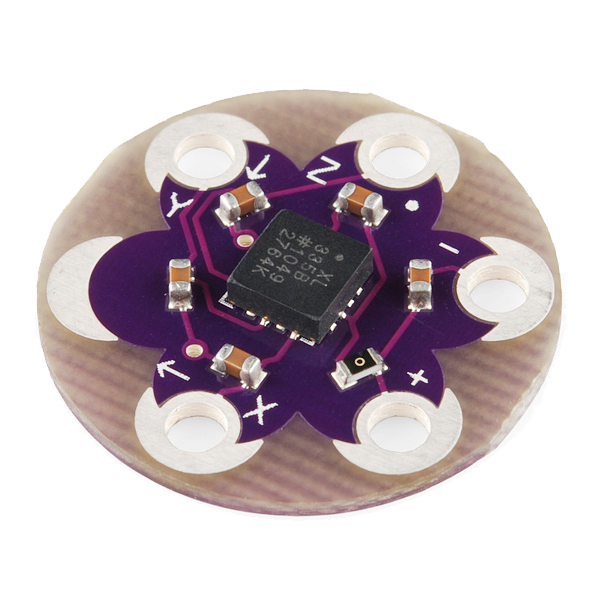 LilyPad Accelerometer ADXL3351 個
 LilyPad LED - 5 pcs1 パック
 Conductive Thread - 60g (Stainless Steel)1 巻
 Hand Sewing Needles (Assorted, 30-Pack)1 パック
 Wool Felt Sheet1 枚
Connect the programmer
Connect the programmer
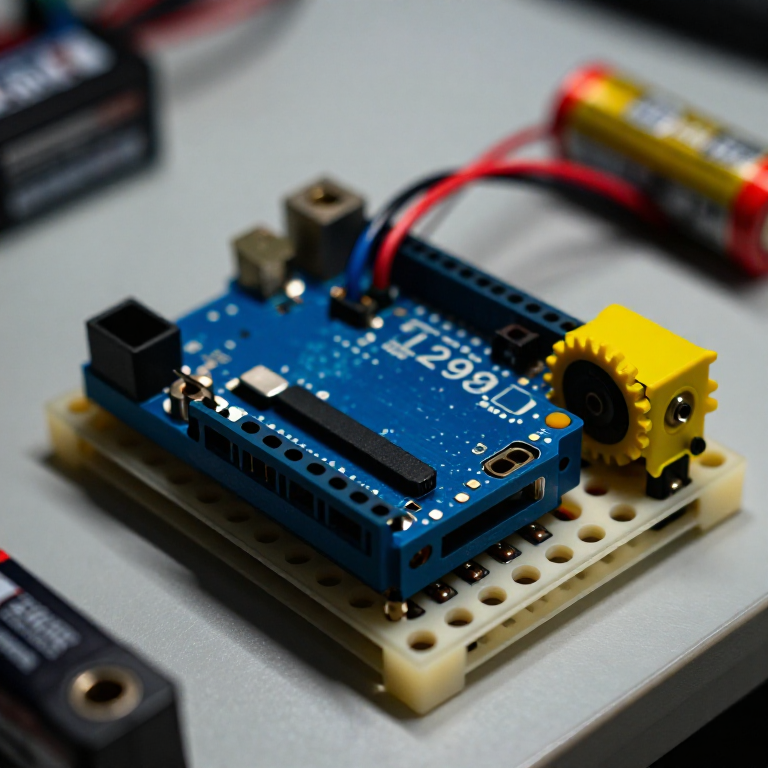
Plug the LilyPad FTDI onto the programming header and connect the USB cable. Open the Arduino IDE and select the LilyPad Arduino board and its serial port.
このステップの材料:
 LilyPad FTDI Basic Breakout - 5V1 個
 SparkFun Cerberus USB Cable - 1.8 meter1 個
必要な工具:
 Computer with Arduino IDE
Upload the motion sketch
Upload the motion sketch
Paste this sketch and upload. It watches how much the three axes change between readings and lights the LED when the patch moves.
Test and tune the sensitivity
Test and tune the sensitivity
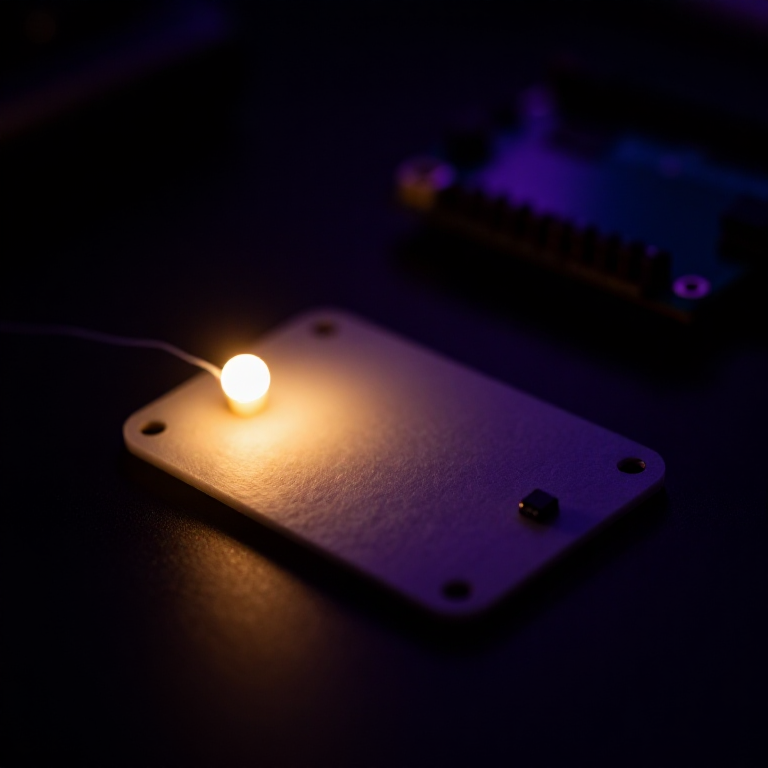
Hold the patch still — the LED stays off. Shake or swing it — the LED lights. If it's too twitchy or not sensitive enough, change moveThreshold in the sketch (higher = needs a bigger movement) and re-upload.
Go wireless and wear it
Go wireless and wear it
Unplug the FTDI, sew a LilyPad coin-cell holder to the board (+ to +, - to -), drop in a CR2032 and switch on. Sew the felt onto a sleeve, shoe or bag — it flashes whenever you move.
このステップの材料:
 LilyPad Coin Cell Battery Holder - w/Switch - 20mm1 個
 CR2032 Coin Cell Battery1 個
材料
10- 1 パック¥6
- プレースホルダー
- プレースホルダー
- プレースホルダー
必要な工具
1- プレースホルダー
関連ブループリント
これらのブループリントは知識を共有しています — 技術、材料、原理
Related blueprints
Other builds that share materials, tools, or techniques with this one.

CC0 パブリックドメイン
このブループリントはCC0で公開されています。許可を求めずに、自由にコピー、修正、配布、あらゆる目的で使用できます。
メイカーを応援するには、ブループリント経由で製品を購入してください。メイカーには メイカーコミッション がベンダーにより設定されています。または、このブループリントの新しいイテレーションを作成し、自分のブループリントにコネクションとして含めて収益を共有できます。