コラボレーション
アート
美容とウェルネス
工芸
文化と歴史
エンターテインメント
環境
食品と飲料
リバースエンジニアリング
科学
スポーツ
テクノロジー
ウェアラブル
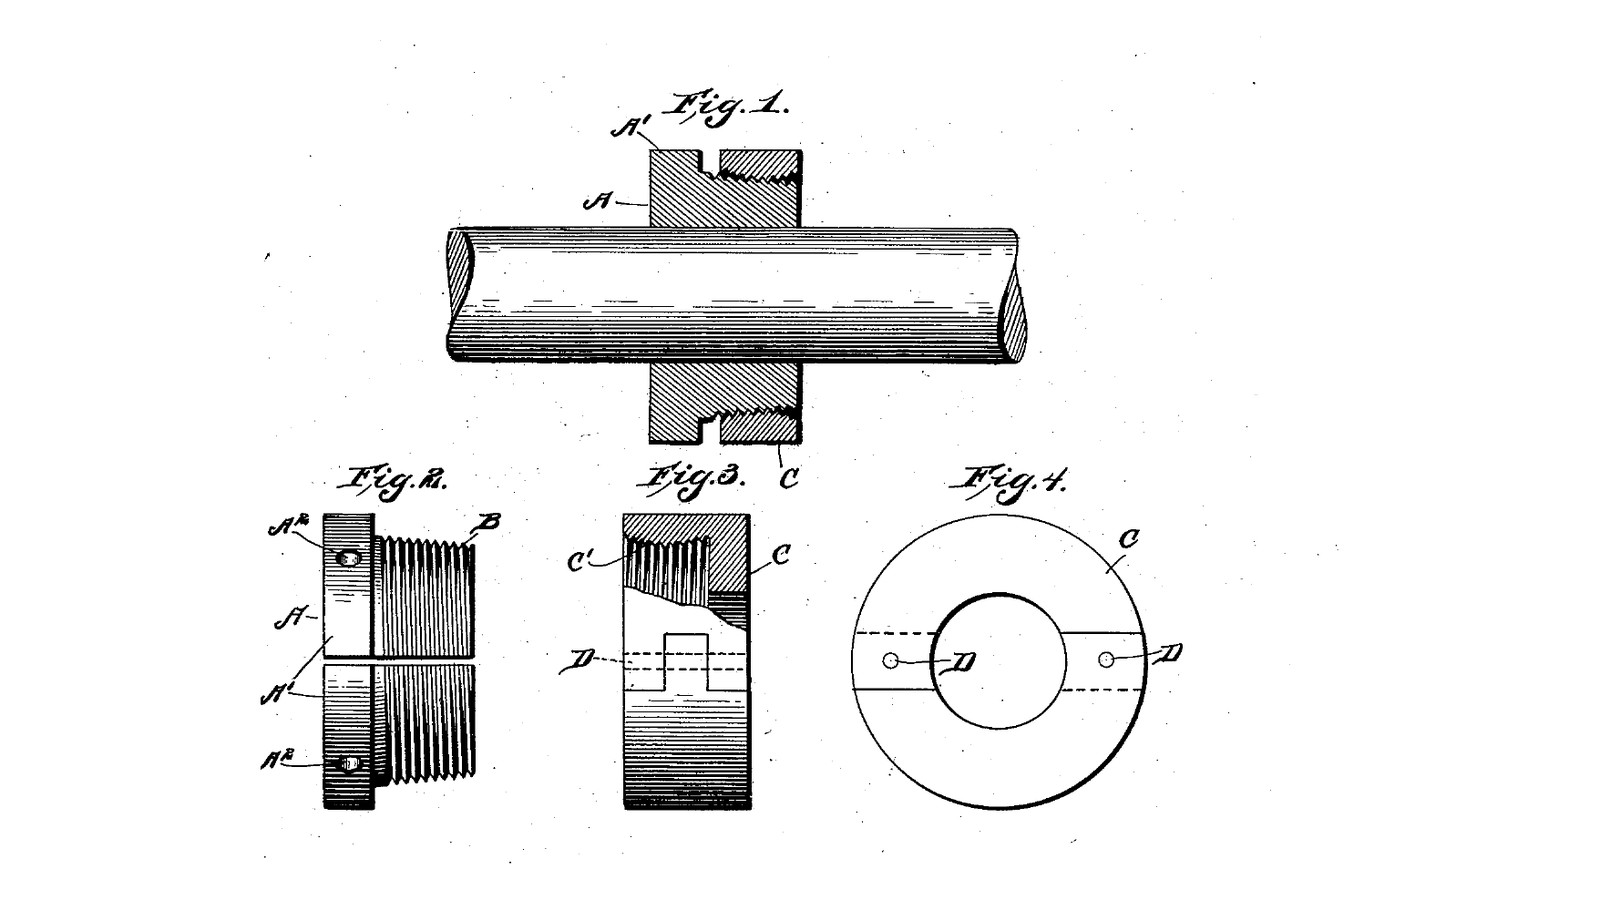


Shaft Collar Without a Set Screw: Split Halves With a Tapered Thread, Clamped by a Nut (Melius, 1904)
Charles H. Melius of Gloversville, New York, received US 758,549, dated 26 April 1904, for a shaft collar that holds "without the use of set-screws". The collar is cut lengthwise in two halves that go round the shaft from the side. Each half has part of a flange and part of a tapered, threaded body. A nut screwed onto the taper squeezes the halves onto the shaft. It grips anywhere along the shaft and does not mark it.
We build the form in his Fig. 1, with a solid nut that goes on over the shaft's end before the halves. The thread is a standard 3/4 inch taper pipe thread. The patent gives no sizes; every size here is ours.
中級者
About 4 hours
手順
1
1
How hard the nut squeezes the halves
How hard the nut squeezes the halves
Jupyter ノートブックを読み込み中…
2
2
Read US 758,549
Read US 758,549
"Ordinary shaft-collars are generally in the form of a continuous ring, and it is necessary to slip the same over the ends of the shaft, and the collar is secured in place by transverse set-screws."
"The halves of the part A when arranged upon the shaft do not come in close contact with one another, but are a slight distance apart, so that when the nut C is threaded upon the portion B the halves of the part A will be drawn together and tightly clamped upon the shaft."
3
3
Turn the male part A
Turn the male part A
Grip 36 mm A/F hex bar in the 3-jaw chuck with 35 mm sticking out. Face the end. Turn the body round to 26.7 mm for 20 mm from the end, leaving the hex as the flange, and chamfer the end 1 mm. Centre-drill, drill through 15 mm and ream 16 mm, or bore to 16 mm; check that the shaft slides through. Part off 28 mm from the end, so the flange is 8 mm thick.
このステップの材料:
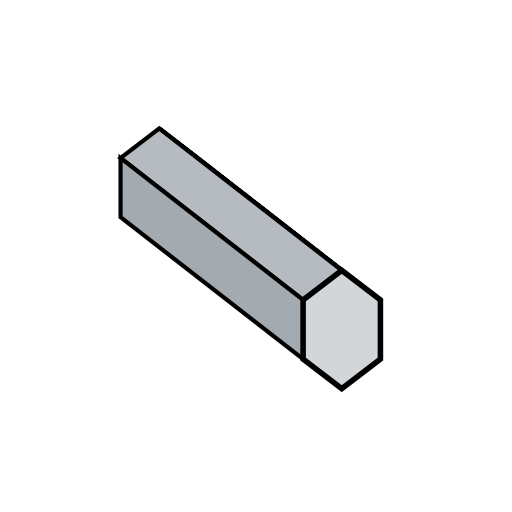 軟鋼六角棒1 個
 切削油1 個
必要な工具:
 金属旋盤
 三つ爪旋盤チャック
 旋盤の切削工具
 センタードリルセット
 ドリルビットセット
 リーマ
 ボーリングバー
 突切りバイト
 デジタルノギス 6インチ
 保護めがね
4
4
Cut the tapered thread B
Cut the tapered thread B
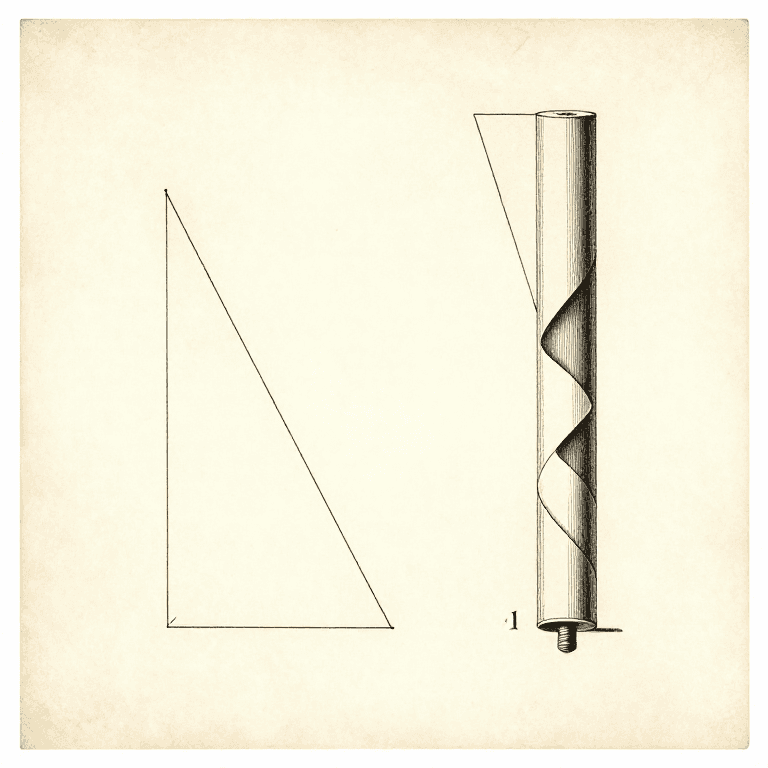
Hold the part by its hex flange in the vice, in soft jaws. Start the 3/4 inch taper pipe die square on the chamfer, in its die stock, and cut the thread up to the flange with cutting oil, backing off every half turn to break the chips. The die cuts the 1 in 16 taper itself: the thread is biggest at the flange.
このステップの材料:
切削油1 個必要な工具:
 万力(ベンチバイス)
 万力の保護口金
 Taper Pipe Die
 ダイスハンドル
5
5
Make the nut C
Make the nut C
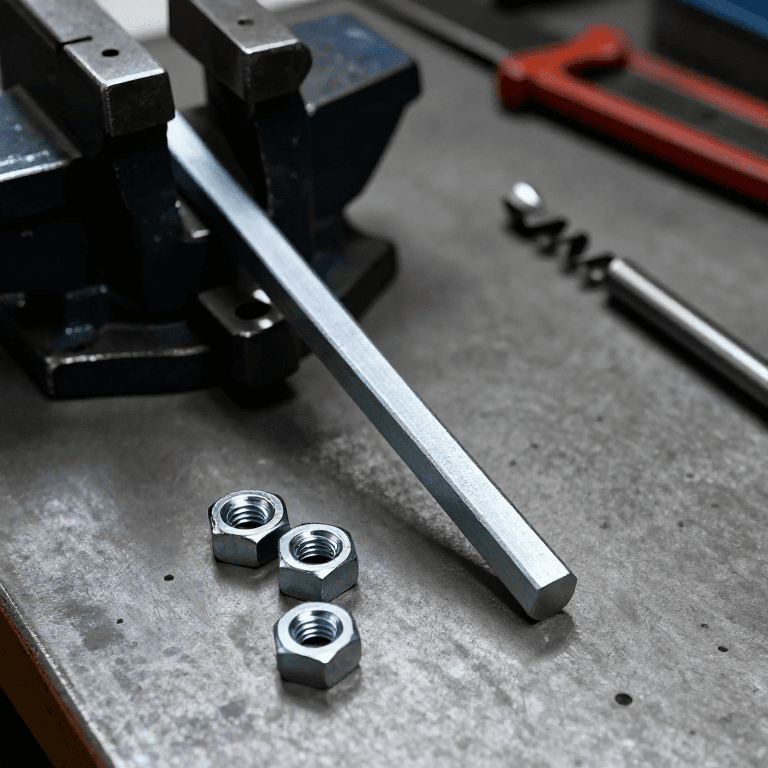
From the same hex bar, face, centre-drill and drill through in steps up to 23.4 mm (59/64 inch), then part off 14 mm long. Hold it in the vice and run the 3/4 inch taper pipe tap in from one face with cutting oil until part A screws in by hand about half its thread length. Mark the face you tapped from: the larger end of the thread, it goes towards the flange. Deburr both faces.
このステップの材料:
軟鋼六角棒1 個切削油1 個必要な工具:
金属旋盤三つ爪旋盤チャック旋盤の切削工具センタードリルセットドリルビットセット突切りバイト Taper Pipe Tap
 タップハンドル万力(ベンチバイス)
 バリ取り工具デジタルノギス 6インチ
6
6
Split part A in two halves
Split part A in two halves
Blue the flange face and scribe a line across it through the centre, from corner to corner of the hex. Hold the part in soft jaws with the line upright and saw straight down the line, through flange and body, with a fine hacksaw blade. File the saw marks off the cut faces but take no more: the 1 mm gap left between the halves is what lets the nut squeeze them onto the shaft. Deburr the bore and the thread ends.
必要な工具:
 青色当たり出し剤
 けがき針万力(ベンチバイス)万力の保護口金
 金切りのこ(ハクソー)
 ヤスリセットバリ取り工具
7
7
The collar in 3D
The collar in 3D
FreeCAD model, our sizes: the two halves of part A, each with half the hex flange and half the tapered body, 1 mm apart on a 16 mm shaft, and the hex nut C on the taper. The thread itself is not modelled, only the cone.
8
8
Fit it on the shaft
Fit it on the shaft
Slide the nut onto the shaft from its end, marked face first. Put the two halves round the shaft where the collar is wanted, flange towards the face it must bear on, and hold them together. Screw the nut onto the taper by hand, then hold the flange with one spanner and tighten the nut with the other until the halves grip. Try to slide and turn the collar on the shaft; it must not move. To move it, slacken the nut, slide the halves, and tighten again.
必要な工具:
 モンキーレンチ
9
9
Troubleshooting
Troubleshooting
Melius collar troubleshooting.
Flow
Loading...
10
10
History and honest limits
History and honest limits
**Charles H. Melius** of Gloversville, Fulton County, New York, US 758,549, dated 26 April 1904, filed 2 May 1903. He claimed "a shaft-collar consisting of two longitudinally-divided parts adapted to fit around a shaft, a tapered threaded portion formed on one of the parts and an internally-threaded convex wall formed on the other part", the nut's sections joined by tongue and mortise and a pin. His Figs. 3 and 4 show that halved nut, which goes on without reaching the shaft's end; we build Fig. 1's solid nut. His nut thread is "curved" so its threaded portion is convex; ours is the straight taper of a standard pipe thread. He says the flange may be polygonal for a wrench or have holes for a spanner; ours is hex. The patent gives no sizes; every size here is ours.
必要な工具
22- プレースホルダー
- プレースホルダー
- プレースホルダー
- プレースホルダー
- プレースホルダー
- プレースホルダー
- プレースホルダー
- プレースホルダー
- プレースホルダー
- プレースホルダー
- プレースホルダー
- プレースホルダー
- プレースホルダー
- プレースホルダー
- プレースホルダー
- プレースホルダー
- プレースホルダー
- プレースホルダー
- プレースホルダー
- プレースホルダー
- プレースホルダー
- プレースホルダー
設計ファイル
1この設計図で作るもの
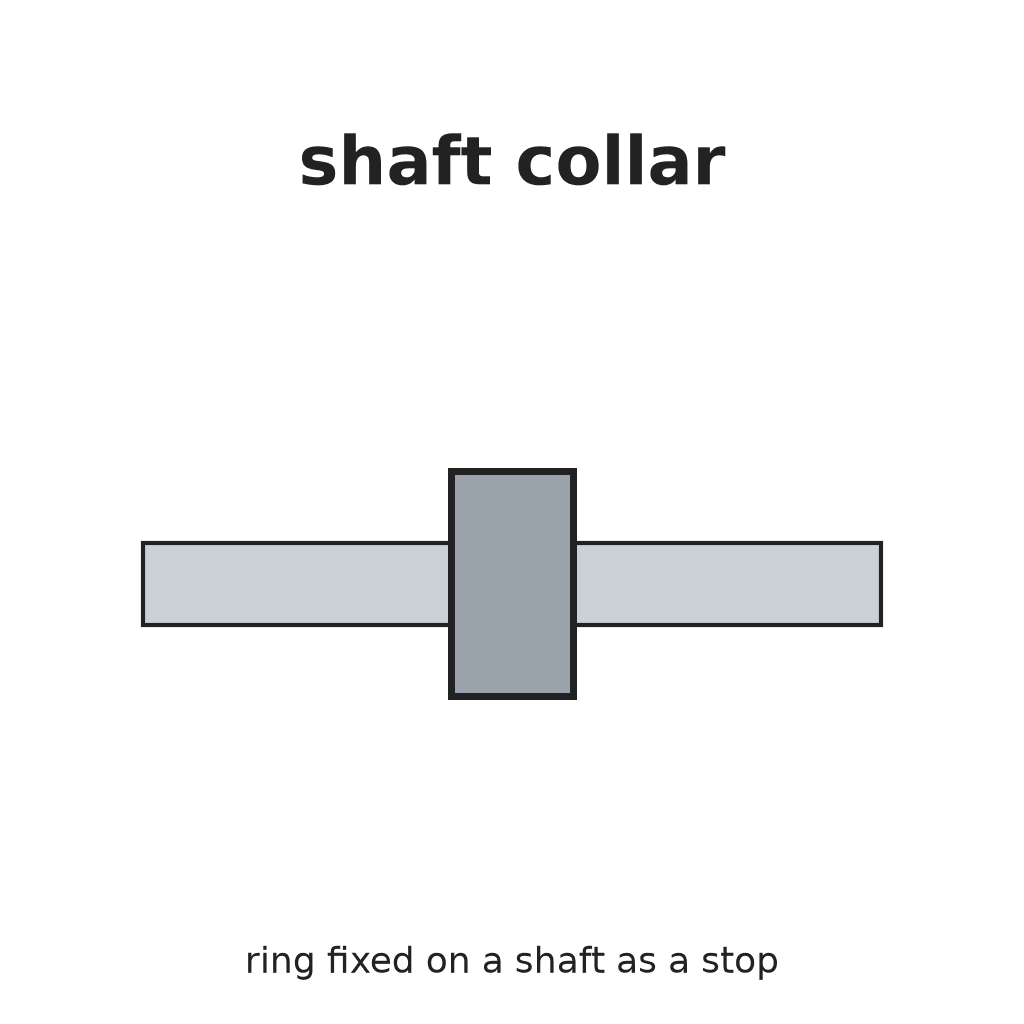
関連ブループリント
これらのブループリントは知識を共有しています — 技術、材料、原理
CC0 パブリックドメイン
このブループリントはCC0で公開されています。許可を求めずに、自由にコピー、修正、配布、あらゆる目的で使用できます。
メイカーを応援するには、ブループリント経由で製品を購入してください。メイカーには メイカーコミッション がベンダーにより設定されています。または、このブループリントの新しいイテレーションを作成し、自分のブループリントにコネクションとして含めて収益を共有できます。