アート
美容とウェルネス
工芸
文化と歴史
エンターテインメント
環境
食品と飲料
リバースエンジニアリング
科学
スポーツ
テクノロジー
ウェアラブル
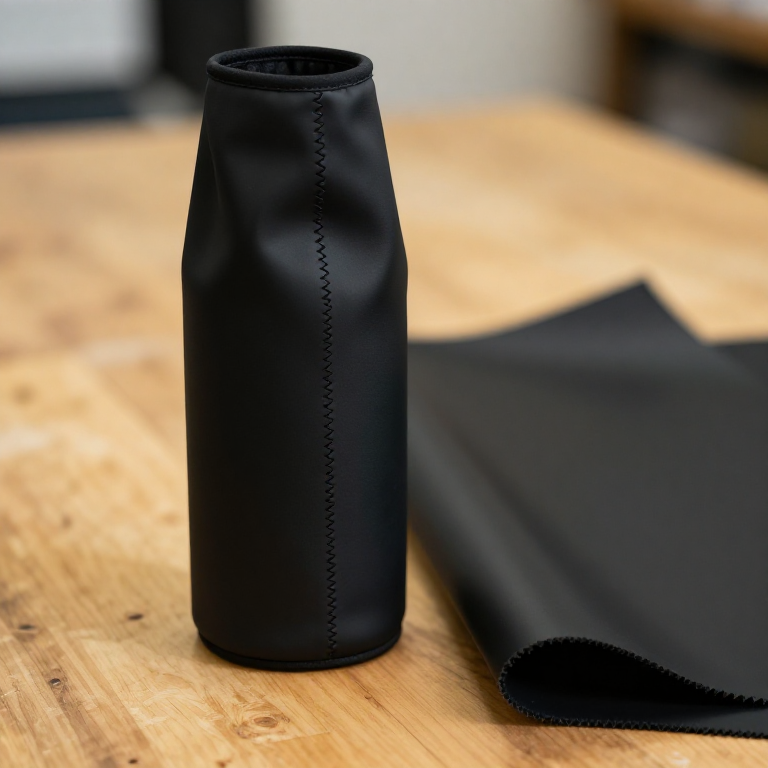


Neoprene
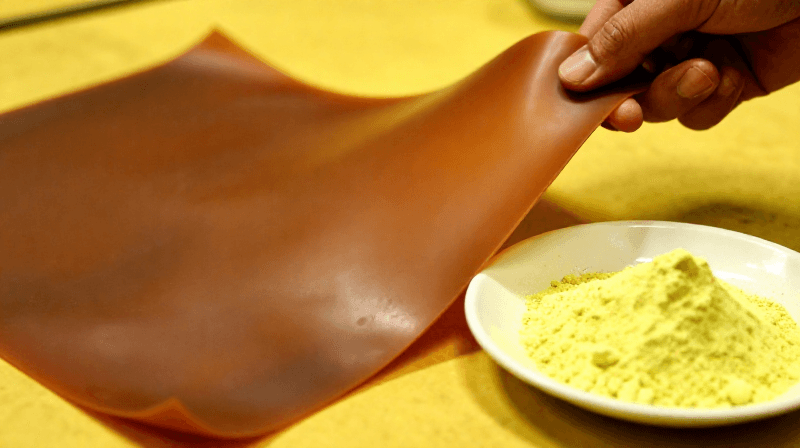
Natural rubber swells and softens in oil and cracks in sunlight. In April 1930 Arnold Collins, working in Wallace Carothers' group at DuPont, isolated chloroprene - a close relative of the isoprene in natural rubber, with one chlorine atom in place of a methyl group - and found that it polymerised by itself into a rubber-like solid. DuPont sold it from 1931 as DuPrene and renamed it neoprene in 1937. It was one of the first commercially successful synthetic rubbers, and its selling point was exactly what natural rubber lacked: resistance to oil, weather and heat.
**No patent number is cited here**: the chemistry is well documented and dated, but no single patent was verified as covering neoprene itself, so none is claimed.
**You make a snug neoprene sleeve with a glued-and-stitched butt seam, then test the claim** - a strip of neoprene and a natural rubber band in mineral oil for a day, measured before and after.
初心者
2 hours plus 24 h soak
手順
1
1
Size the sleeve
Size the sleeve
Measure the bottle diameter. Run the notebook's sizing cell for the cut width and base disc.
必要な工具:
 デジタルノギス 6インチ
 定規
定規2
2
Mark the pieces
Mark the pieces
On 3 mm neoprene, chalk a rectangle: cut width x 200 mm tall. Chalk the base disc beside it.
このステップの材料:
 ネオプレン生地1 枚
必要な工具:
 チャコ定規
チャコ定規3
3
Cut
Cut
Cut the rectangle with the rotary cutter against the ruler, one firm pass. Cut the disc with fabric scissors.
必要な工具:
 ロータリーカッター・カッティングマットセット
 裁ちばさみ
裁ちばさみ4
4
Cement the edges
Cement the edges
Brush a thin coat of contact cement on both 3 mm long edges, using the brush in the can lid. Leave until touch-dry, as the can directs.
このステップの材料:
 接着ゴム系ボンド10 ml
必要な工具:
 ストップウォッチ
5
5
Butt the seam
Butt the seam
Roll into a tube and press the edges face to face, no overlap. Contact cement grabs on touch - align the top first, then close downward. Clip and leave 10 minutes.
必要な工具:
 大型ダブルクリップ
6
6
Stitch across the seam
Stitch across the seam
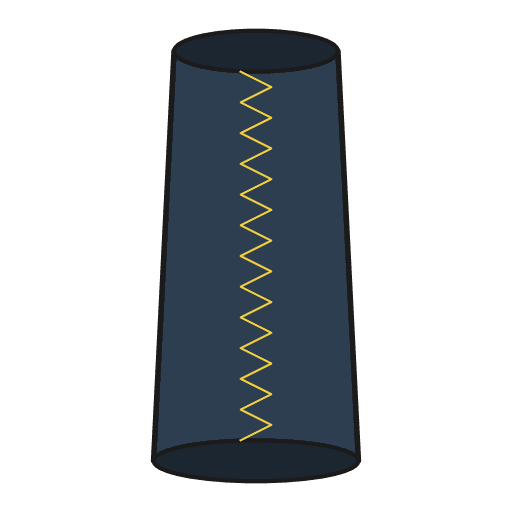
Zigzag across the glued seam, stitch width wide enough to bite both sides. Stretch slightly as you sew so the thread gives with the fabric.
このステップの材料:
 ポリエステル糸5 メートル
必要な工具:
 ミシン
ミシン7
7
Close the base
Close the base
Cement the disc rim and the tube's bottom edge, press together, then whip-stitch round by hand.
このステップの材料:
接着ゴム系ボンド5 mlポリエステル糸2 メートル必要な工具:
 手縫い針
手縫い針8
8
Set up the swell test
Set up the swell test
Cut a 50 x 10 mm neoprene offcut. Cut open a rubber band to a 50 mm strip. Measure both. Submerge in mineral oil in a lidded jar for 24 hours.
このステップの材料:
 輪ゴム1 パック
必要な工具:
 ガラス瓶デジタルノギス 6インチ
 食品グレードの流動パラフィン
9
9
Measure again
Measure again
Blot the strips dry and measure their lengths. Enter all four numbers in the notebook.
必要な工具:
デジタルノギス 6インチ10
10
Chlorine, swell and sizing
Chlorine, swell and sizing
Jupyter ノートブックを読み込み中…
11
11
History & Context
History & Context
Neoprene grew out of Julius Nieuwland's acetylene chemistry at Notre Dame, which DuPont licensed; Collins' chloroprene came from that work in Carothers' laboratory, the same group that produced nylon.
Its limits are the other side of its strength: it costs more than natural rubber, is less springy, and stiffens in deep cold. The sheet you used is almost certainly closed-cell neoprene FOAM laminated to nylon jersey - the form wetsuits made familiar - where trapped gas cells add insulation that solid neoprene lacks.
この設計図で作るもの
関連ブループリント
これらのブループリントは知識を共有しています — 技術、材料、原理


CC0 パブリックドメイン
このブループリントはCC0で公開されています。許可を求めずに、自由にコピー、修正、配布、あらゆる目的で使用できます。
メイカーを応援するには、ブループリント経由で製品を購入してください。メイカーには メイカーコミッション がベンダーにより設定されています。または、このブループリントの新しいイテレーションを作成し、自分のブループリントにコネクションとして含めて収益を共有できます。