コラボレーション
アート
美容とウェルネス
工芸
文化と歴史
エンターテインメント
環境
食品と飲料
リバースエンジニアリング
科学
スポーツ
テクノロジー
ウェアラブル
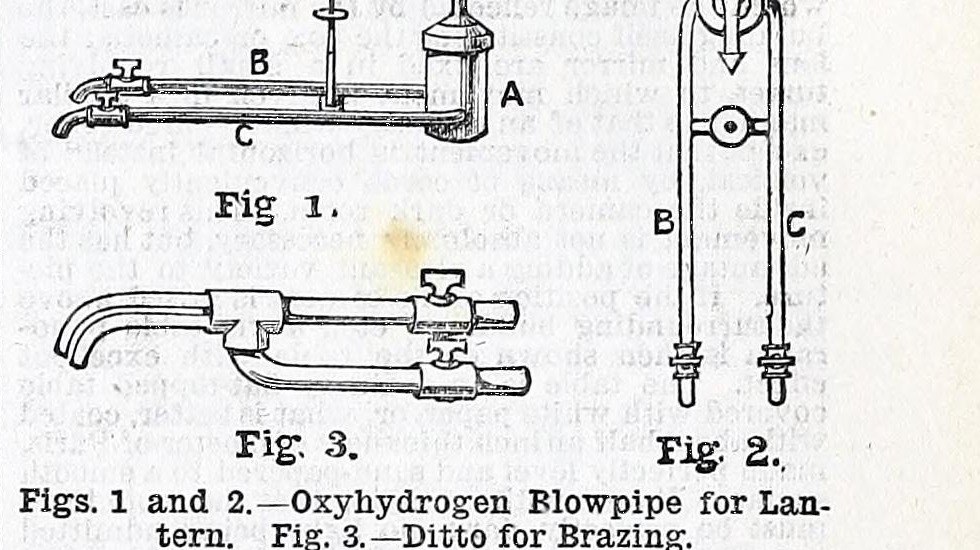


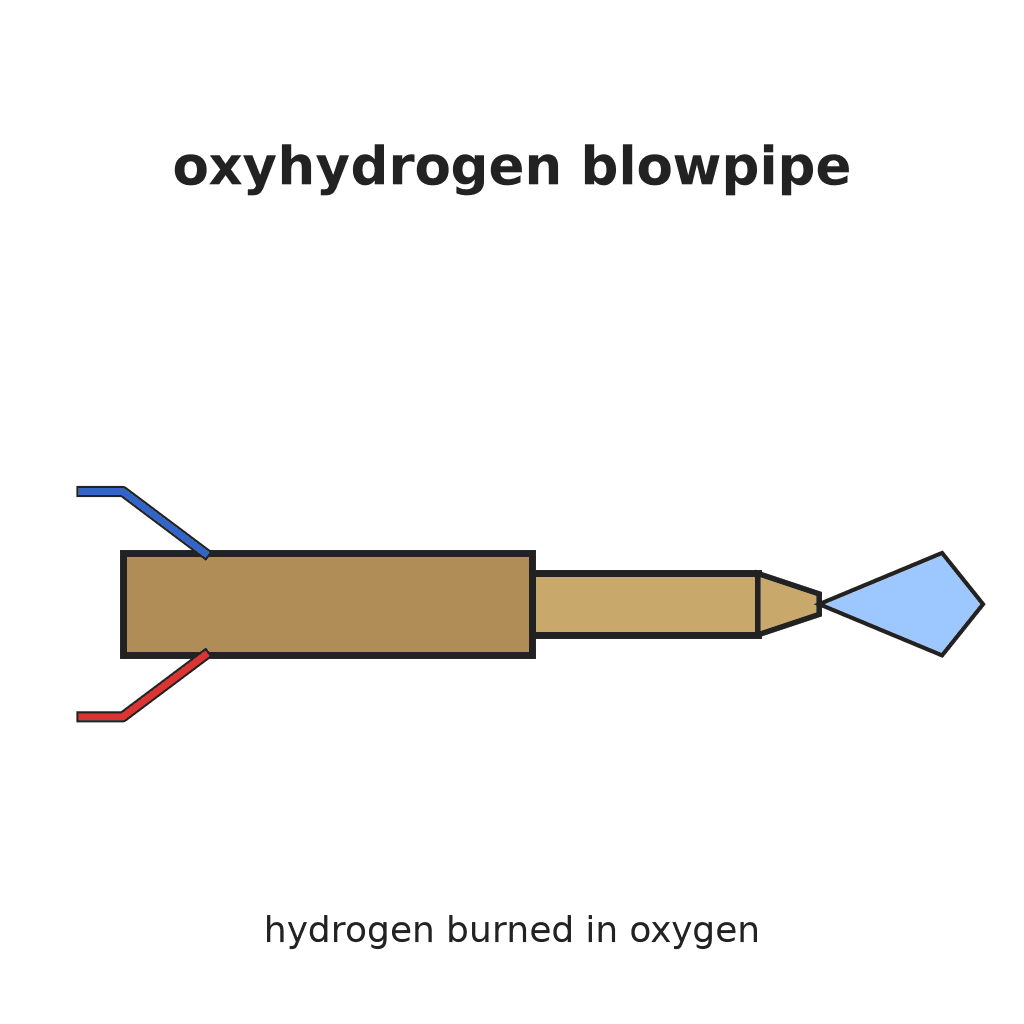
Oxyhydrogen Blowpipe: Brass Tube-in-Tube, the Gases Meeting at the Nozzle (Work, 1892)
A blowpipe that burns hydrogen in a jet of oxygen for a very hot brazing and melting flame. H. B. Stocks (Work, 1892) builds it like his cheap gas blowpipe: a fine brass tube for the oxygen, centred inside an outer brass tube (no more than 1/4 in. bore) that carries the hydrogen, joined by a three-way tube.
The two gases must not mix until they reach the nozzle; each comes from its own reservoir through its own tap.
Source: H. B. Stocks, "How to Prepare Cheap Blowpipes", Work, 2 July 1892, p. 250, with his reply "Oxyhydrogen Blowpipe", Work, 3 December 1892, p. 605 (Fig. 3).
中級者
Unknown
手順
1
1
Read Stocks
Read Stocks
"The oxyhydrogen blowpipe for brazing ... is practically the same as the blowpipe shown at p. 250 ..., but the brass pipe should not be more than 1/4 in. internal diameter; the inner tube for oxygen about 1/12 in. internal diameter, and should reach to the mouth of the outer tube. It can then be filed down, if required."
2
2
Cut the tubes
Cut the tubes
Cut the brass tubes: the outer (hydrogen) tube, not more than 1/4 in. bore, threaded at one end; a curved side tube for the hydrogen supply, threaded at one end; a short straight tube for the oxygen supply, threaded at one end; and the inner oxygen tube, about 1/12 in. bore. For his gas blowpipe Stocks used 4 in., 5 1/2 in. (curved), 3 1/2 in. and 5 1/2 in.; the lengths for the brazing pipe are not given and he says the sizes may be changed. How the tube is curved is not given.
このステップの材料:
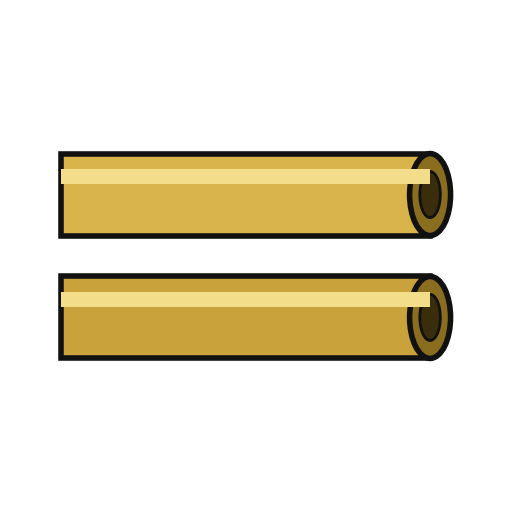 真鍮管4 個
必要な工具:
 金切りのこ(ハクソー)
 ねじ切りタップダイスセット
 不明な成形方法
 不明な寸法
3
3
Centre the oxygen tube
Centre the oxygen tube
Cut a small strip of thin sheet brass (Stocks: full 3/4 in. by 1/2 in.), turn it into a ring and solder it on one end of the inner tube. File the ring down until it pushes into the threaded end of the short oxygen tube, and solder it inside.
このステップの材料:
 真鍮板1 small strip
 錫鉛はんだ1 個
必要な工具:
 金切りばさみ
 やすり(手やすり)
 はんだごて
 フラックス
4
4
Assemble
Assemble
Screw the oxygen tube into one end of the three-way tube, screw the outer tube on the other end and see that the inner tube is exactly in its centre. Screw the curved hydrogen tube into the side branch. Fit a tap on each supply (Fig. 3; type not given).
このステップの材料:
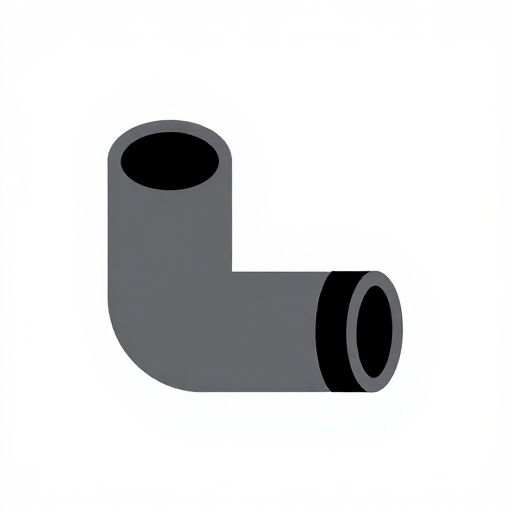 ねじ込み管継手1 three-way tube
 不明なバルブ2 one per gas
5
5
Set the nozzle
Set the nozzle
The inner oxygen tube should reach to the mouth of the outer tube. Light it with hydrogen in the outer tube and oxygen in the inner, each from its own reservoir; if the flame shows a white patch, the inner tube is off centre or too long: file it down a little until correct. Never let the gases mix before the nozzle.
必要な工具:
やすり(手やすり) 水素
 酸素
材料
5- 4 個プレースホルダー
- 1 small stripプレースホルダー
- 1 個プレースホルダー
- 1 three-way tubeプレースホルダー
- 2 one per gasプレースホルダー
この設計図で作るもの
CC0 パブリックドメイン
このブループリントはCC0で公開されています。許可を求めずに、自由にコピー、修正、配布、あらゆる目的で使用できます。
メイカーを応援するには、ブループリント経由で製品を購入してください。メイカーには メイカーコミッション がベンダーにより設定されています。または、このブループリントの新しいイテレーションを作成し、自分のブループリントにコネクションとして含めて収益を共有できます。