アート
美容とウェルネス
工芸
文化と歴史
エンターテインメント
環境
食品と飲料
リバースエンジニアリング
科学
スポーツ
テクノロジー
ウェアラブル
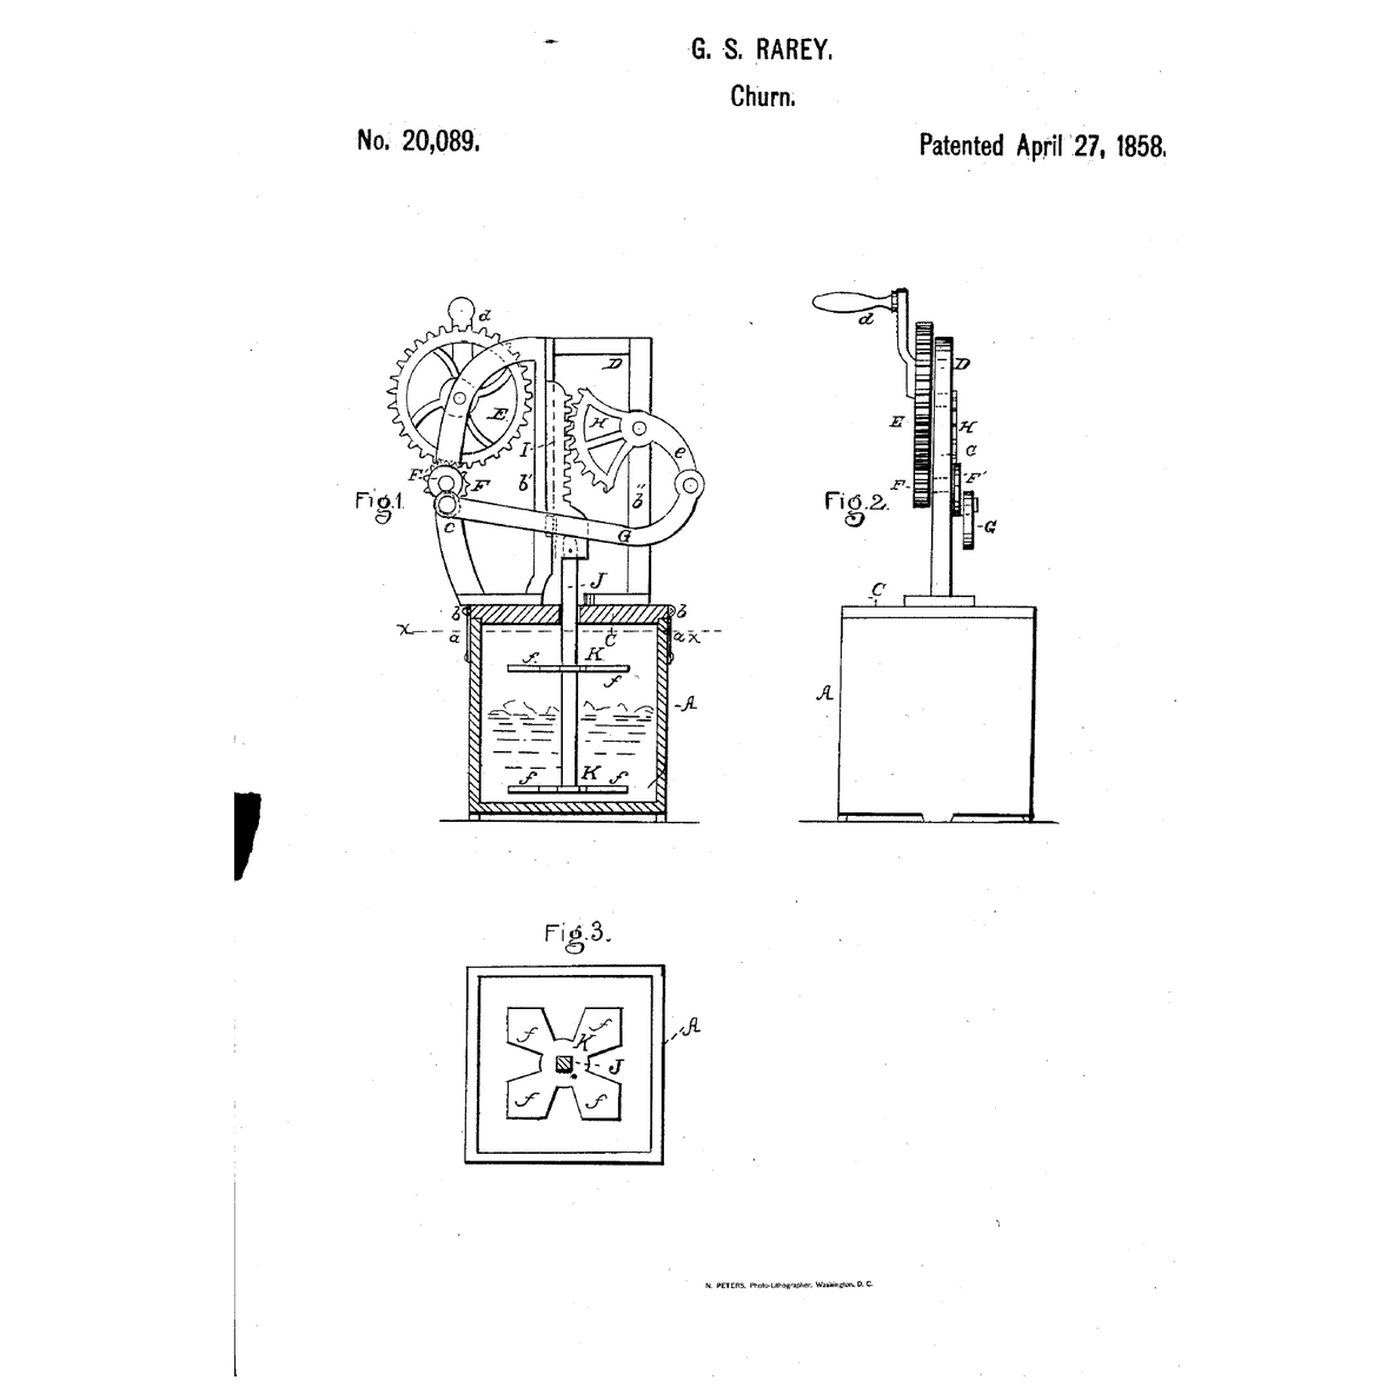


Rack-and-Segment Crank Churn: A Crank Rocks a Toothed Segment That Drives the Dasher Up and Down
G. S. Rarey of Columbus, Ohio, received US 20,089, dated 27 April 1858, for a churn that turns a crank into an up-and-down dasher stroke: a toothed wheel drives a pinion with a crank pulley, a rod from it rocks a toothed segment, and the segment works a rack bar carrying the dasher rod.
This rung prints the frame, gears, segment, rack and dashers at tabletop scale, on a stock pot.
上級者
About 6 hours, plus printing
手順
1
1
Gearing and stroke
Gearing and stroke
Jupyter ノートブックを読み込み中…
2
2
Crank-worked dashers, before it
Crank-worked dashers, before it
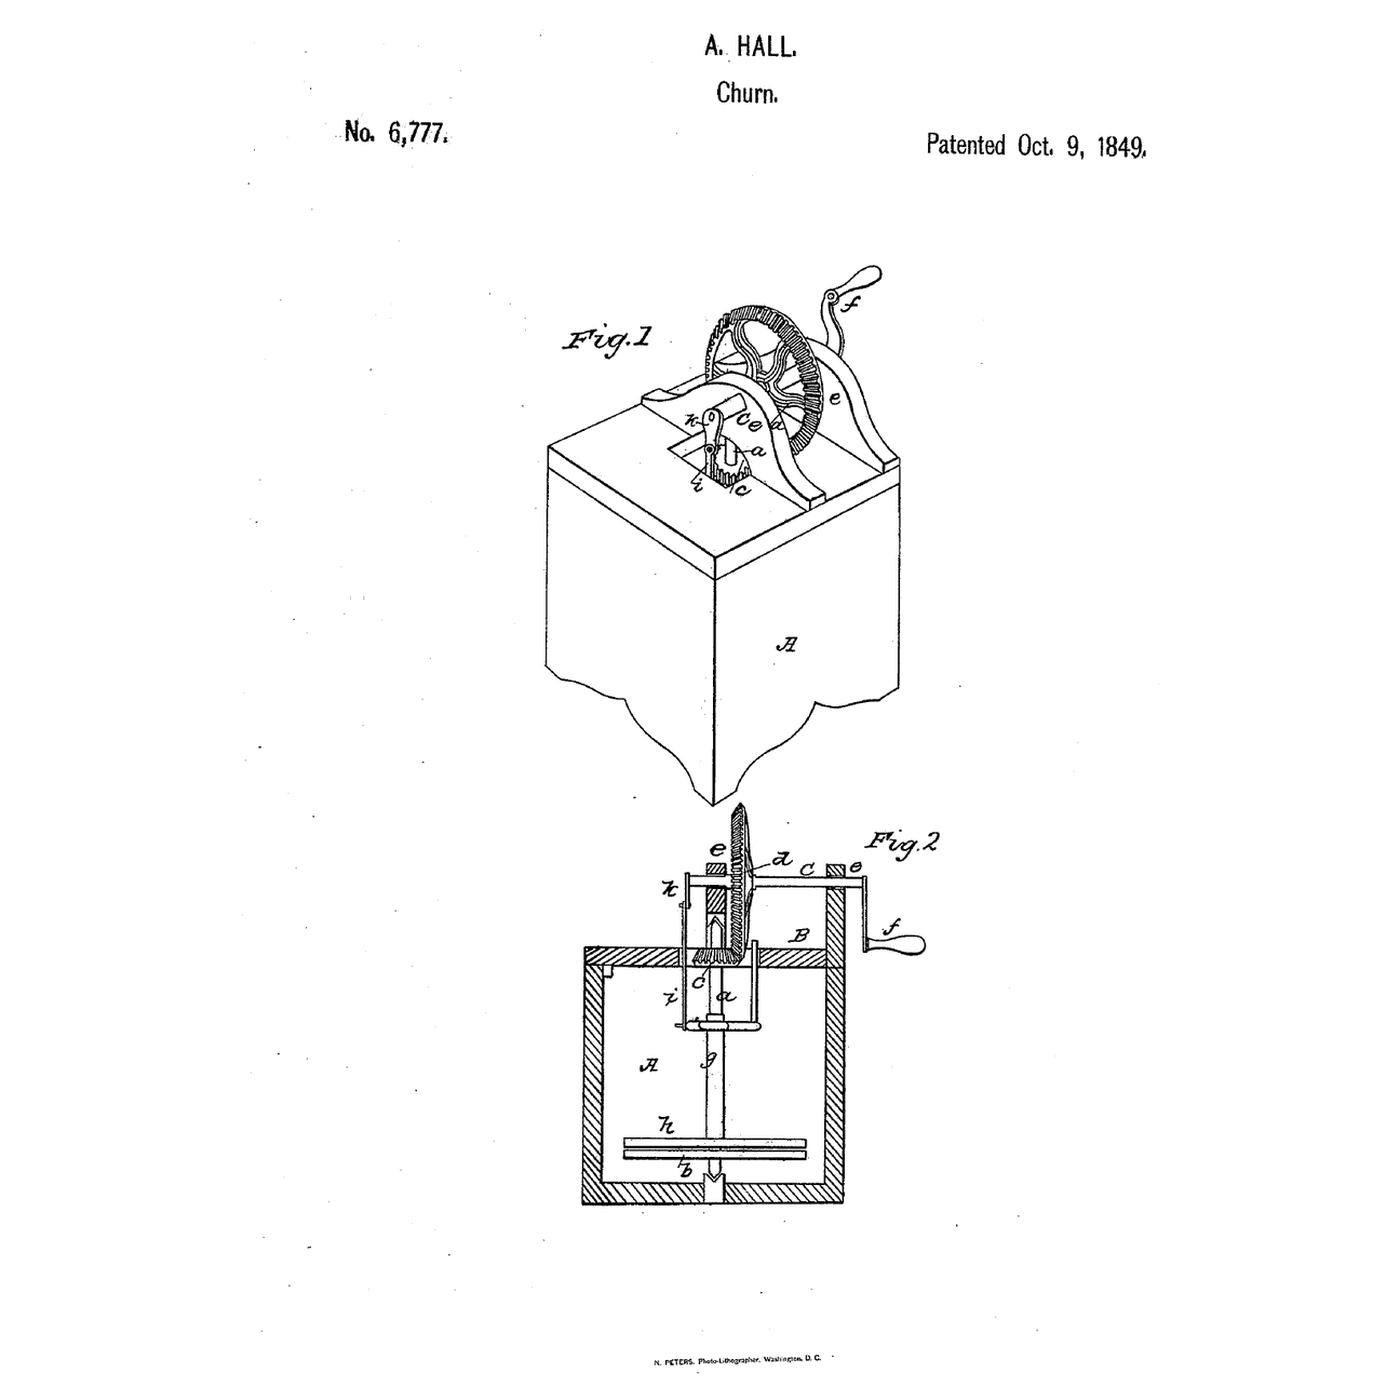
Hall worked a plunging dasher from a crank through a rod; Rarey adds a pinion, a toothed segment and a rack.
3
3
Read US 20,089
Read US 20,089
"This is a simple device and a good length of stroke with a quick speed may be given the dasher K, and by a very direct means so that not much power can be lost by friction."
4
4
Print the parts
Print the parts
Print the frame, the lid, wheel E with its crank, pinion F, the crank pulley, the segment, the rack, the rod and two dashers. The lid and frame need a 240 mm print bed. Print in PETG at 0.2 mm layers, 30 % infill, 4 walls; wash before first use.
このステップの材料:
 PETGフィラメント1 個
必要な工具:
 FDM 3D プリンター
5
5
Print the frame
7
7
Print the wheel E
8
8
Print the pinion F
9
9
Print the crank pulley
10
10
Print the segment
11
11
Print the rack
13
13
Print the dashers
14
14
Frame on the lid
Frame on the lid
Bolt the frame upright on the lid with two M4 screws, washers and lock nuts. Glue a 10 mm dowel into the boss for wheel E, standing 16 mm out in front, and one into the boss for the segment, standing 14 mm out behind. Drill a small pilot in each dowel's end.
このステップの材料:
 堅木のダボ1 個
 木工用接着剤1 個
 小ねじ1 個
 平ワッシャー1 個
 ナイロンナット(ゆるみ止め)1 個
必要な工具:
 手のこぎり
 ハンドドリル
 ドライバーセット
15
15
Gears, rod and rack
Gears, rod and rack
Push pinion F's axle through the curved bar from the front, slide the crank pulley onto its flat behind, and fix it with an M3 screw and washer in the axle's end. Put wheel E on its dowel, meshing with F, held by an M3 screw and washer through the hole in its crank arm; put the segment on its dowel, held the same way. Slide the rack into the guide with its teeth toward the segment. Join the crank pulley to the end of the segment's curved arm with the rod, using M6 screws and lock nuts.
このステップの材料:
小ねじ1 個平ワッシャー1 個ナイロンナット(ゆるみ止め)1 個必要な工具:
ドライバーセット16
16
Dasher and rod
Dasher and rod
Cut a 10 mm square hardwood strip 231 mm long as the dasher rod and sand it. Fit one dasher at its foot and the other about 86 mm higher, each fixed by an M3 screw through its boss, drilled through the rod. Stand the rod in the pot, set the lid on with the rod through its square hole, and screw the rod into the rack's socket.
このステップの材料:
 寸胴鍋1 個
 堅木の細板1 個小ねじ1 個
必要な工具:
手のこぎりハンドドリル 紙やすりドライバーセット
17
17
The build in 3D
The build in 3D
FreeCAD model of this build: the pot and lid, the frame with its curved bar, wheel E with the crank, pinion F, the crank pulley and rod, the segment with its curved arm, the rack in its guide, the square dasher rod and two notched dashers.
18
18
Churn
Churn
Pour in 1 litre of heavy cream at about 15 °C, checked with the thermometer. Turn the handle steadily and time it with the stopwatch: the dashers rise and fall four times for each turn. When the butter comes, lift the lid and dashers out, pour off the buttermilk, wash the butter in cold water until it runs clear, work in a pinch of salt and weigh it.
このステップの材料:
 生クリーム1 l
 粗い海塩1 個
 水1 個
必要な工具:
 差しっぱなしのプローブ温度計
 ストップウォッチ
 デジタルキッチンスケール
 ステンレス鋼の大きな混ぜ鉢
19
19
Troubleshooting
Troubleshooting
Rack-and-segment churn troubleshooting.
Flow
Loading...
20
20
History and honest limits
History and honest limits
**G. S. Rarey** of Columbus, Franklin County, Ohio, US 20,089, 27 April 1858. His case was a wooden box of any proper size, its lid hooked down to it; the frame could be cast of metal in one piece. His dasher was two plates or boards notched to form projecting arms. He claimed working the dasher up and down from the wheel through the pinion, crank pulley, connecting rod, segment and rack bar. Our pot, sizes, gear counts and printed parts are ours. FDM prints hold food in their layer lines, so wash well and replace when worn.
材料
11- 1 個プレースホルダー
- 1 個プレースホルダー
- 1 個プレースホルダー
- 3 個プレースホルダー
- 2 個プレースホルダー
- プレースホルダー
- 1 個プレースホルダー
- 1 個プレースホルダー
- 1 lプレースホルダー
- 1 個プレースホルダー
- 1 個プレースホルダー
必要な工具
9- プレースホルダー
- プレースホルダー
- プレースホルダー
- プレースホルダー
- プレースホルダー
- プレースホルダー
- プレースホルダー
- プレースホルダー
- プレースホルダー
設計ファイル
10この設計図で作るもの

関連ブループリント
これらのブループリントは知識を共有しています — 技術、材料、原理



CC0 パブリックドメイン
このブループリントはCC0で公開されています。許可を求めずに、自由にコピー、修正、配布、あらゆる目的で使用できます。
メイカーを応援するには、ブループリント経由で製品を購入してください。メイカーには メイカーコミッション がベンダーにより設定されています。または、このブループリントの新しいイテレーションを作成し、自分のブループリントにコネクションとして含めて収益を共有できます。