コラボレーション
アート
美容とウェルネス
工芸
文化と歴史
エンターテインメント
環境
食品と飲料
リバースエンジニアリング
科学
スポーツ
テクノロジー
ウェアラブル
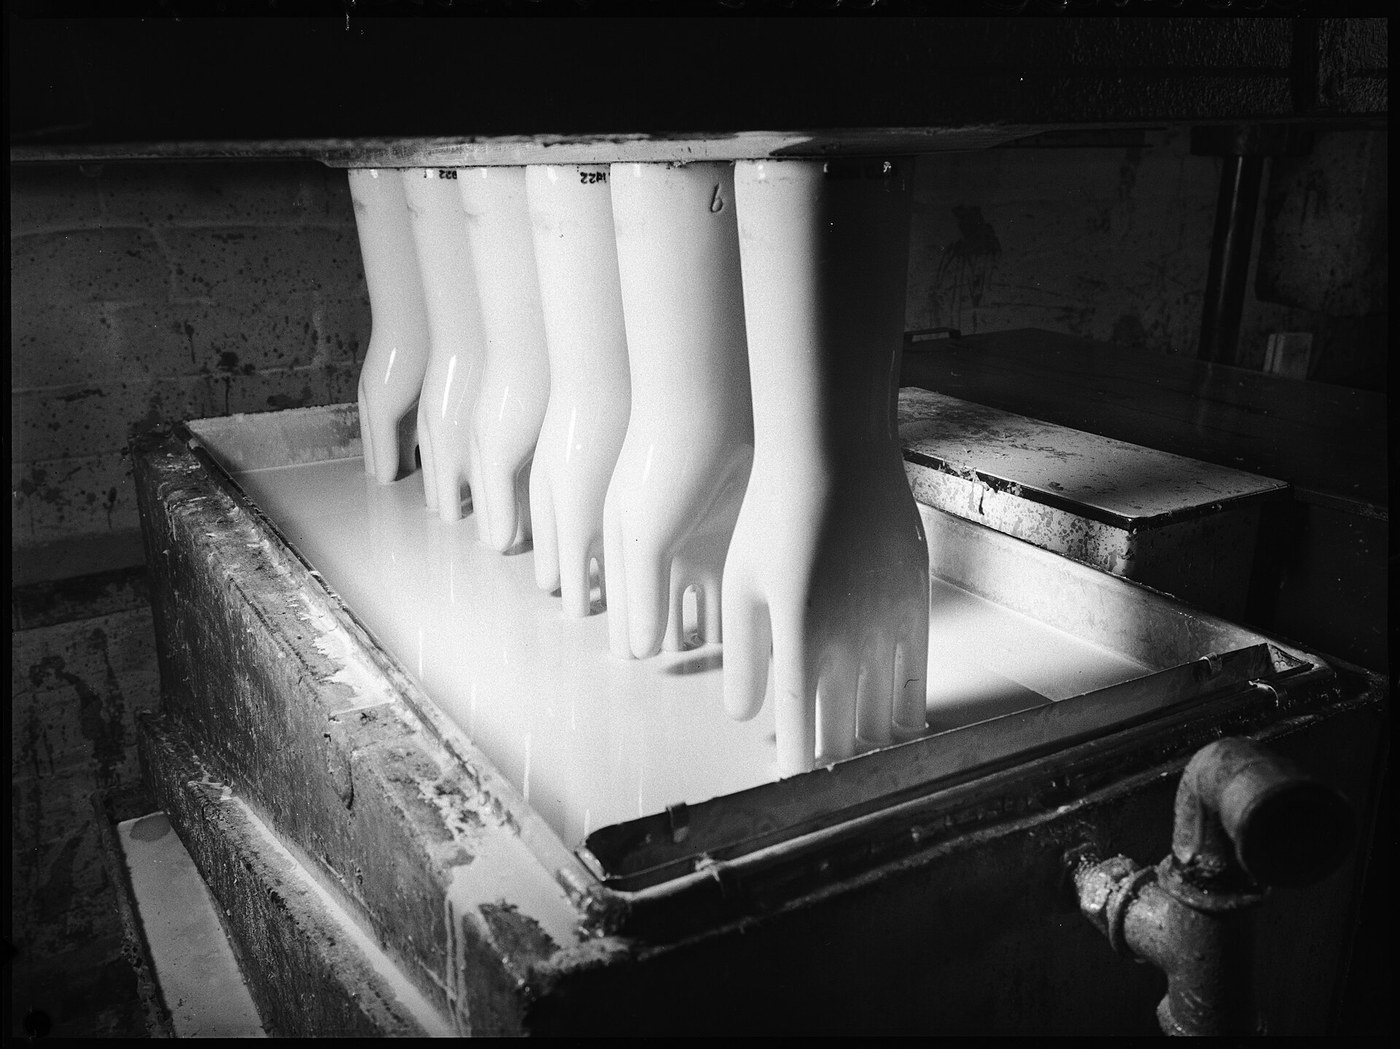


Rubber Gloves: Dipped on a Form, Lined and Turned Inside Out (Miller, 1915)
Seamless rubber gloves are made by dipping a hand-shaped form into a rubber solution, coat after coat. Thomas Miller of the Faultless Rubber Company added a cloth lining. After the glove is cured on the form, fabric is fixed to its outside. Peeling the glove off turns it inside out, so the lining ends up inside and the wrist trim outside.
Result: seamless rubber gloves lined with soft knitted fabric, whole or in parts, with a neat finishing strip at the wrist.
Source: T. W. Miller (Faultless Rubber Co.), US Patent 1,146,638 (1915). Unknown: the rubber solution and its solvent, how many dips, the drying and curing conditions, and sizes. Ours: the curing oven and the knife. Picture: Wikimedia Commons (glove forms, 1938).
中級者
2 days
手順
1
1
Put the finishing strip on the form
Put the finishing strip on the form
Around the wrist of a glove form, put the finishing strip that will show on the outside of the finished glove. It can be a strip of rubber, a band of india ink stamped on, or a transfer, in a contrasting colour. A rubber strip also reinforces the wrist.
このステップの材料:
 ゴムコンパウンド1 finishing strip
必要な工具:
 手袋型
2
2
Dip, dry and trim
Dip, dry and trim
Dip the form into the rubber solution, coat after coat, until the glove is as thick as you want, letting it dry in the usual way. Take each dip a little above the finishing strip. Then cut away the surplus beyond the strip, so the strip ends the glove at the wrist. Not given: the solution recipe and solvent, the number of dips and the drying time.
このステップの材料:
ゴムコンパウンド1 dipping solution 不明な材料1 solvent
必要な工具:
手袋型 クラフトナイフ
 不明な寸法
3
3
Vulcanize on the form
Vulcanize on the form
Vulcanize the glove while it is still on the form. Not given: the temperature and time. Ours: a curing oven.
必要な工具:
手袋型 硬化炉
4
4
Fix the lining
Fix the lining
Cover the outside of the glove with a somewhat elastic fabric such as stockinet. Fix it with rubber cement, or by frictioning one face of the fabric so it grips the rubber. You can line the whole glove or only parts: the wrist, the finger crotches or the finger tips. Fabric put on before vulcanizing holds most firmly; put on after, it can be given a short extra cure.
このステップの材料:
 不明な布1 stockinetゴムコンパウンド1 as cement
必要な工具:
手袋型5
5
Strip and turn
Strip and turn
Peel the glove off the form. Stripping turns it inside out, so the fabric is now the lining and the finishing strip is on the outside of the wrist.
必要な工具:
手袋型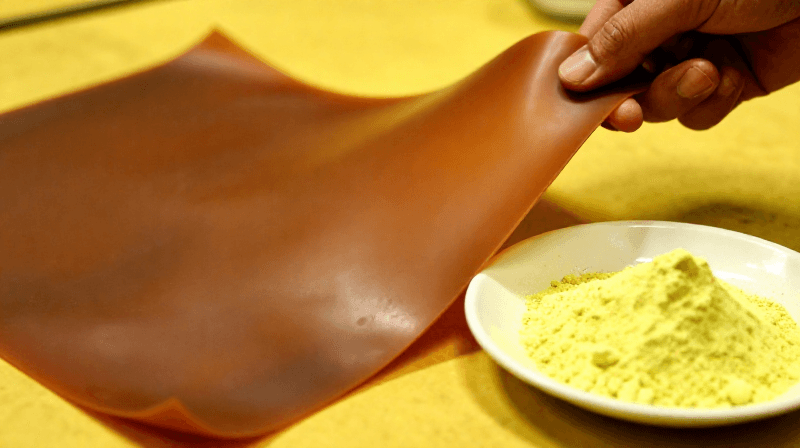
この設計図で作るもの

CC0 パブリックドメイン
このブループリントはCC0で公開されています。許可を求めずに、自由にコピー、修正、配布、あらゆる目的で使用できます。
メイカーを応援するには、ブループリント経由で製品を購入してください。メイカーには メイカーコミッション がベンダーにより設定されています。または、このブループリントの新しいイテレーションを作成し、自分のブループリントにコネクションとして含めて収益を共有できます。