アート
美容とウェルネス
工芸
文化と歴史
エンターテインメント
環境
食品と飲料
リバースエンジニアリング
科学
スポーツ
テクノロジー
ウェアラブル
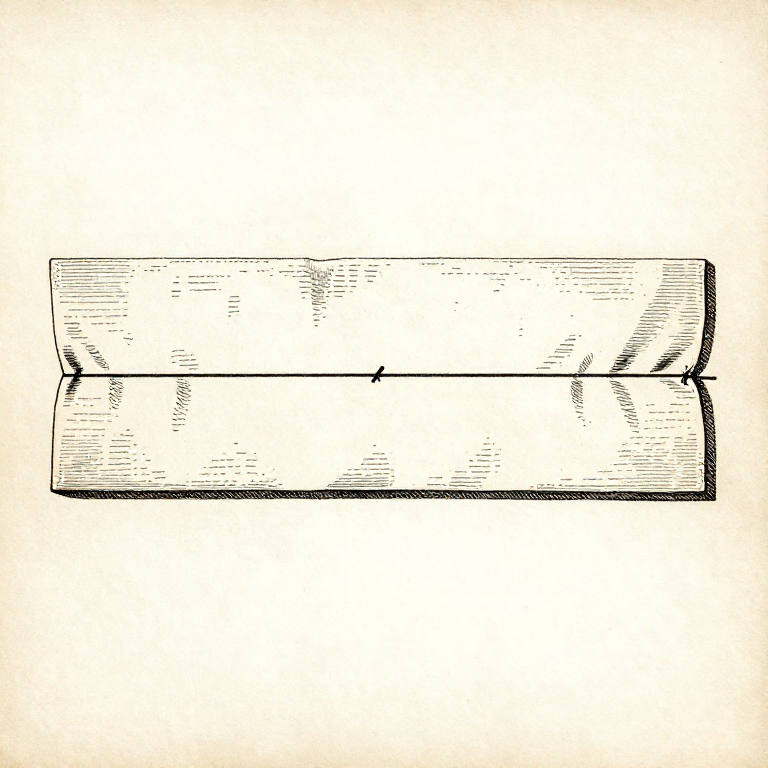


Seam Allowance: One Number, Everywhere, or Nothing Fits
The seam allowance is the strip of cloth between the cut edge and the line of stitching. It is not decoration and it is not spare: it is the difference between the size you cut and the size you get.
Every seam removes twice the allowance from the finished width, because there is an allowance on each of the two pieces. Sew a 15 mm allowance instead of a 10 mm one on a garment with eight seams and you have removed 80 mm from its circumference — a whole size.
Which is why the number has to be the SAME everywhere, and why it has to be the number the pattern was drafted with. A consistent wrong allowance produces a garment of the wrong size; an inconsistent one produces a garment that does not go together at all.
初心者
2 hours
手順
1
1
Know which number the pattern uses
Know which number the pattern uses
Commercial patterns usually include the allowance in the printed piece — often 15 mm, sometimes 10 mm — and say so on the instruction sheet. Many drafted and downloaded patterns do NOT include it, and expect you to add it yourself.
Find out before cutting. A pattern drafted to the finished line, cut as though it included allowance, produces a garment two allowances too small on every seam — and it is discovered at the fitting.
Write the number on the pattern piece, large. In six months, or halfway through a project that was interrupted, it is the first thing you will not remember and the hardest to work out from the pieces.
このステップの材料:
 紙1 個
紙1 個必要な工具:
 定規
定規2
2
Sew to the allowance, not to the edge
Sew to the allowance, not to the edge
The stitching line is a fixed distance from the cut edge, so the guide is the EDGE, not the seam. Use the marked plate on a machine, a piece of tape stuck to it, or a chalk line, and keep the cut edge running against the guide.
That is why an uneven cut edge matters so much: the stitching follows it, so a wobble in the cutting becomes a wobble in the seam and a bulge in the finished garment.
Different allowances have different jobs. A 15 mm allowance gives room to let out and to finish the edge; a 6 mm allowance is right for curved seams and small work, where a wide allowance cannot lie flat round the curve. Choosing per seam is fine — writing it down is what makes it work.
このステップの材料:
 木綿布1 個
 木綿糸1 個
必要な工具:
 ミシン
ミシン チャコ定規
チャコ定規3
3
What it costs to get it wrong
What it costs to get it wrong
Jupyter ノートブックを読み込み中…
このステップの材料:
木綿布1 個木綿糸1 個必要な工具:
 デスクトップパソコン定規
 計算機
計算機4
4
Notches and marks are how the pieces find each other
Notches and marks are how the pieces find each other
A notch is a small mark cut or snipped into the allowance to show where two pieces line up. Matching the notches is what makes a curved seam of two different-looking edges come out right.
Cut notches OUTWARD as little triangles, or snip inward no more than 3 mm. A deep snip into a 6 mm allowance leaves almost nothing holding the seam, and it will eventually tear from that point.
Transfer every mark before the pattern comes off — notches, dots, dart points, the grainline if you may need it again. Once the paper is removed those positions cannot be recovered, and finding out mid-assembly is the commonest reason a piece gets cut a second time.
このステップの材料:
木綿布1 個紙1 個必要な工具:
 はさみチャコ
 待ち針
待ち針関連ブループリント
これらのブループリントは知識を共有しています — 技術、材料、原理

CC0 パブリックドメイン
このブループリントはCC0で公開されています。許可を求めずに、自由にコピー、修正、配布、あらゆる目的で使用できます。
メイカーを応援するには、ブループリント経由で製品を購入してください。メイカーには メイカーコミッション がベンダーにより設定されています。または、このブループリントの新しいイテレーションを作成し、自分のブループリントにコネクションとして含めて収益を共有できます。