アート
美容とウェルネス
工芸
文化と歴史
エンターテインメント
環境
食品と飲料
リバースエンジニアリング
科学
スポーツ
テクノロジー
ウェアラブル
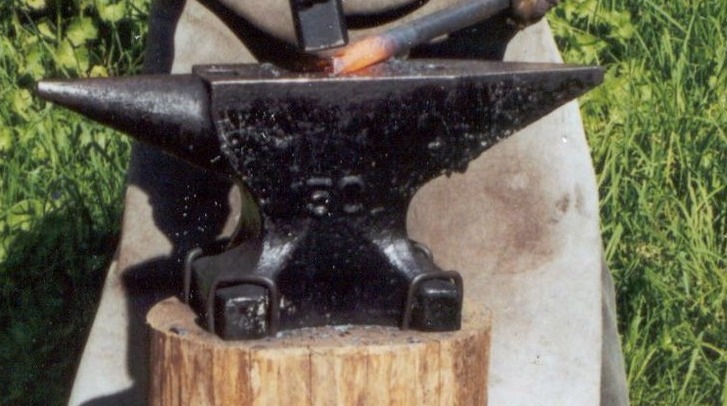


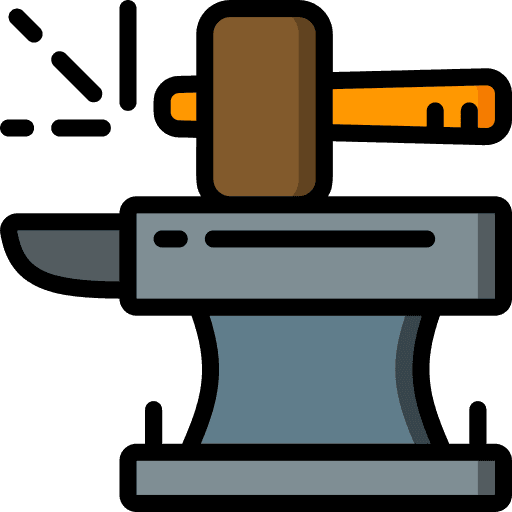
Anvil: Wrought-Iron Body with a Welded Steel Face
Outside the United States, anvils of the 1880s had a body of wrought iron under a steel face, and a horn of plain wrought iron. The body was roughly shaped under tilt hammers, in one piece or with the corners and horn welded on. A face plate of shear or blister steel, 3/8 to 3/4 inch thick, was forge-welded to it a few inches at a time by four strikers, then the holes were punched and the anvil dressed to shape, ground flat and hardened under a falling stream of water. A well-welded anvil rings clearly when struck. Most modern anvils are instead cast steel with the face hardened by flame or induction.
上級者
Works process (1880s)
手順
1
1
Shape the body
Shape the body
Rough out the wrought-iron body under the tilt hammer, in one piece or with the corners and horn welded on.
このステップの材料:
 錬鉄の棒1 as required
必要な工具:
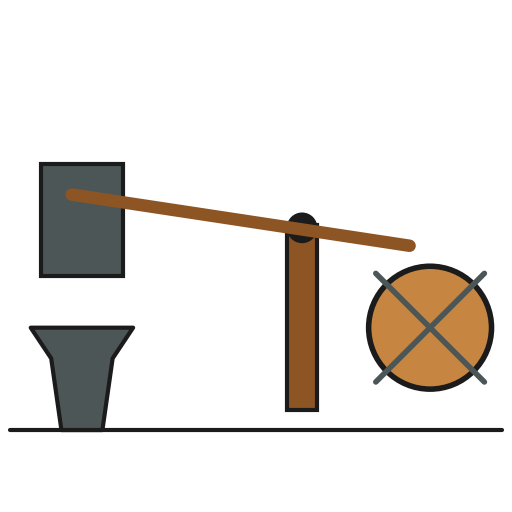 カム式鍛造ハンマー
 鍛冶炉
2
2
Weld on the face
Weld on the face
Bring the body and the steel face plate to a welding heat and weld from one end, about five inches at a time with four strikers, heat after heat, until the whole face is on. Take care not to burn the steel.
このステップの材料:
 シャー鋼板1 個
必要な工具:
鍛冶炉 大ハンマー
3
3
Punch and dress
Punch and dress
Punch the hardy (cutter) hole and the small round hole in the tail, round the horn, and dress the anvil to shape at another heat.
必要な工具:
 熱間ポンチ大ハンマー
4
4
Grind
Grind
Grind any unevenness out of the face, crosswise on a large stone.
必要な工具:
 回転砥石
5
5
Harden
Harden
Reheat the top to a red heat and let a stream of water fall on it from a ten-foot head. A clear ring when struck shows a sound weld.
このステップの材料:
 水1 as required
必要な工具:
鍛冶炉この設計図で作るもの
関連ブループリント
これらのブループリントは知識を共有しています — 技術、材料、原理
CC0 パブリックドメイン
このブループリントはCC0で公開されています。許可を求めずに、自由にコピー、修正、配布、あらゆる目的で使用できます。
メイカーを応援するには、ブループリント経由で製品を購入してください。メイカーには メイカーコミッション がベンダーにより設定されています。または、このブループリントの新しいイテレーションを作成し、自分のブループリントにコネクションとして含めて収益を共有できます。