アート
美容とウェルネス
工芸
文化と歴史
エンターテインメント
環境
食品と飲料
リバースエンジニアリング
科学
スポーツ
テクノロジー
ウェアラブル
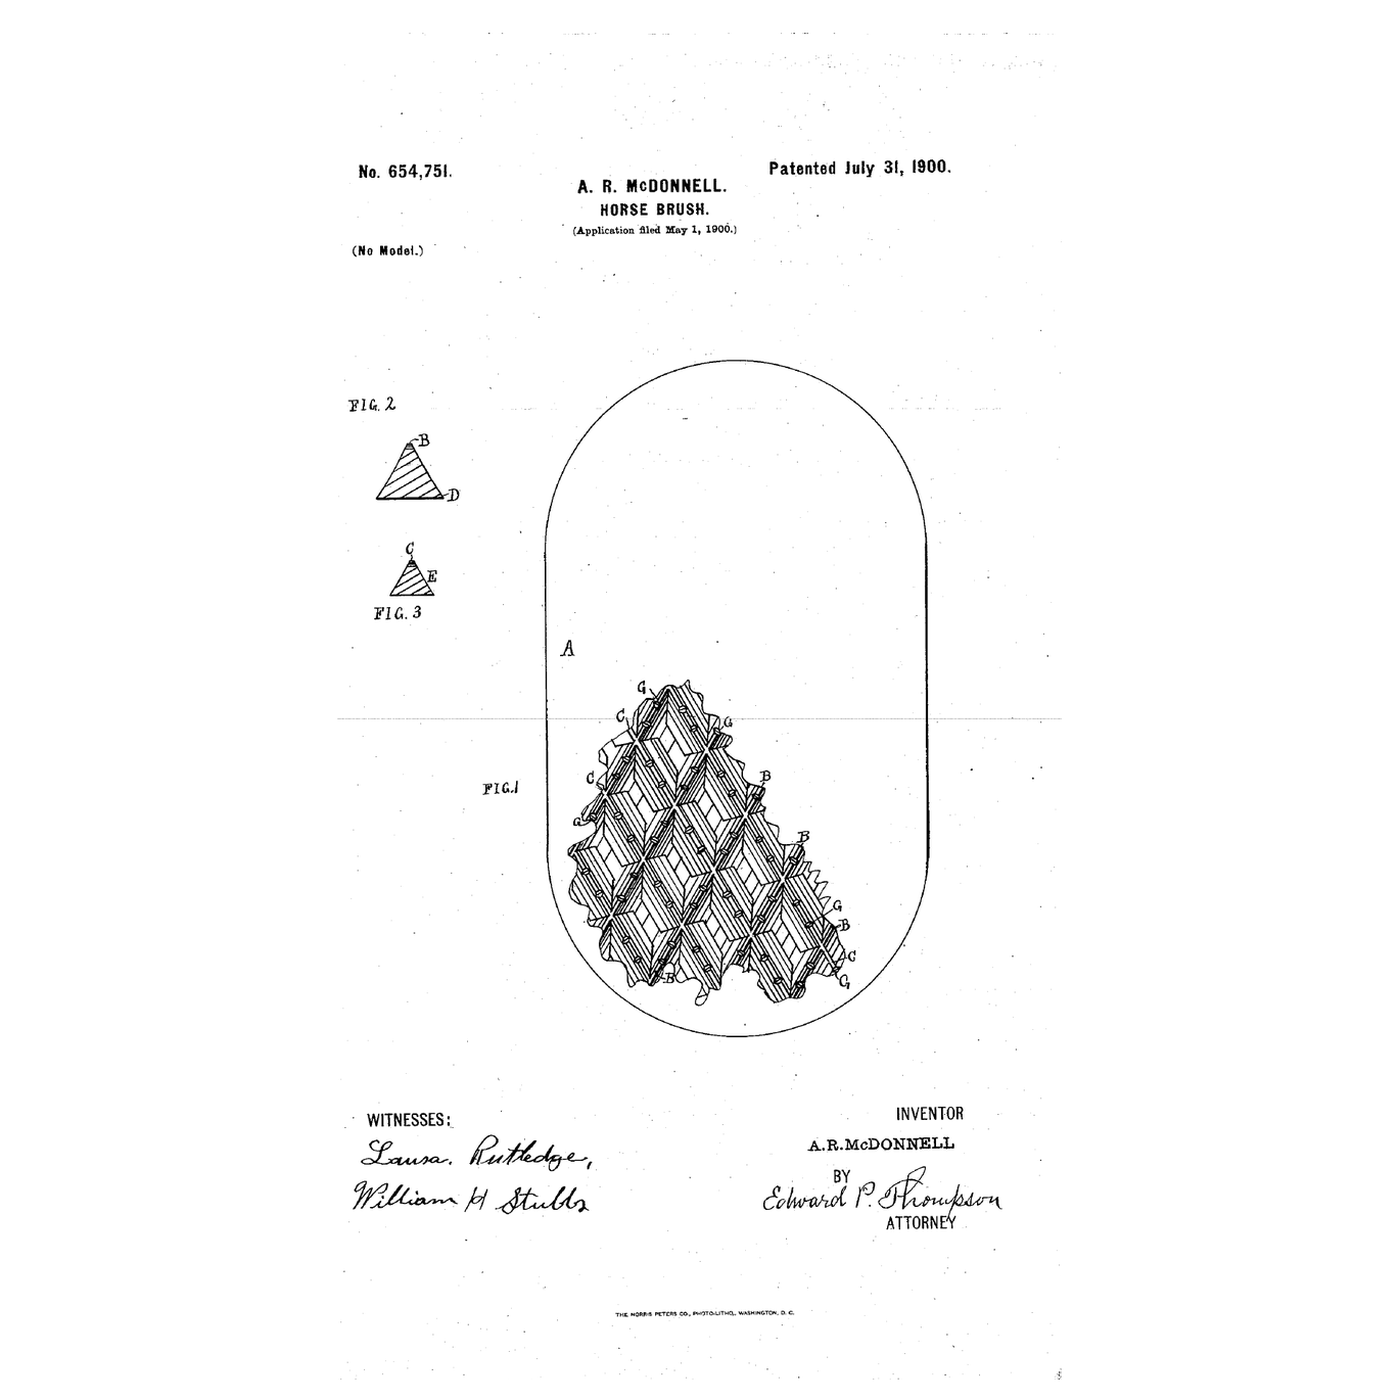


The Rubber Horse Brush: Crossed, Notched Ridges on a Leather Plate
After a horse's coat is combed with a bristle brush, loosened dandruff and dirt still sit in it and the coat is dull.
Alexander R. McDonnell of Littleton, Maine, received US 654,751, dated 31 July 1900, for a horse-brush of a leather base-plate and a piece of rubber fastened to it, with two series of narrow-edged ridges of triangular section crossing one another and notched, which "serves very effectually to give a gloss and to remove the dandruff and dirt that have been loosened by the combing."
This rung works out how the narrow ridge tops concentrate the hand's force, then casts a crossed-ridge rubber pad in a printed mould and glues it to leather.
中級者
About 5 hours plus curing
手順
1
1
Pressure under the ridges
Pressure under the ridges
Jupyter ノートブックを読み込み中…
2
2
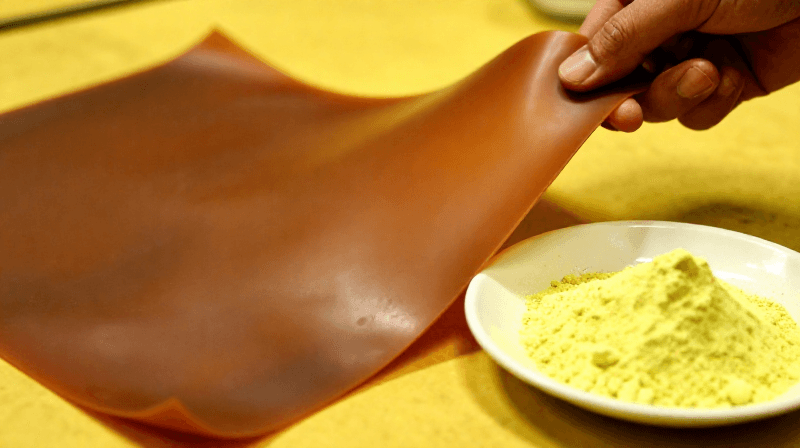
Rubber that holds its shape
Rubber that holds its shape
The embedded blueprint makes rubber firm and elastic. McDonnell's ridges need exactly that: soft enough to yield, firm enough to keep their edges.
3
3
Read US 654,751
Read US 654,751
"My present invention relates to a horse-brush adapted for use especially after the hair has been combed with a bristle brush."
"The edges B need not be sharp like a knife-edge, but are preferably very narrow, as they act as the scraping or polishing edges upon the hair when the brush is in use."
"Cut into both series of ridges are notches G, so that the edges in use will the more effectively polish and clean the hair."
4
4
Cast the pad and glue it to leather
Cast the pad and glue it to leather
Draw a mould in CAD: an open tray 10 × 14 cm inside, whose floor carries V-grooves 5 mm deep at 8 mm pitch in two sets crossing at 60 degrees, with a small rib across each groove every 2 cm to form the notches. Print it in PLA.
Spray the mould with release and let it dry. In gloves, mix the urethane rubber by the kit's instructions in a cup, stir slowly with a dowel, and pour it in a thin stream into one corner until the grooves are filled and a 3 mm back has formed. Leave it to cure as long as the kit says, then peel it out.
Cut leather to the pad's size, coat the leather and the back of the pad with contact cement, let both go tacky and press them together. Dust a piece of wool felt with flour and count the strokes the pad takes to lift it, then dust it again and compare with the palm of a gloved hand.
このステップの材料:
 ウレタンゴム(ショア40A、0,95 lキット)1 個
 PLA フィラメント1 個
 革1 個
革1 個 接着ゴム系ボンド1 個
 堅木のダボ1 個
 ウールフェルトシート1 個
 小麦粉1 個
必要な工具:
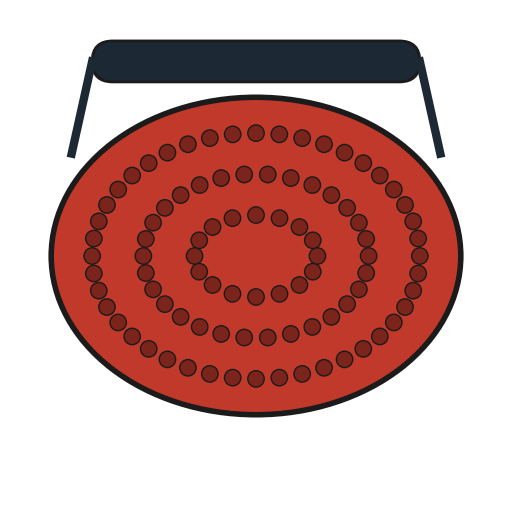 ラバーブラシ
 FDM 3D プリンター
 デジタルノギス 6インチ
 クラフトナイフ
 ニトリル手袋
 透明保護メガネ
 カップ
カップ 離型スプレー(シリコーン不使用)
5
5
A pad with holes, soft edges or a weak bond
A pad with holes, soft edges or a weak bond
Rubber brush troubleshooting.
Flow
Loading...
6
6
History and honest limits
History and honest limits
**Alexander R. McDonnell** of Littleton, Aroostook County, Maine, filed US 654,751 on 1 May 1900; it is dated 31 July 1900. He made the crossing ridges "from rubber in a single piece".
**Honest limits.** A cast urethane stands in for McDonnell's rubber. The notebook treats every ridge top as touching at once. Force and sizes are examples; your stroke counts are the result.
材料
7- ウレタンゴム(ショア40A、0,95 lキット)10%コミッション1 個プレースホルダー
- 1 個プレースホルダー
- 1 個プレースホルダー
- 1 個プレースホルダー
- 1 個プレースホルダー
- 1 個プレースホルダー
- 1 個プレースホルダー
関連ブループリント
これらのブループリントは知識を共有しています — 技術、材料、原理



CC0 パブリックドメイン
このブループリントはCC0で公開されています。許可を求めずに、自由にコピー、修正、配布、あらゆる目的で使用できます。
メイカーを応援するには、ブループリント経由で製品を購入してください。メイカーには メイカーコミッション がベンダーにより設定されています。または、このブループリントの新しいイテレーションを作成し、自分のブループリントにコネクションとして含めて収益を共有できます。