アート
美容とウェルネス
工芸
文化と歴史
エンターテインメント
環境
食品と飲料
リバースエンジニアリング
科学
スポーツ
テクノロジー
ウェアラブル



The Twisted Nematic LCD
Schadt and Helfrich, 1970. Every other display in this batch makes light; the LCD is a valve in front of a backlight. Rod-shaped molecules line up with a rubbed surface and twist a quarter-turn between two plates, carrying polarised light round with them — the cell is clear. A few volts stand the molecules up, the twist vanishes, the light is blocked. A valve costs power only to switch, which is why the LCD won. You will build a working cell.
上級者
6 hours
手順
1
1
The molecule whose shape is the whole device
The molecule whose shape is the whole device
5CB — 4-cyano-4'-pentylbiphenyl — is the first room-temperature liquid crystal (Gray, 1972), and almost every early LCD uses it or a relative. Its shape is the device: a rigid biphenyl rod so the molecules line up (the nematic phase), a floppy pentyl tail so it stays liquid, and a polar cyano end that is the handle the electric field grabs to switch it. Rigid enough to align, floppy enough to flow, polar enough to steer.
2
2
The twist, and why it needs two polarisers
The twist, and why it needs two polarisers
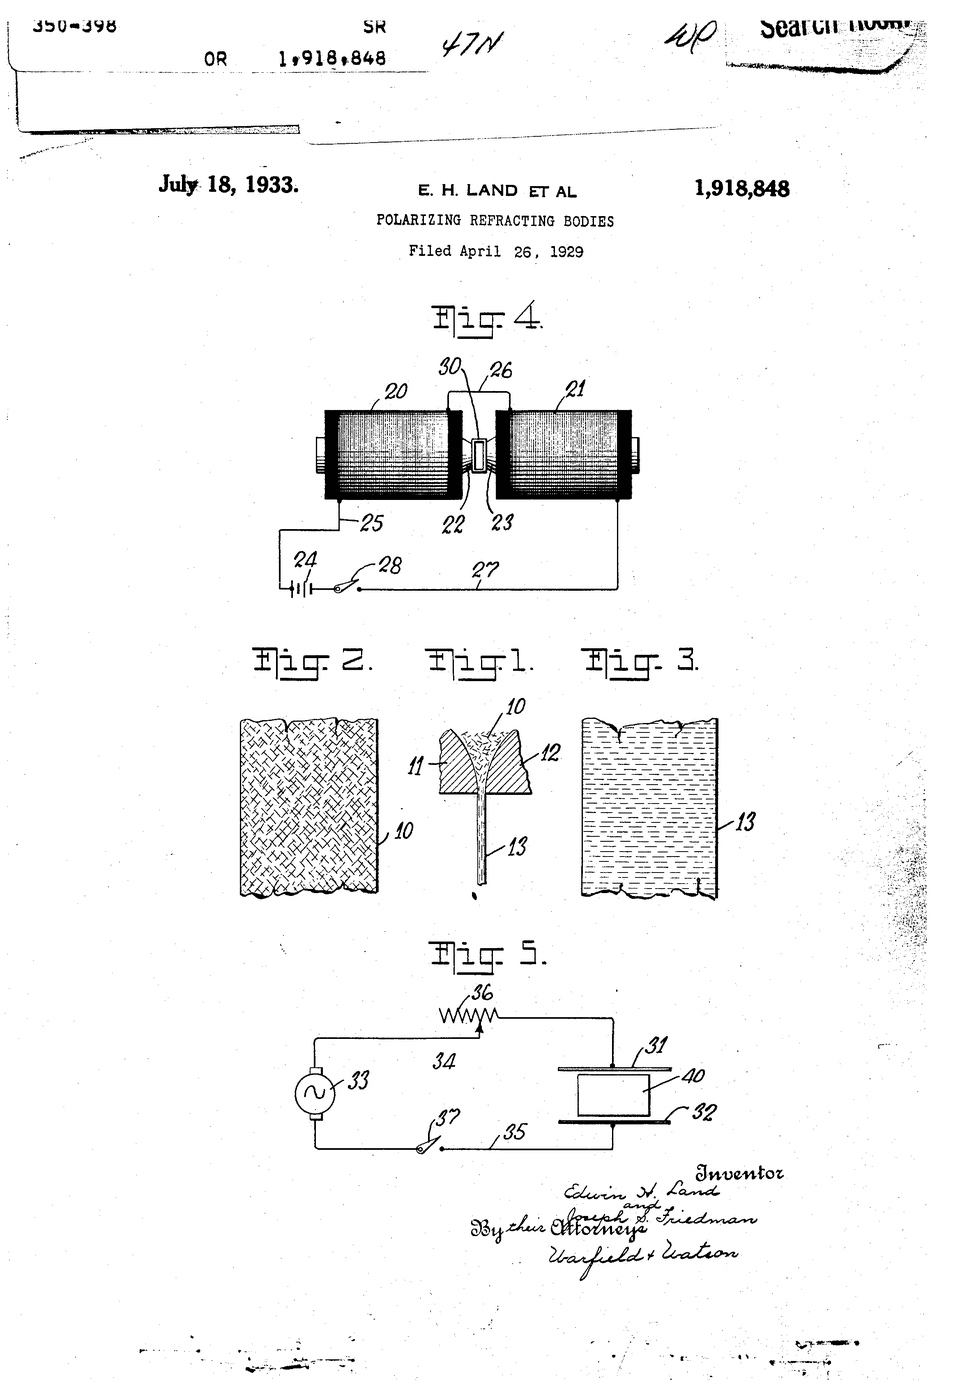
A liquid-crystal cell does nothing visible without a polariser each side — it rotates polarisation, which the eye cannot see. The plates are rubbed at 90 degrees, so the molecules form a quarter-turn helix that guides polarised light round to pass the crossed rear polariser: bright. A few volts stand the molecules up, the helix dies, the light is blocked: dark. Read the embedded polariser blueprint first.
3
3
Build a working cell and rub the alignment layer
Build a working cell and rub the alignment layer
A real build. Two ITO-coated glass plates (find the conductive side with a meter, ~hundreds of ohms). Wipe a thin PVA or polyimide film on each and RUB firmly one way — the grooves align the molecules. Assemble conductive faces in, rubbing directions at 90 degrees, ~10 um spacers, three edges sealed. Draw in 5CB by capillary action (warm it above ~35 C so it flows), seal the last edge. Add a polariser each side, axes crossed.
Test: crossed polarisers, no volts = bright; touch 3-5 V AC to the two ITO faces and the lit area goes dark. Use AC, not DC — DC electrolyses and kills the cell in minutes.
このステップの材料:
 ITO 膜付きスライドガラス2 個
 液晶 5CB1 ml
 偏光フィルターシート2 枚
必要な工具:
 ラボグレード・デジタルマルチメータ
 直流安定化電源
 精密ピンセットセット
4
4
Measure the threshold voltage
Measure the threshold voltage
Jupyter ノートブックを読み込み中…
必要な工具:
 デスクトップパソコン
材料
3- プレースホルダー
- 1 mlプレースホルダー
- 2 枚プレースホルダー
必要な工具
4- プレースホルダー
- プレースホルダー
- プレースホルダー
- プレースホルダー
関連ブループリント
これらのブループリントは知識を共有しています — 技術、材料、原理

CC0 パブリックドメイン
このブループリントはCC0で公開されています。許可を求めずに、自由にコピー、修正、配布、あらゆる目的で使用できます。
メイカーを応援するには、ブループリント経由で製品を購入してください。メイカーには メイカーコミッション がベンダーにより設定されています。または、このブループリントの新しいイテレーションを作成し、自分のブループリントにコネクションとして含めて収益を共有できます。