コラボレーション
アート
美容とウェルネス
工芸
文化と歴史
エンターテインメント
環境
食品と飲料
リバースエンジニアリング
科学
スポーツ
テクノロジー
ウェアラブル
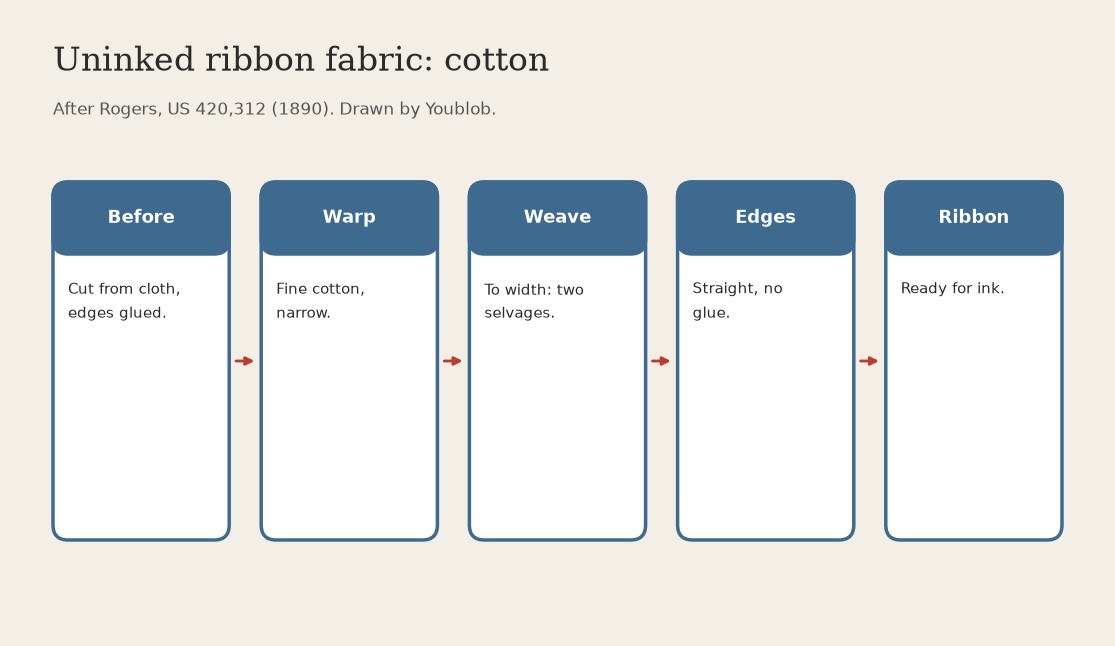


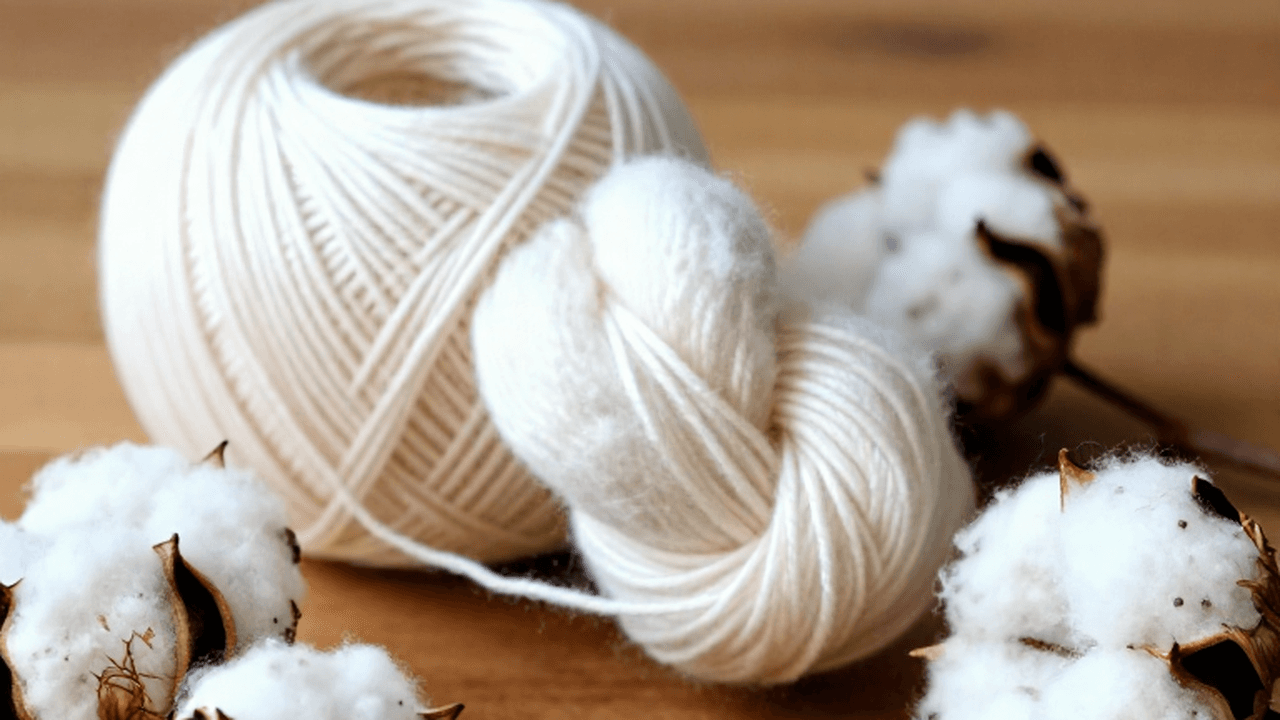
Uninked Ribbon Fabric: Narrow Woven Cotton Strip with Two Selvages (Rogers, US 420,312, 1890)
Early typewriter ribbons were cut from a roll of fine cotton cloth and the cut edges glued; the edges came out zigzag and the glue spoiled the inking surface. Rogers wove the ribbon to width instead, so it has two true selvages and needs no glue.
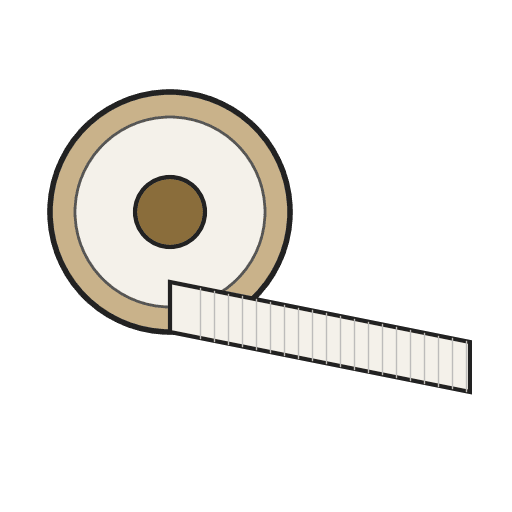
Result: a narrow cotton ribbon with straight woven edges, ready for inking.
Source: Rogers, US 420,312 (1890). He chose cotton over silk: silk cost more, held less ink and sagged in the middle. Not given: width, thread count. Picture drawn by Youblob.
中級者
Factory process
手順
1
1
Warp a narrow loom with fine cotton
Warp a narrow loom with fine cotton
Set up the loom for a ribbon of typewriter width, not a wide bolt. Rogers used fine cotton; width and thread count: not given. Ours: a power loom (Rogers built his own machinery).
このステップの材料:
 木綿糸1 as required
必要な工具:
 力織機
2
2
Weave the ribbon to width
Weave the ribbon to width
Weave the strip at its final width so both edges are selvages: straight, unravelling-free, with no cut edge to glue.
このステップの材料:
木綿糸1 as required必要な工具:
力織機3
3
Wind it off for inking
Wind it off for inking
Take the woven ribbon off the loom; its whole surface is free for ink. Rogers then inks it on one side only.
必要な工具:
力織機この設計図で作るもの

CC0 パブリックドメイン
このブループリントはCC0で公開されています。許可を求めずに、自由にコピー、修正、配布、あらゆる目的で使用できます。
メイカーを応援するには、ブループリント経由で製品を購入してください。メイカーには メイカーコミッション がベンダーにより設定されています。または、このブループリントの新しいイテレーションを作成し、自分のブループリントにコネクションとして含めて収益を共有できます。