コラボレーション
アート
美容とウェルネス
工芸
文化と歴史
エンターテインメント
環境
食品と飲料
リバースエンジニアリング
科学
スポーツ
テクノロジー
ウェアラブル
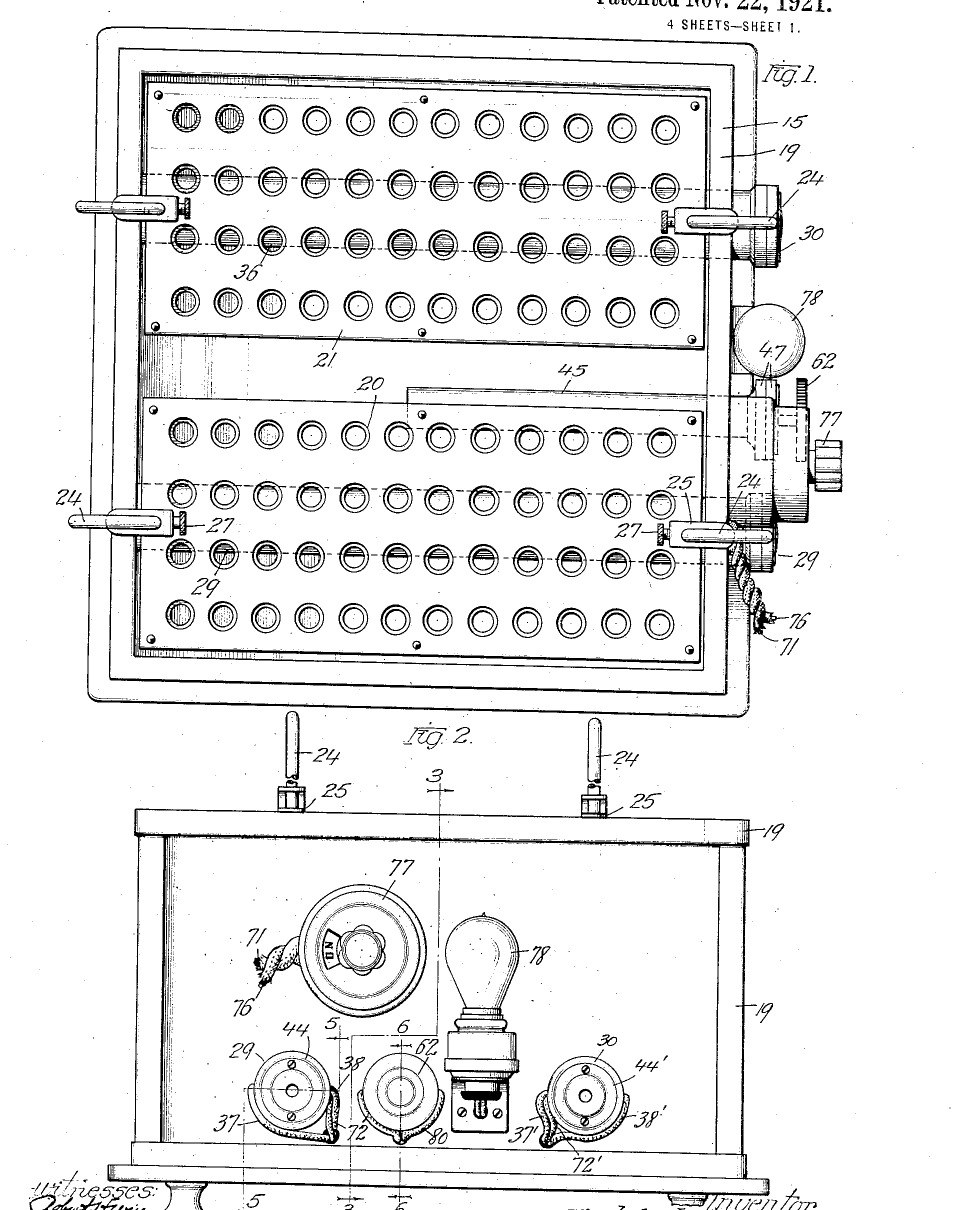


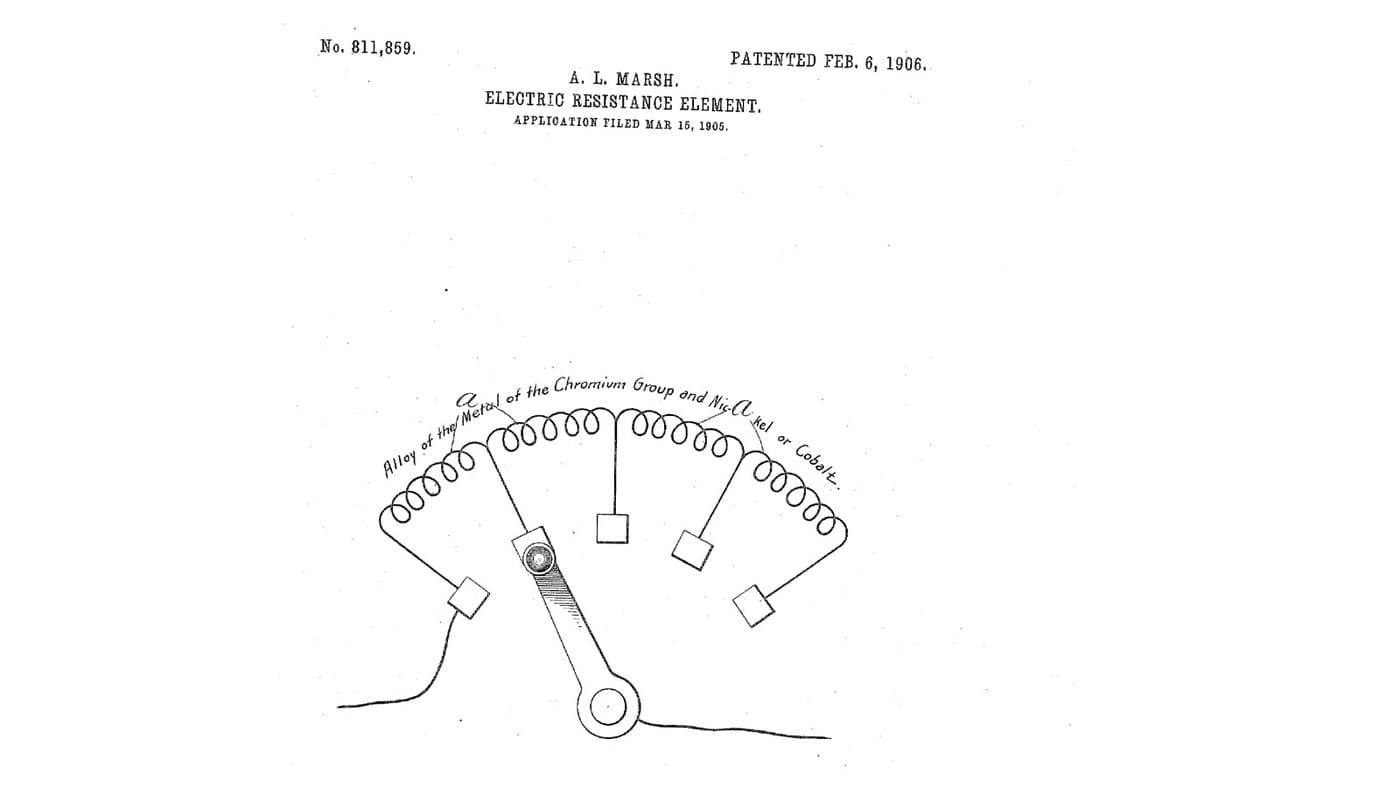
Water Bath: Copper Tank with Plug-In Heaters and an Air-Tube Thermostat (Lidberg, US 1,397,766, 1921)
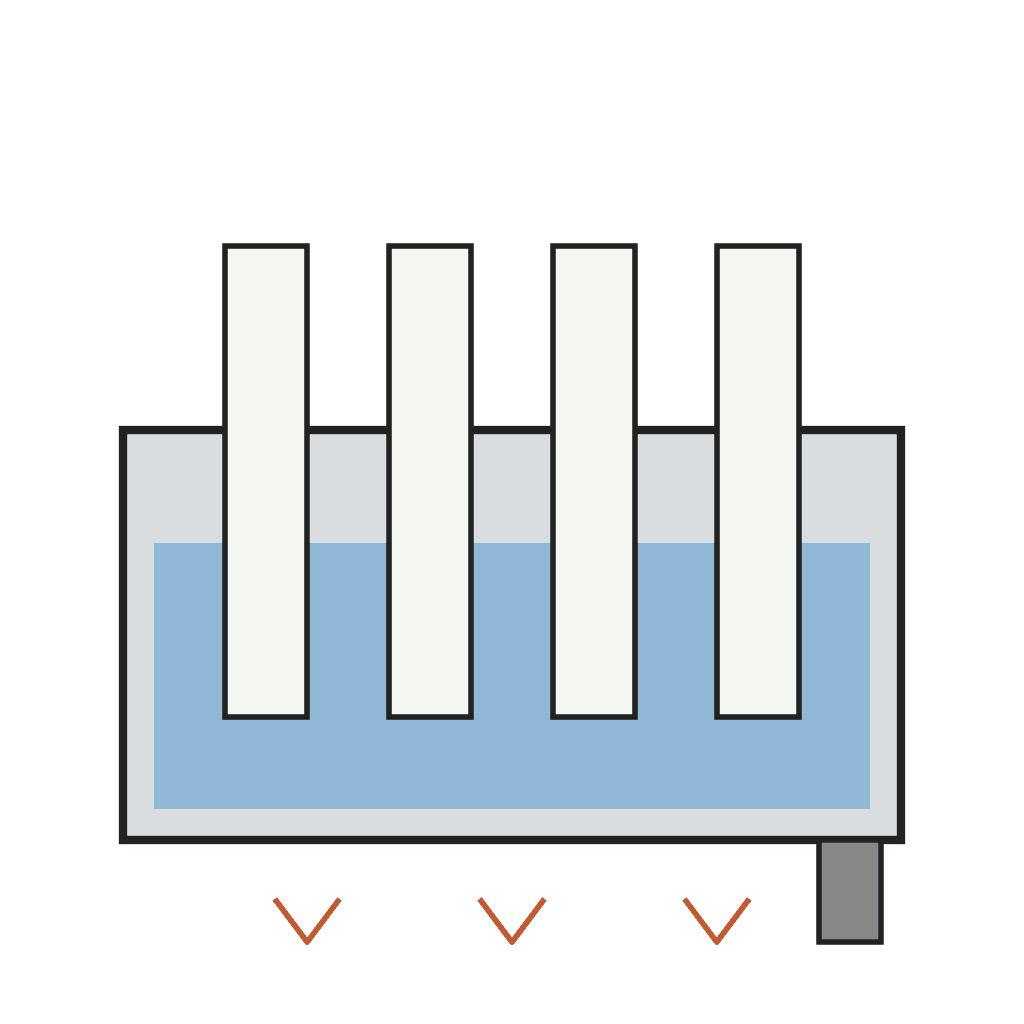
An electric constant-temperature water bath for laboratory and bacteriological work. A copper tank sits in an insulated fibre-board box; two heater tubes and a thermostat tube are soldered through its wall so the heating coils and the switch plug in from outside. A switch adds extra coils to heat the water up quickly; then the thermostat alone holds the set temperature. Perforated trays on adjustable rods hold the tubes or flasks at the depth you choose.
Result: a thermostatic water bath that holds its water at a set temperature.
Source: T. Lidberg (Chicago Surgical & Electrical Co.), US 1,397,766 (1921). Unknown: sizes, the temperature range, the heater wire. Picture: the patent drawing.
中級者
Unknown
手順
1
1
Build the insulated tank
Build the insulated tank
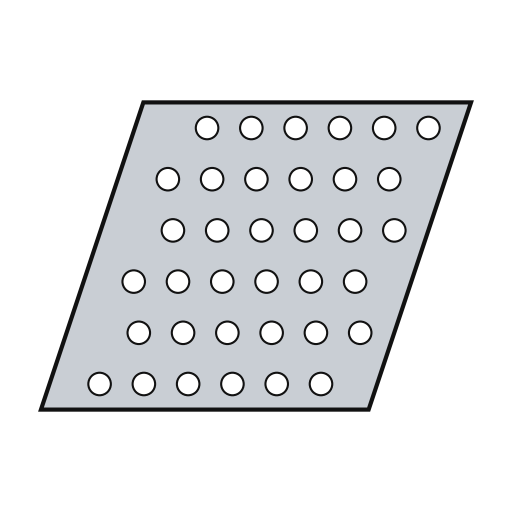
Make a rectangular box of fibrous board on four short legs and line it with hair felt or cloth. Set a sheet copper tank inside, its walls a little taller than the box and turned over the top edge as a bead. Make perforated trays of several shelves, each with an upright rod hooked at the top for lifting, and on each rod a sliding clip with a set screw whose end rests on the tank edge, to set how deep the tray hangs. Not given: sizes.
このステップの材料:
 不明な材料1 fibrous board box, legs
 不明な布1 hair felt or cloth lining
 銅板1 tank
 パンチングスクリーン板1 trays
 不明な金属1 rods, clips
 小ねじ1 個
必要な工具:
 金切りばさみ
 はんだごて
 不明な寸法
2
2
Fit the heater tubes
Fit the heater tubes
Solder two watertight tubes across the tank, each closed at its inner end and open outside the wall, and a third for the thermostat. For each heater, wind two coils on a rod held in the tube by an insulating disk and an end head; join one end of each coil to the rod and the others to plates on the head, and cover the terminals with a cap plate. Slide each heater into its tube. Ours: nichrome wire. Not given: the coil ratings.
このステップの材料:
 銅管3 heater and thermostat tubes
 錫鉛はんだ1 as needed
 ニクロム線1 four coils不明な金属2 rods, plates, caps
 不明な絶縁材料1 disks, heads
必要な工具:
はんだごて 金切りのこ(ハクソー)
3
3
Make the air-tube thermostat
Make the air-tube thermostat
In the closed thermostat tube, mount on an insulating disk a strip carrying a thermostatic bar with a contact at its free end. Facing it, pivot an adjustable bar with its own contact on a bracket in the tube's insulating head, held by a spring against an adjusting screw with a knob outside: turning it sets the temperature at which the contacts open. Bridge the contacts with a condenser to stop sparking. The air in the tube takes the bath's temperature and bends the bar. Ours: a bimetallic strip.
このステップの材料:
 バイメタル板1 thermostatic bar不明な金属1 strip, bar, bracket, contacts, screw不明な絶縁材料1 disk, head
 圧縮ばねセット1 個
 コンデンサキット1 spark condenser
必要な工具:
 ドライバーセット
4
4
Wire and use it
Wire and use it
Wire one coil of each heater through the thermostat, and the other coil of each through a hand switch, with a lamp across the supply to show when current flows. To start, close the switch so all four coils heat the water up. Once it is at temperature, open the switch: the thermostat then switches its two coils on and off to hold the bath steady. Lower the trays of tubes or flasks to the depth wanted.
このステップの材料:
 トグルスイッチ1 個
 電球ソケット1 個
 電球1 個
 プラグ付きコード1 個
必要な工具:
ドライバーセット材料
17- 1 fibrous board box, legsプレースホルダー
- 1 hair felt or cloth liningプレースホルダー
- 1 tankプレースホルダー
- 1 traysプレースホルダー
- 1 strip, bar, bracket, contacts, screwプレースホルダー
- 1 個プレースホルダー
- 3 heater and thermostat tubesプレースホルダー
- 1 as neededプレースホルダー
- 1 four coilsプレースホルダー
- 1 disk, headプレースホルダー
- 1 thermostatic barプレースホルダー
- 1 個プレースホルダー
- 1 spark condenserプレースホルダー
- プレースホルダー
- 1 個プレースホルダー
- 1 個プレースホルダー
- 1 個プレースホルダー

この設計図で作るもの
CC0 パブリックドメイン
このブループリントはCC0で公開されています。許可を求めずに、自由にコピー、修正、配布、あらゆる目的で使用できます。
メイカーを応援するには、ブループリント経由で製品を購入してください。メイカーには メイカーコミッション がベンダーにより設定されています。または、このブループリントの新しいイテレーションを作成し、自分のブループリントにコネクションとして含めて収益を共有できます。