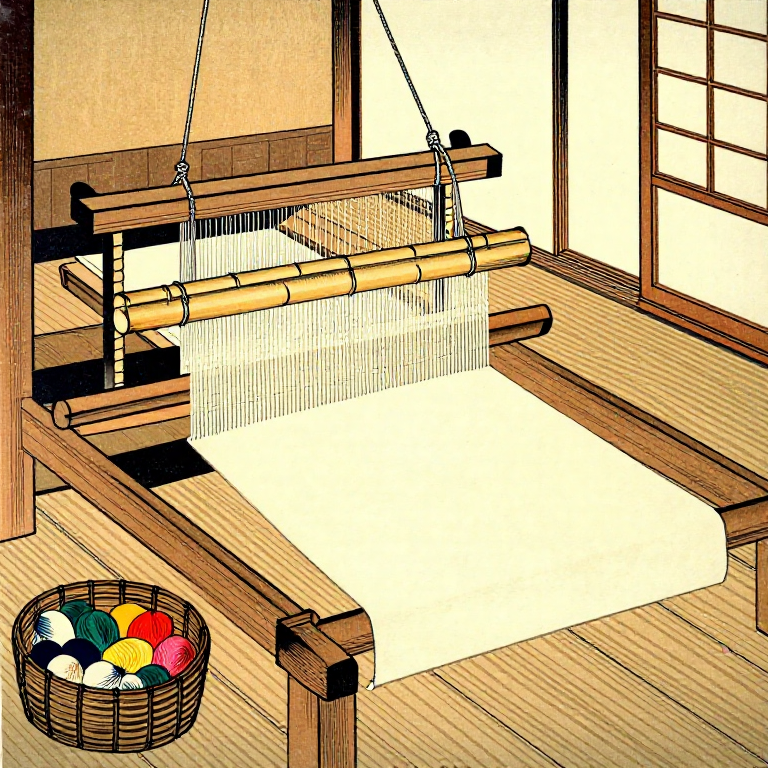
Setting Up a Warp-Weighted Loom — Vertical Loom Weaving
Maagizo
Build the Loom Frame
Build the Loom Frame
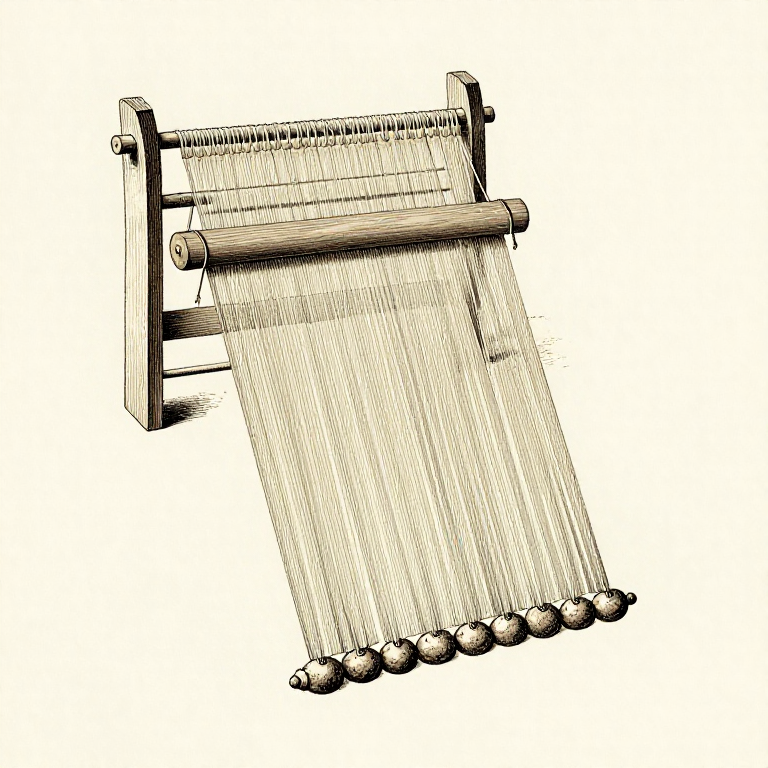
Construct a simple rectangular frame from two upright posts and a horizontal warp beam at the top. The uprights should be about 2 metres tall and sturdy enough to support the tension of the warp. Lean the frame against a wall at a slight angle (about 10-15 degrees from vertical) — this causes the warp threads to hang with a natural forward lean that makes weaving easier. The warp beam sits across the top of the two uprights, resting in Y-shaped notches or lashed in place. A second horizontal bar lower down serves as a cloth beam where finished fabric accumulates. The loom width determines the maximum fabric width.
Vifaa kwa hatua hii:
 Shed rod (flat stick)1 kipande
Zana zinazohitajika:
 Bone
BoneWarp the Loom
Warp the Loom
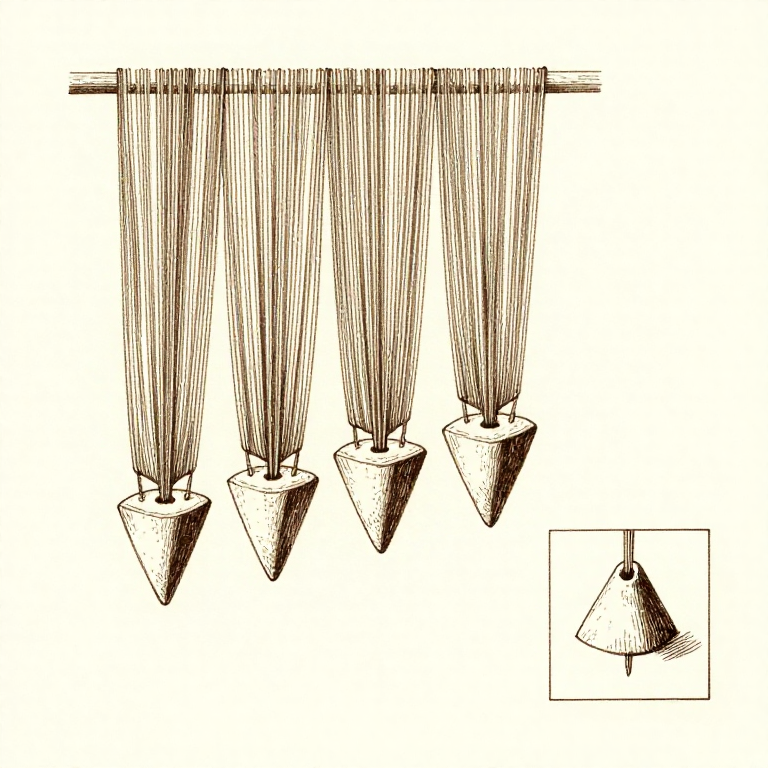
Warping is the most critical step — it determines the density, width, and thread spacing of the finished fabric. Tie individual warp threads to the warp beam, spacing them evenly at 3-5 threads per centimetre for a medium-weight fabric. Each warp thread hangs vertically from the beam. Group the hanging threads into bundles of 5-10 and tie each bundle to a clay or stone loom weight. The weights provide the tension that keeps the warp threads taut and parallel. Loom weights from archaeological sites are typically donut-shaped or pyramidal clay objects weighing 200-500 g each, with a hole for attaching the thread bundles.
Set Up Heddles and Shed
Set Up Heddles and Shed
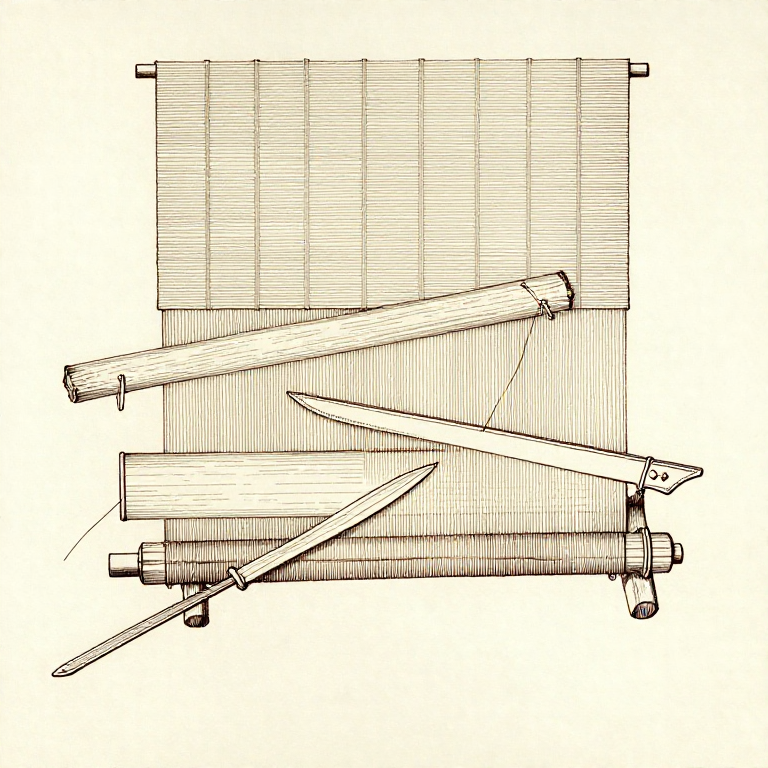
To weave, you must separate alternate warp threads to create a shed (an opening through which the weft passes). Divide the warp threads into two groups — odd and even. Attach short string loops (heddles) to each thread in the back group, connecting them to a horizontal heddle rod. When you pull the heddle rod forward, the back threads move forward through the front threads, creating the shed. Insert a flat shed rod (a wide, thin stick) between the two groups above the heddle rod — this creates the counter-shed when the heddle rod is released. Alternating between pulling the heddle rod and using the natural shed creates the over-under interlocking pattern of plain weave.
Weave the Fabric
Weave the Fabric
Open the shed by pulling the heddle rod, then pass the weft thread through the shed from one side to the other. Release the heddle rod to close this shed and open the counter-shed. Beat the weft firmly upward against the previous row using a flat weaving sword (a smooth, flat bone or wooden blade). Pass the weft back through the counter-shed. Beat again. Repeat. On a warp-weighted loom, weaving progresses from the top down — the finished fabric rolls around the cloth beam at the top. Keep the weft tension even — too tight pulls the selvedge (edges) inward, narrowing the fabric; too loose creates loops and an uneven surface.
Finish and Cut Off
Finish and Cut Off
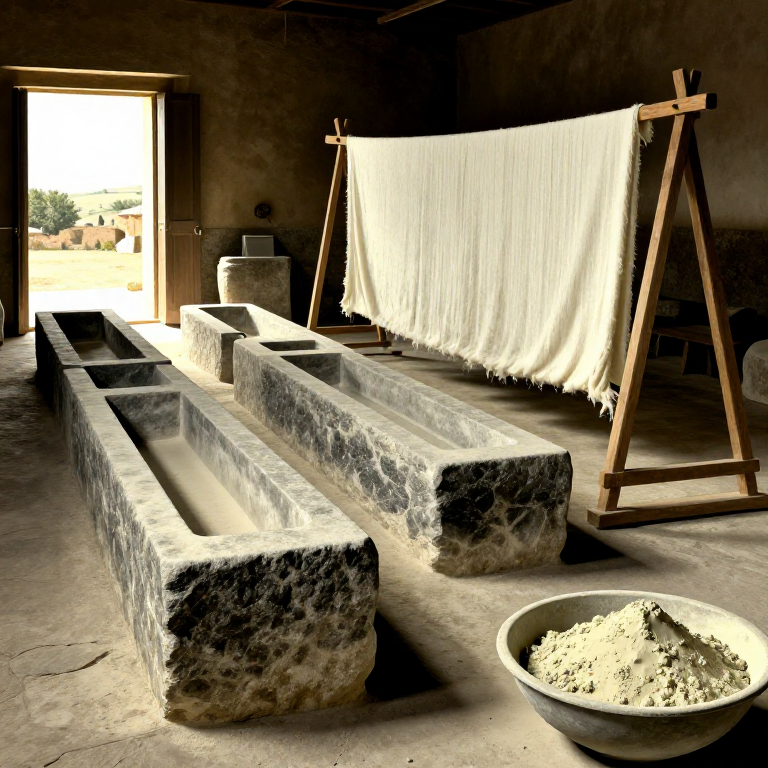
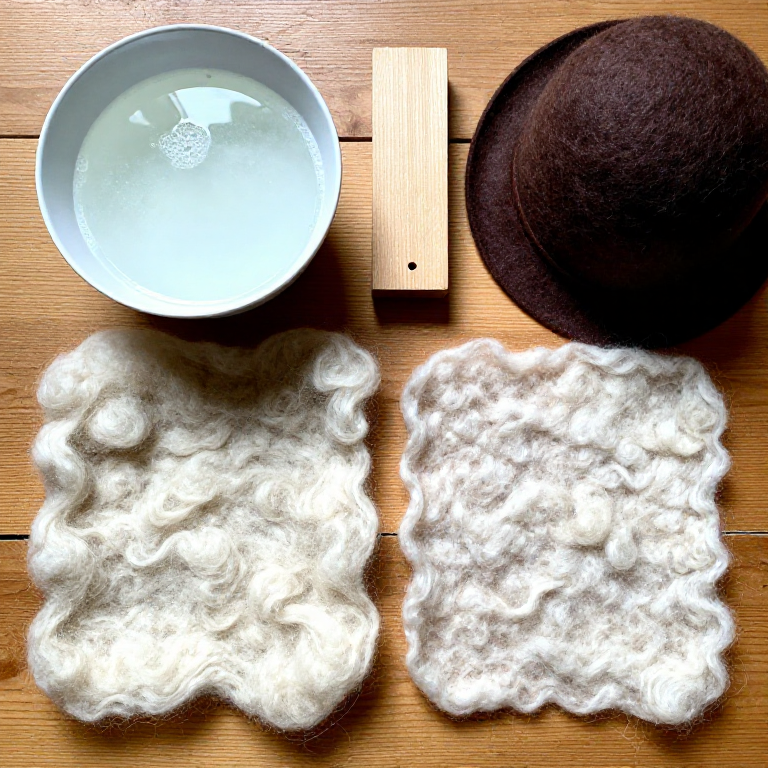
When the fabric reaches the desired length (or the warp runs out), secure the last few rows of weft by weaving them tightly and tucking the weft end back into the fabric. Cut the warp threads at the loom weights and tie off the loose ends in groups to form a fringe, or weave them back into the fabric with a bone needle. The fabric's characteristics depend on the yarn used: wool produces a warm, elastic fabric; linen produces a cool, crisp fabric. To full (finish) woollen fabric, wash it in warm water and agitate it — this causes the wool fibers to interlock (felt), producing a denser, more wind-resistant cloth. Archaeological textiles from Hallstatt in Austria show sophisticated twill patterns and vivid natural dye colours, demonstrating that ancient weavers achieved remarkable quality with these simple tools.
Vifaa
5- 10-20 kipandeKishikilia Nafasi
- large supply kipandeKishikilia Nafasi
- 2 vipandeKishikilia Nafasi
Related blueprints
Other builds that share materials, tools, or techniques with this one.

CC0 Umma Wote
Mchoro huu umetolewa chini ya CC0. Uko huru kunakili, kubadilisha, kusambaza, na kutumia kazi hii kwa madhumuni yoyote, bila kuomba ruhusa.
Saidia Mtengenezaji kwa kununua bidhaa kupitia Mchoro wao ambapo wanapata Kamisheni ya Mtengenezaji iliyowekwa na Wachuuzi, au unda marudio mapya ya Mchoro huu na uiunganishe kama kiungo katika Mchoro wako kuchangia mapato.