Ushirikiano
SANAA
UREMBO NA USTAWI
UJANJA
UTAMADUNI NA HISTORIA
BURUDANI
MAZINGIRA
CHAKULA NA VINYWAJI
UHANDISI WA KINYUME
SAYANSI
MICHEZO
TEKNOLOJIA
VAZI
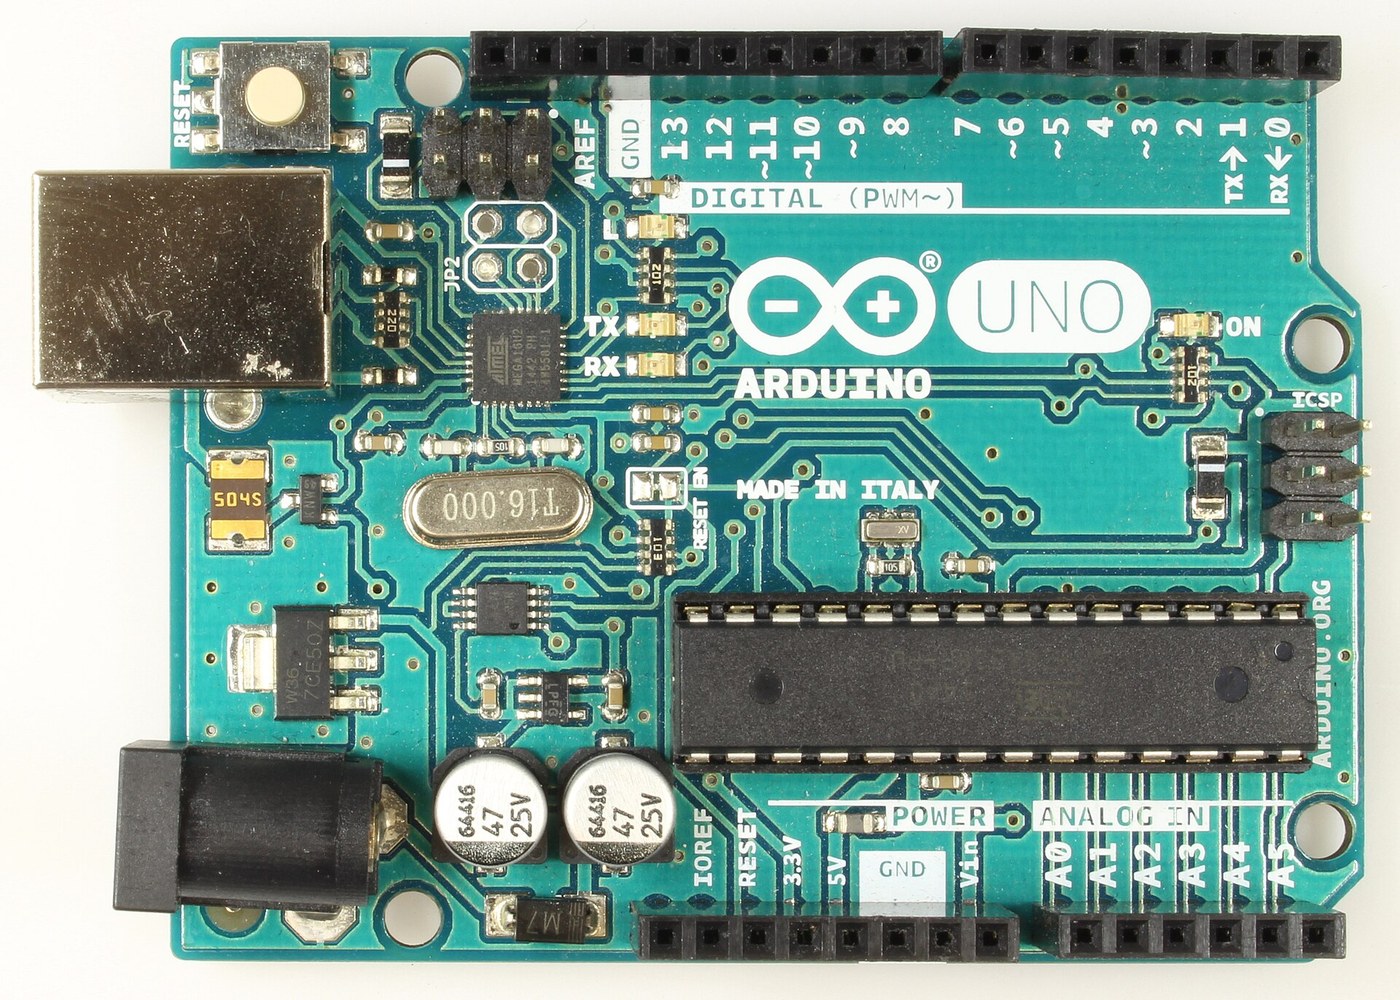


Arduino Uno R3: Assembled from Arduino's Open UNO-TH Rev3e Design Files and Flashed over ICSP
The Arduino Uno R3 is open hardware: Arduino publishes its schematic and board layout. This blueprint builds one from those files, part by part, then loads the firmware into its two processors.
Result: an Arduino Uno R3. An ATmega328P (16 MHz, 32 kB flash, 2 kB SRAM, 1 kB EEPROM) runs your programs; an ATmega16U2 turns USB into its serial link. It runs from USB (5.5 V at most) or 6-20 V at the DC jack.
Source: Arduino UNO-TH_Rev3e design files and the A000066 schematic and datasheet (Arduino, CC BY-SA). Unknown: how every bought part is made; no public source in hand says. The soldering method is ours. Picture: Wikimedia Commons.
Juu
1 day
Maagizo
1
1
Get the bare board
Get the bare board
Have the two-layer board made to Arduino's UNO-TH_Rev3e board layout (the .brd file of the design files). Check it against the schematic before fitting anything.
Vifaa kwa hatua hii:
 Bamba la mzunguko lililochapishwa1 UNO-TH Rev3e layout
Zana zinazohitajika:
 Lupu ya Kukuza
2
2
Fit the small surface-mount parts
Fit the small surface-mount parts
Solder the chip parts to their marked places: resistor arrays RN1 (10K), RN2 and RN4 (1K), RN3 (22R); R1, R2 (1M); capacitors C1, C2, C4-C7, C10 (100n), C3, C8 (1u), C9, C11 (22p); varistors Z1, Z2; ferrite bead L1; inductor L2 (10 uH); diodes D2, D3; LEDs ON (green), L, RX, TX (yellow). Ours: flux, tweezers and hot air or a fine iron, checked under a loupe.
Vifaa kwa hatua hii:
 Mpangilio wa vipingamizi vya chipu4 RN1-RN4
 Kipingamizi cha chipu2 1M
 Kapasita ya kauri ya chipu11 7x100n, 2x1u, 2x22p
 Varista ya chipu2 Z1, Z2
 Ushanga wa feriti1 L1
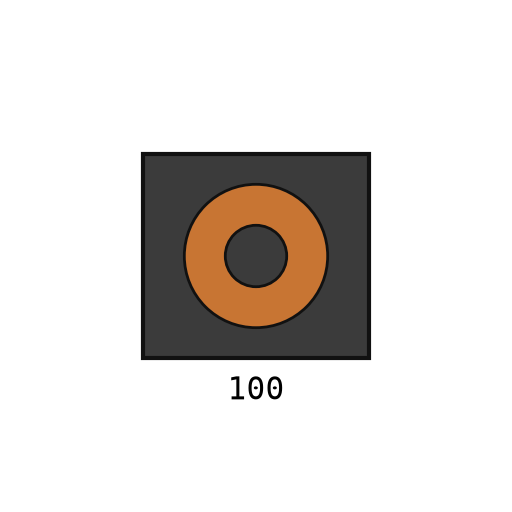 Indakta ya kupachika juu1 L2
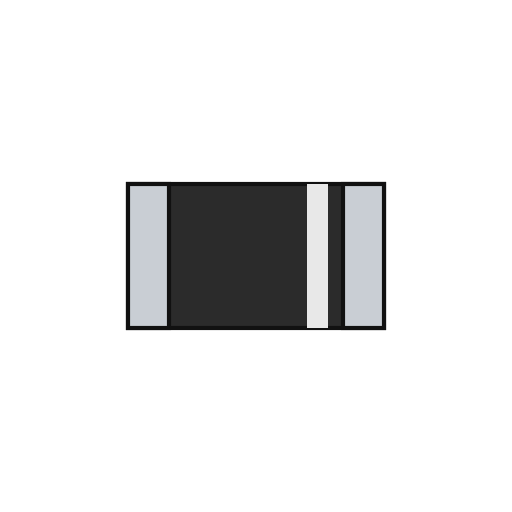 Diodi ya kupachika juu2 D2, D3
 LED ya chipu4 1 green, 3 yellow
 Waya wa Lehemu1 a little
Zana zinazohitajika:
 Fluksi
 Kibano chenye ncha nyembamba
 Kituo cha kurekebisha kwa hewa moto
 Chuma cha kulehemiaLupu ya Kukuza
3
3
Fit the power and chip parts
Fit the power and chip parts
Solder the ATmega16U2 (U3), the 16 MHz resonator Y2 and crystal Y1, the 5 V regulator NCP1117 (U1) and 3.3 V regulator LP2985 (U2), the LMV358 op-amp (U5), the FDN340P transistor (T1), the M7 diode (D1), the 500 mA resettable fuse (F1) and the 47 uF capacitors PC1, PC2 with their polarity as marked.
Vifaa kwa hatua hii:
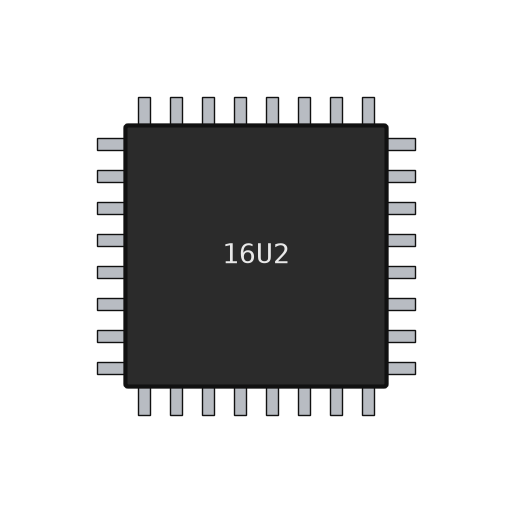 Kidhibiti-ndogo ATmega16U21 U3
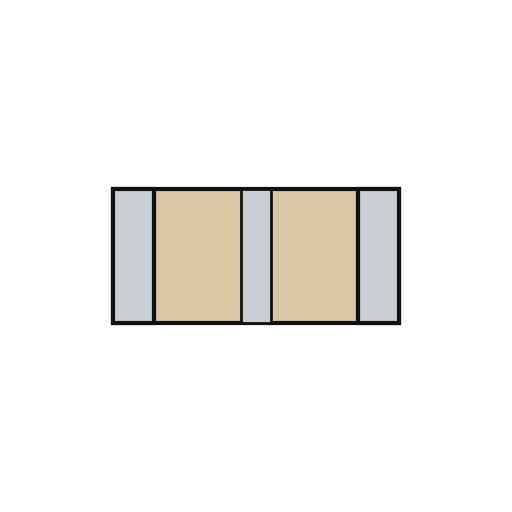 Resoneta ya kauri ya piezo1 Y2
 Kioo cha kwatsi1 Y1
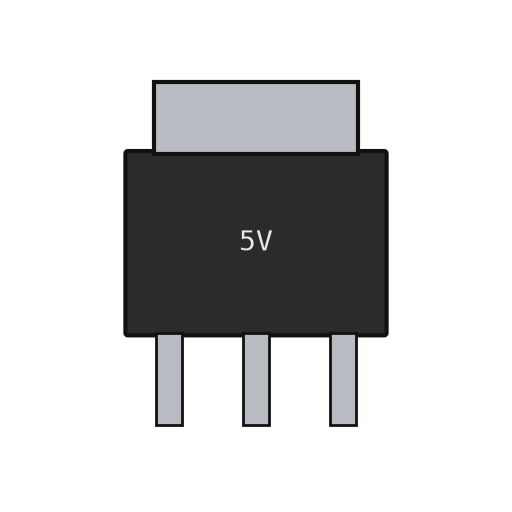 Kidhibiti volteji cha mstari2 U1 5 V, U2 3.3 V
 IC ya kikuza-ishara1 U5 LMV358
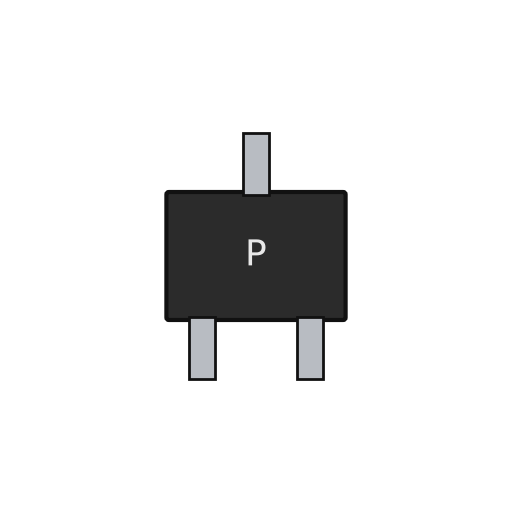 MOSFET ya chaneli-P1 T1Diodi ya kupachika juu1 D1 M7
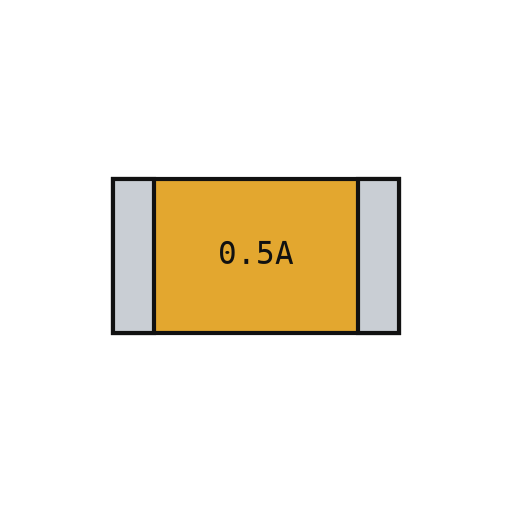 Fyuzi inayojirudisha1 F1
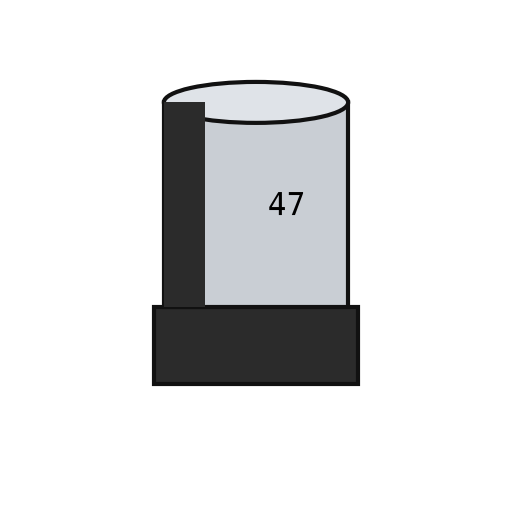 Kapasita ya chipu yenye ncha2 PC1, PC2Waya wa Lehemu1 a little
Zana zinazohitajika:
FluksiKibano chenye ncha nyembambaKituo cha kurekebisha kwa hewa motoChuma cha kulehemiaLupu ya Kukuza4
4
Fit the through-hole parts
Fit the through-hole parts
Solder the USB-B socket (X2), the DC jack (X1), the reset switch, the female headers (one 10-way, two 8-way, one 6-way) and the two 2x3 ICSP headers. Seat the ATmega328P in its place (ZU4).
Vifaa kwa hatua hii:
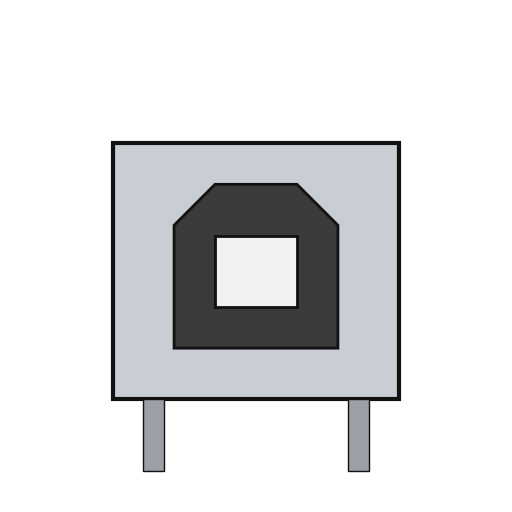 Soketi ya USB-B1 X2
 Tundu la umeme la duara1 X1
 Kitufe cha kubonyeza1 RESET
 Safu ya pini6 10x1, 2x 8x1, 6x1 female; 2x 3x2 ICSP
 Kidhibiti-ndogo ATmega328P1 ZU4Waya wa Lehemu1 as needed
Zana zinazohitajika:
Chuma cha kulehemia5
5
Flash and check
Flash and check
Check with a meter that 5 V and GND are not shorted. Through the ICSP headers, load the USB-to-serial firmware into the ATmega16U2 and the bootloader into the ATmega328P. Plug in USB: the green ON LED lights, and the blink test in the next step flashes the L LED. Ours: an AVR ISP programmer and a multimeter.
Vifaa kwa hatua hii:
 Programu dhibiti ya Arduino Uno1 download
Zana zinazohitajika:
 Kipima-umeme cha aina nyingi
 Kiprogramu cha AVR ISP
 Kebo ya USB-B
6
6
The blink test
The blink test
blink_test.ino: the same check as Arduino's Blink example. Upload it over USB from the Arduino IDE with the board set to Arduino Uno; the L LED on pin 13 turns on for one second and off for one second, over and over. If it does, both processors, the USB link and the bootloader work.
blink_test.inocpp
Zana zinazohitajika:
Kebo ya USB-BVifaa
24- 1 UNO-TH Rev3e layoutKishikilia Nafasi
- 4 RN1-RN4Kishikilia Nafasi
- Kishikilia Nafasi
- 11 7x100n, 2x1u, 2x22pKishikilia Nafasi
- 2 Z1, Z2Kishikilia Nafasi
- Kishikilia Nafasi
- Kishikilia Nafasi
- 1 D1 M7Kishikilia Nafasi
- 4 1 green, 3 yellowKishikilia Nafasi
- 1 as neededKishikilia Nafasi
- Kishikilia Nafasi
- Kishikilia Nafasi
- 1 Y1Kishikilia Nafasi
- 2 U1 5 V, U2 3.3 VKishikilia Nafasi
- 1 U5 LMV358Kishikilia Nafasi
- Kishikilia Nafasi
- Kishikilia Nafasi
- 2 PC1, PC2Kishikilia Nafasi
- 1 X2Kishikilia Nafasi
- Kishikilia Nafasi
- Kishikilia Nafasi
- Kishikilia Nafasi
- Kishikilia Nafasi
- 1 downloadKishikilia Nafasi
Zana Zinazohitajika
8- Kishikilia Nafasi
- Kishikilia Nafasi
- Kishikilia Nafasi
- Kishikilia Nafasi
- 2 vendors sell this, none ship to you yetKishikilia Nafasi
- Kishikilia Nafasi
- Kishikilia Nafasi
- 1 vendor sell this, none ship to you yetKishikilia Nafasi
Mchoro huu unatengeneza
Blueprint zinazohusiana
Blueprint hizi zinashiriki maarifa — mbinu, vifaa au kanuni

CC0 Umma Wote
Mchoro huu umetolewa chini ya CC0. Uko huru kunakili, kubadilisha, kusambaza, na kutumia kazi hii kwa madhumuni yoyote, bila kuomba ruhusa.
Saidia Mtengenezaji kwa kununua bidhaa kupitia Mchoro wao ambapo wanapata Kamisheni ya Mtengenezaji iliyowekwa na Wachuuzi, au unda marudio mapya ya Mchoro huu na uiunganishe kama kiungo katika Mchoro wako kuchangia mapato.