Ushirikiano
SANAA
UREMBO NA USTAWI
UJANJA
UTAMADUNI NA HISTORIA
BURUDANI
MAZINGIRA
CHAKULA NA VINYWAJI
UHANDISI WA KINYUME
SAYANSI
MICHEZO
TEKNOLOJIA
VAZI
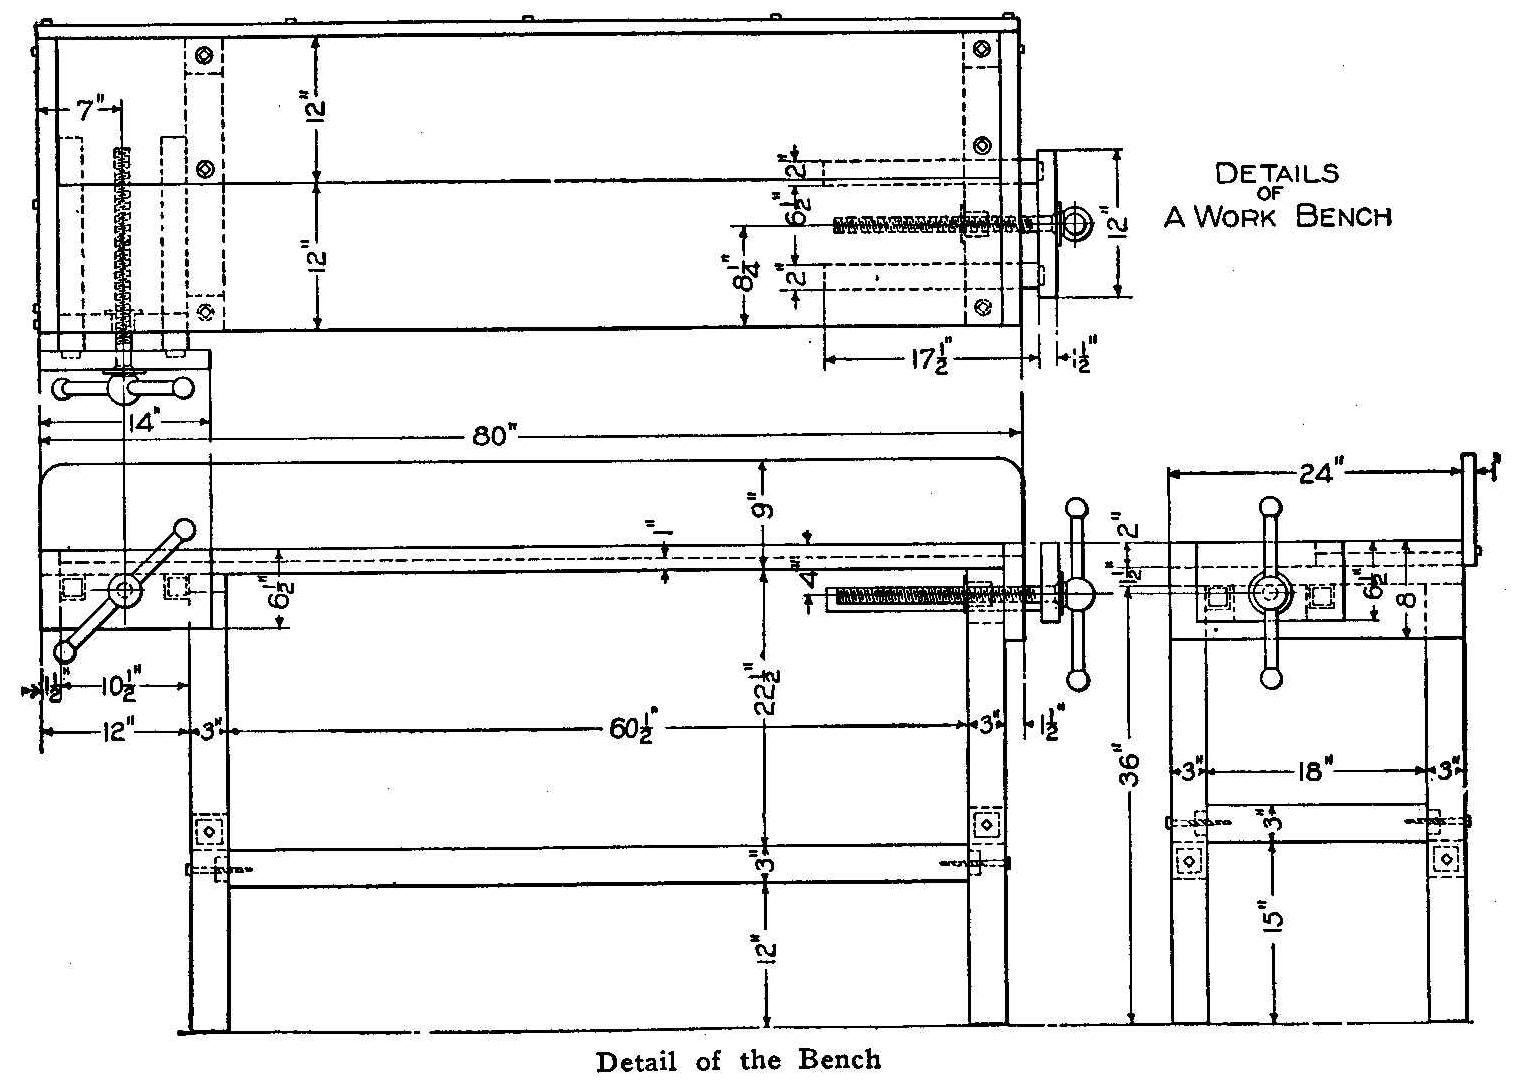


Workbench for the Amateur: Mortised Maple Frame, Two-Board Top, Side and End Vises (Boy Mechanic, 1913)
A full-size woodworking bench from The Boy Mechanic (Popular Mechanics, 1913), "suitable for the amateur woodworker" and made "by anyone who has a few sharp tools and a little spare time": a mortise-and-tenon frame of birch or maple bolted with lag screws, a top of a 2 in and a 1 in board, a side vise and an end vise on square slides, and a back board. All sizes are the book's.
It stands 36 in high, 80 in long and 24 in deep.
Kati
About 2 days
Maagizo
1
1
Cutting list
Cutting list
Inapakia daftari la Jupyter…
2
2
Read The Boy Mechanic
Read The Boy Mechanic
"If the stock is purchased from the mill ready planed and cut to length, much of the hard labor will be saved."
3
3
Make the lower frame
Make the lower frame
Cut tenons on the side and end rails and mortise the posts to take them. Fit them together and fasten them securely with 3/8 by 5 in lag screws through the posts into the rails, as the drawing shows.
Vifaa kwa hatua hii:
 Mbao zilizochongwa mraba1 kipande
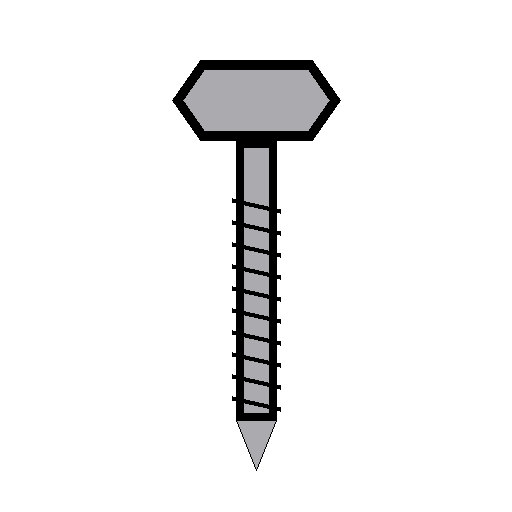 Skrubu nzito ya mbao (lag)1 kipande
Zana zinazohitajika:
 Msumeno wa watu wawili
 Msumeno wa mgongo
 Patasi ya kutoboa tundu la kiungo
 Nyundo ya mbao
 Kipima pembe cha nyuzi tisini
 Kekee cha mkono chenye ncha
 Spana inayoweza kurekebishwa
 Penseli
4
4
Fit the crosspieces and top
Fit the crosspieces and top
Screw the 1-1/2 by 3 by 24 in crosspieces to the tops of the posts, countersinking the heads (or bore the top boards to clear them). Fasten the front, 2 in top board to the crosspieces with lag screws from underneath; screw the 1 in top board down from the top.
Vifaa kwa hatua hii:
Mbao zilizochongwa mraba1 kipande Ubao wa mbao gumu1 kipande
 Ubao wa Mti Mgumu1 kipandeSkrubu nzito ya mbao (lag)1 kipande
 Parafujo za mbao1 kipande
Zana zinazohitajika:
Kekee cha mkono chenye ncha Seti ya Ncha za Kupanua Matundu
 Seti ya bisibisiSpana inayoweza kurekebishwa
5
5
Fit the end pieces and vise slides
Fit the end pieces and vise slides
Screw on the end pieces, countersinking the heads at the vise end. Cut 2 in square holes in the 1-1/2 by 4-1/2 by 10 in piece for the side vise slides and fit it in place, and cut square holes in one end piece for the end vise slides.
Vifaa kwa hatua hii:
Ubao wa Mti Mgumu1 kipandeParafujo za mbao1 kipandeZana zinazohitajika:
Kekee cha mkono chenye ncha PatasiNyundo ya mbaoSeti ya Ncha za Kupanua MatunduSeti ya bisibisi
6
6
Fit up the two vises
Fit up the two vises
Screw the 2 in square slides (guides) to the two clamp front pieces, countersinking the heads so they are clear of the hands. The clamp screws should be about 1-1/2 in diameter, bought at a hardware store. Fit a block under the crosspiece to hold the end vise's nut. With the slides in place, bore the holes for the clamp screws and fit them.
Vifaa kwa hatua hii:
Mbao zilizochongwa mraba1 kipandeUbao wa Mti Mgumu1 kipande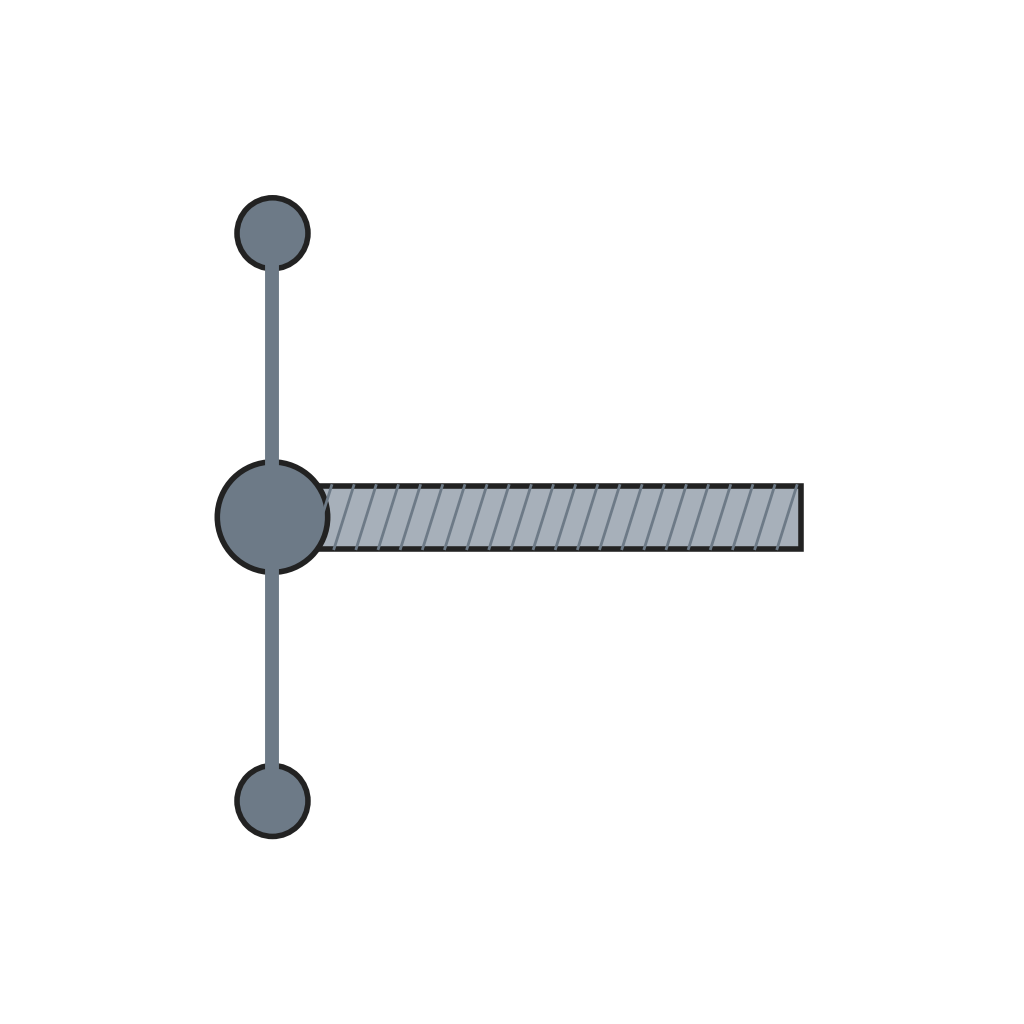 Skrubu ya jiliwa yenye mpini wa kiwiko unaoteleza2 vipandeParafujo za mbao1 kipande
Zana zinazohitajika:
Kekee cha mkono chenye nchaSeti ya Ncha za Kupanua MatunduSeti ya bisibisi7
7
Back board and finish
Back board and finish
Screw the back board to the back as the top view shows. Give the bench "a couple of coats of oil" to finish and preserve the wood (boiled linseed oil, ours).
Vifaa kwa hatua hii:
Ubao wa Mti Mgumu1 kipandeParafujo za mbao1 kipande Mafuta ya Kitani Yaliyochemshwa1 kipande
 Kitambaa cha Pamba1 kipande
Zana zinazohitajika:
Seti ya bisibisi8
8
Troubleshooting
Troubleshooting
Workbench troubleshooting.
Flow
Loading...
9
9
History and honest limits
History and honest limits
From **The Boy Mechanic, Volume 1: 700 Things for Boys to Do**, edited by H. H. Windsor, Popular Mechanics, Chicago, 1913 (Project Gutenberg #12655), "A Workbench for the Amateur". All sizes and the fastening are the book's; it names no oil, so boiled linseed oil is ours, as are the metric figures.
Vifaa
8- 1 kipandeKishikilia Nafasi
- 1 kipandeKishikilia Nafasi
- 1 kipandeKishikilia Nafasi
- 1 kipandeKishikilia Nafasi
- 4 vipandeKishikilia Nafasi
- Kishikilia Nafasi
- 1 kipandeKishikilia Nafasi
- 1 kipandeKishikilia Nafasi
Zana Zinazohitajika
11- Kishikilia Nafasi
- Kishikilia Nafasi
- Kishikilia Nafasi
- Kishikilia Nafasi
- Kishikilia Nafasi
- Kishikilia Nafasi
- Kishikilia Nafasi
- 1 vendor sell this, none ship to you yetKishikilia Nafasi
- Kishikilia Nafasi
- Kishikilia Nafasi
- Kishikilia Nafasi
Mchoro huu unatengeneza

Blueprint zinazohusiana
Blueprint hizi zinashiriki maarifa — mbinu, vifaa au kanuni

CC0 Umma Wote
Mchoro huu umetolewa chini ya CC0. Uko huru kunakili, kubadilisha, kusambaza, na kutumia kazi hii kwa madhumuni yoyote, bila kuomba ruhusa.
Saidia Mtengenezaji kwa kununua bidhaa kupitia Mchoro wao ambapo wanapata Kamisheni ya Mtengenezaji iliyowekwa na Wachuuzi, au unda marudio mapya ya Mchoro huu na uiunganishe kama kiungo katika Mchoro wako kuchangia mapato.