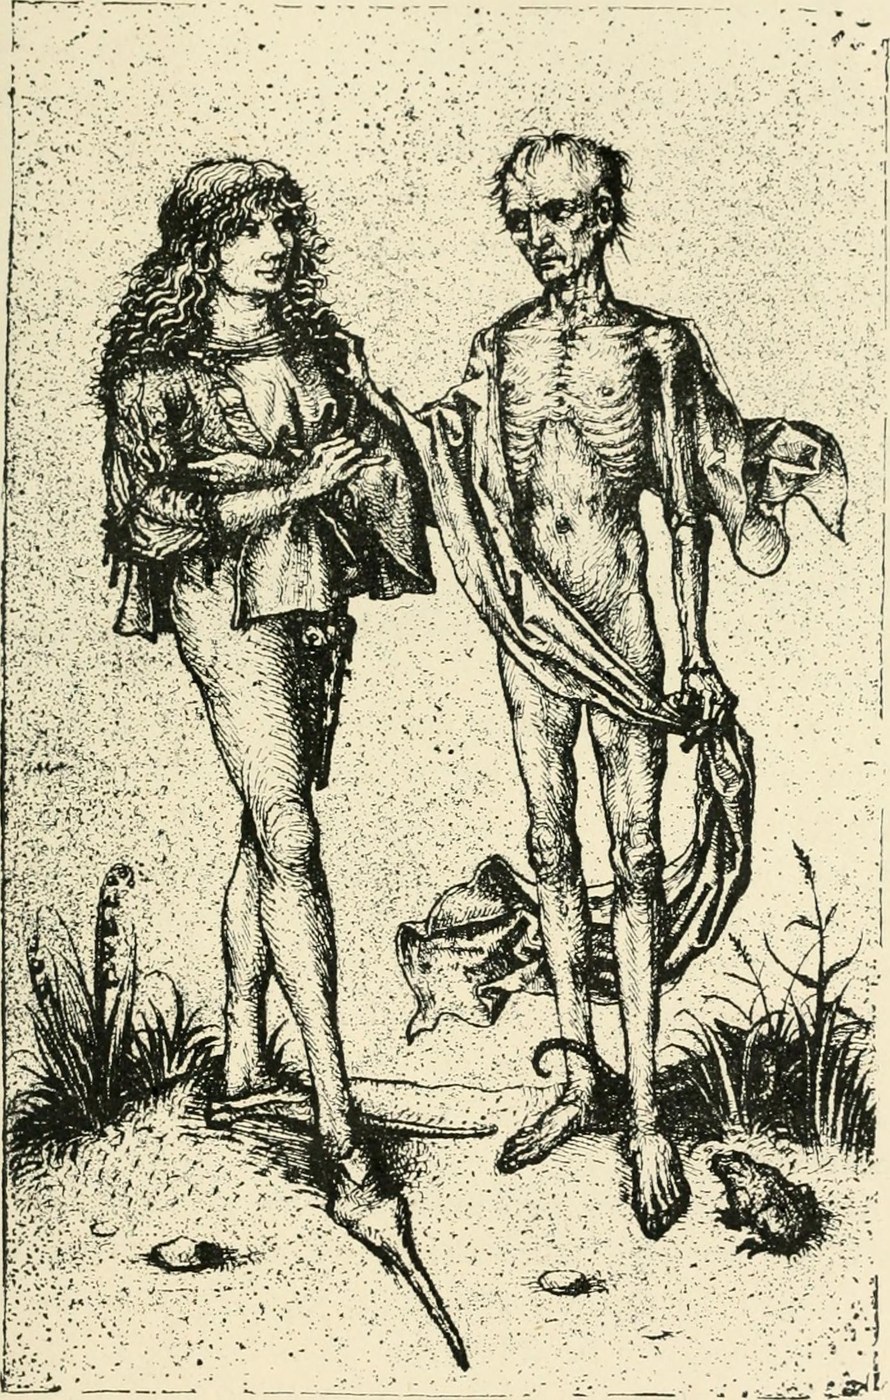


Etching
Engraving cuts a line into copper with a burin pushed by hand. The line is beautiful and the skill takes years, because you are steering a chisel through metal and the metal fights back — a curve requires turning the plate against the tool, and a slip is permanent.
Etching removes the fight entirely. Acid does the cutting; the artist only decides where.
Coat the plate with a thin acid-resistant ground — wax, bitumen and resin. Draw through it with a blunt needle, which takes almost no force: you are not cutting metal, you are scratching a waxy skin to expose bare copper beneath. The pressure of a pencil is enough, and the needle goes anywhere in any direction.
Then put the plate in acid. The acid attacks only where the ground was removed, biting those lines down into the metal while the protected surface is untouched.
The depth of the line is set by time, not by hand pressure — and that is the second gift. Pull the plate out early, varnish over the lines you want to keep light, and put it back: the remaining lines bite deeper and will print darker. Tone becomes a function of the clock.
The result prints as intaglio: ink is forced into the bitten lines, the flat surface is wiped clean, and damp paper is pressed hard enough to lift the ink out of the grooves.
Maagizo
Compare the effort of cutting and of drawing
Compare the effort of cutting and of drawing
Try to scribe a curved line into bare copper with a sharp steel point, pressing hard. Then wax a second piece and draw the same curve through the wax with the same point, barely pressing.
Compare the effort, the control, and how each behaves on a tight curve.
Expect the waxed plate to accept a freehand line as easily as paper.
Write down what has been separated: the decision of where the line goes is now independent of the force needed to make it. That single separation is the invention.
Vifaa kwa hatua hii:
 Mrija wa shaba-njekundu1 kipande
Lay a ground that actually resists
Lay a ground that actually resists
Degrease the plate thoroughly — whiting and vinegar, then rinse — and warm it. Apply a hard ground thinly and evenly, and let it set.
Test it before committing a drawing: scratch a test line, put a drop of acid on both a scratched and an unscratched area, and check after a few minutes.
Expect the unscratched ground to be untouched.
A ground that is too thick will not give a clean line; too thin and the acid finds pinholes and speckles the plate — a fault called foul bite, and the commonest way a first plate is ruined.
Vifaa kwa hatua hii:
 Nta ya Nyuki50 g
 Gundi ya Lami ya Msonobari50 g
Let time cut the line, and measure it
Let time cut the line, and measure it
Draw a row of identical lines. Immerse the plate in mordant and withdraw it in stages, varnishing over successive groups so each is exposed for a different total time — say 2, 5, 15 and 40 minutes.
Rinse, remove the ground, and ink and print the plate.
Expect a clear progression from a fine grey line to a broad black one.
Keep this plate. It is a bite chart, and it is the reference an etcher works from for that combination of metal, mordant, temperature and strength — all four change the result.
Acids: gloves, goggles, ventilation. Add acid to water, never the reverse. Ferric chloride is the far safer mordant for copper and is what most workshops now use.
Find the limit of what a line can do
Find the limit of what a line can do
Bite one area far too long and print it.
Expect the lines to have widened as well as deepened — the acid attacks sideways under the ground as readily as downward — until neighbouring lines merge and the area collapses into a shapeless pit that holds no ink cleanly.
This is undercutting, and it sets the ceiling on how dark a pure line etching can go.
It is exactly why aquatint was developed: dust the plate with fine resin, melt it so each grain protects a dot, and the acid bites a field of tiny pits that hold ink as a genuine tone. Line for drawing, aquatint for shadow.
Ink, wipe, and print the intaglio way
Ink, wipe, and print the intaglio way
Warm the plate, force stiff ink into every line with a dabber, then wipe the surface clean with tarlatan and finally the side of your palm — leaving ink only in the grooves.
Lay damp paper on top and run it through a press under real pressure.
Expect the paper to be visibly embossed, with a plate mark around the image, and the ink to stand slightly proud of the sheet.
Feel it. In relief printing the ink is pressed into the paper; here the damp paper is squeezed down into the plate to lift ink out. You can read an intaglio print with your fingertips, which is precisely the property the Braille blueprint in this batch turns into a writing system.
History & Context
History & Context
It came from armour, not from art. Etching was already used to decorate steel armour and weapons before anyone printed from an etched plate. Armourers knew how to protect a surface with wax and let acid do the ornament; someone noticed that a bitten line would hold ink. Another borrowing across a boundary, like the painter's varnish that became printing ink.
Rembrandt is the argument for the medium. He etched throughout his life, reworking plates through many states, biting further, burnishing passages out, adding drypoint. Because the needle is as fast as a pen, his etchings have the immediacy of drawings — and because plates can be revised, we can watch him think, state by state. No engraved plate offers that.
It democratised the image. Engraving required a trained specialist, so artists worked through professional engravers who reinterpreted their designs. Etching let the artist make the plate themselves, and made images cheap enough to circulate widely — which is why the etched print became a vehicle for satire, reportage and dissent, and why Goya's Disasters of War exists as prints rather than paintings.
The same principle now makes almost everything. Protect a surface selectively, then let a chemical remove what is unprotected. That is photochemical machining, the etching of printed circuit boards, and — with light defining the mask instead of a needle — the photolithography that patterns every microchip. The circuit board blueprint elsewhere in this corpus is this same process with a toner resist.
Honest limits. Undercutting caps the tonal range, as step 4 showed. Mordants are hazardous and their disposal is a real responsibility, not a footnote. The plate wears: copper softens under repeated printing and an edition of a few hundred visibly degrades, which is why plates were sometimes steel-faced. And the image prints in reverse, so text must be written backwards on the plate — a discipline every etcher forgets exactly once.
Vifaa
9- 1 kipandeKishikilia Nafasi
- 50 gKishikilia Nafasi
- Kishikilia Nafasi
- 1 kipandeKishikilia Nafasi
- 25 karatasiKishikilia Nafasi
- Kishikilia Nafasi
- 100 gKishikilia Nafasi
- Kishikilia Nafasi
- Kishikilia Nafasi
Zana Zinazohitajika
2- Kishikilia Nafasi
- Kishikilia Nafasi
Vifaa vya Michoro Iliyounganishwa
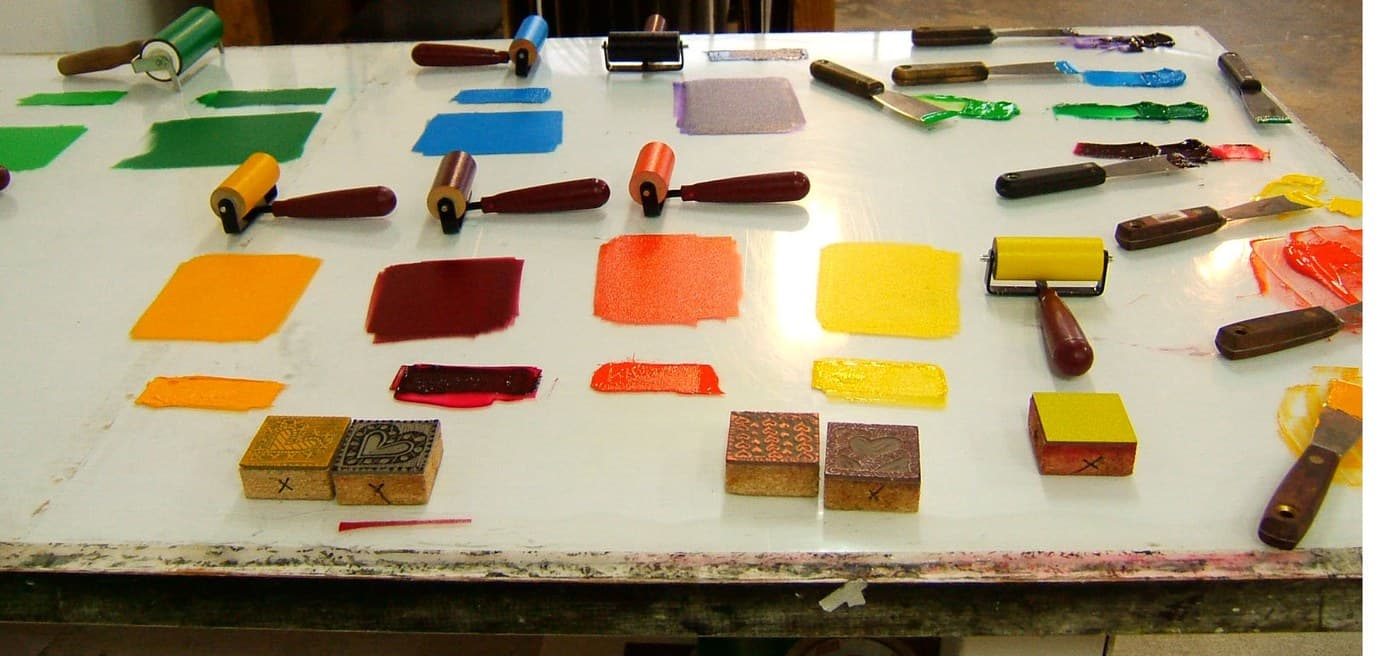

Mchoro huu unatengeneza
Blueprint zinazohusiana
Blueprint hizi zinashiriki maarifa — mbinu, vifaa au kanuni
CC0 Umma Wote
Mchoro huu umetolewa chini ya CC0. Uko huru kunakili, kubadilisha, kusambaza, na kutumia kazi hii kwa madhumuni yoyote, bila kuomba ruhusa.
Saidia Mtengenezaji kwa kununua bidhaa kupitia Mchoro wao ambapo wanapata Kamisheni ya Mtengenezaji iliyowekwa na Wachuuzi, au unda marudio mapya ya Mchoro huu na uiunganishe kama kiungo katika Mchoro wako kuchangia mapato.