Ushirikiano
SANAA
UREMBO NA USTAWI
UJANJA
UTAMADUNI NA HISTORIA
BURUDANI
MAZINGIRA
CHAKULA NA VINYWAJI
UHANDISI WA KINYUME
SAYANSI
MICHEZO
TEKNOLOJIA
VAZI
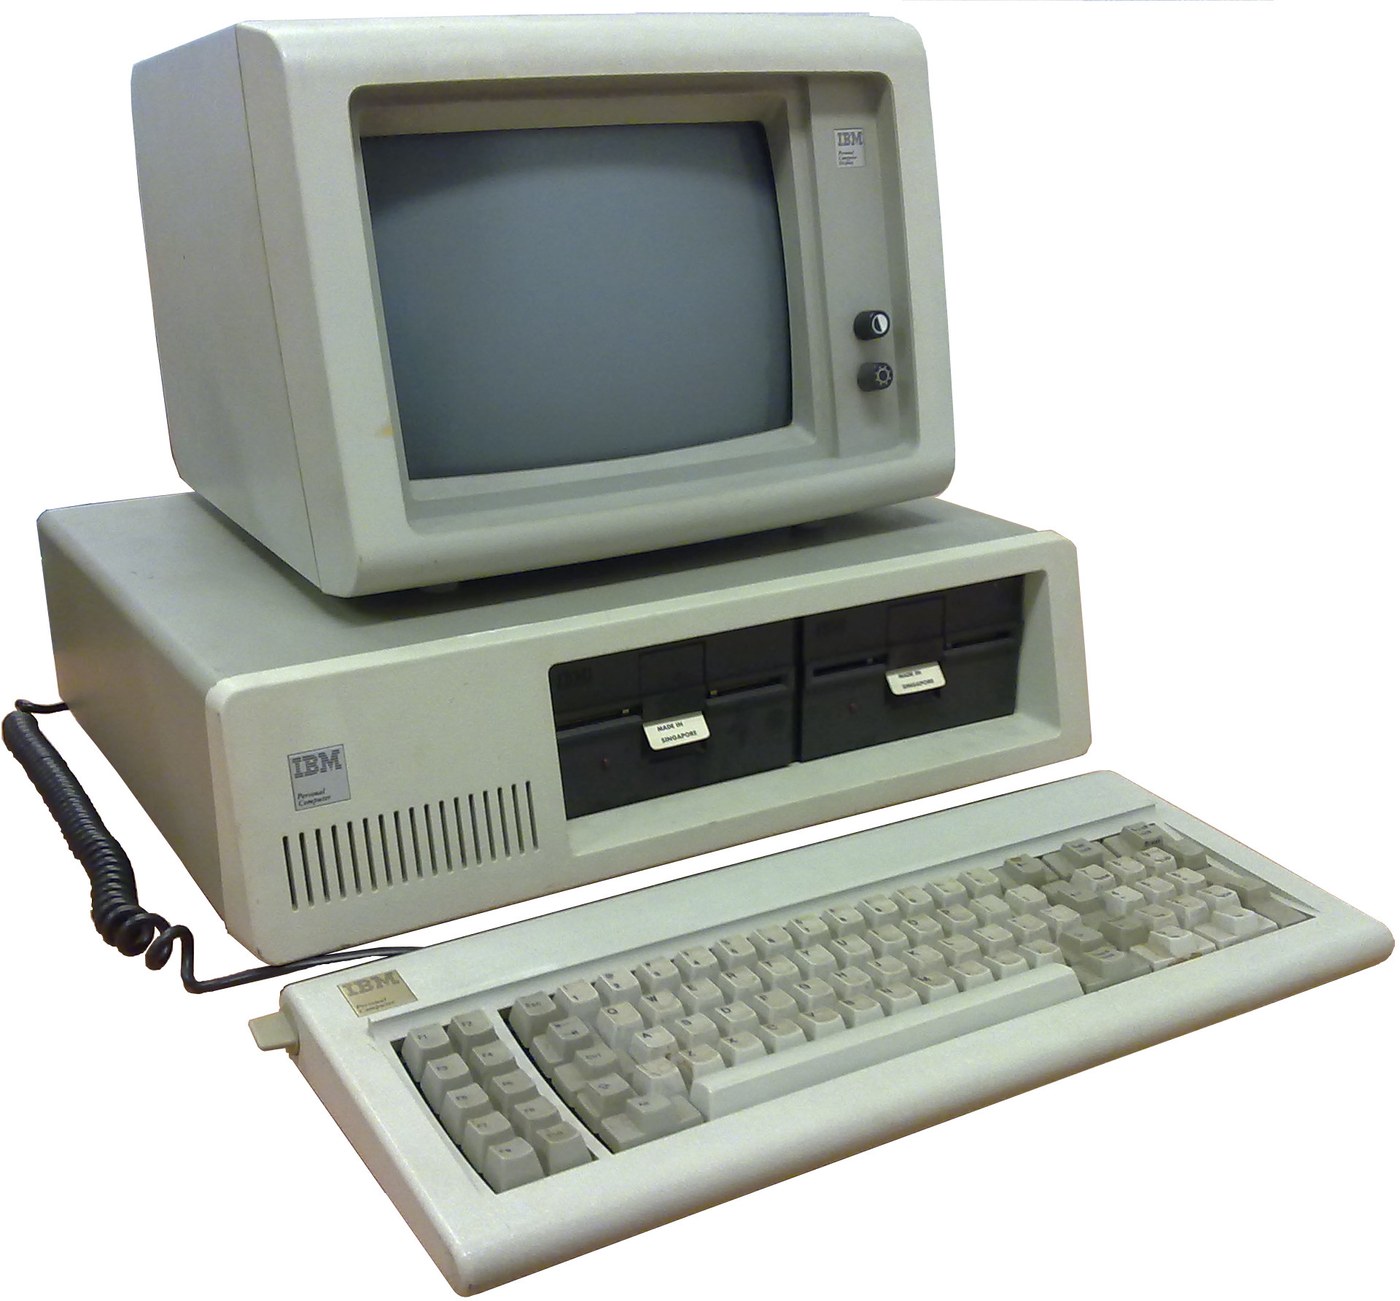


IBM Personal Computer (5150): System Unit, Keyboard and Display (IBM Technical Reference, 1981)
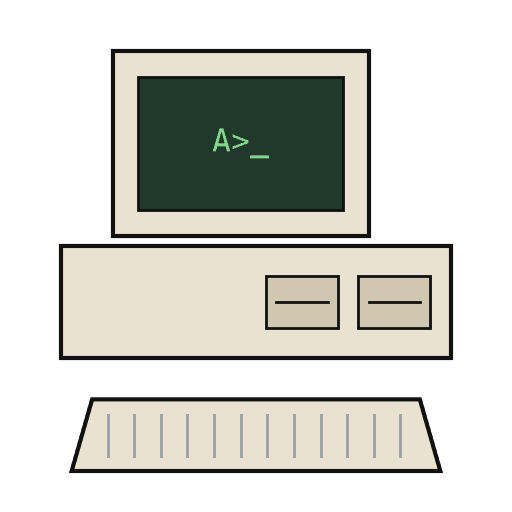
IBM's first personal computer, the machine today's desktop PCs descend from. One system unit holds an Intel 8088 system board, a power supply and five expansion slots. A keyboard, a display and 5-1/4 inch diskette drives complete it. IBM published its whole design, down to the BIOS program, in the Technical Reference.
Result: an IBM PC that tests itself at power-on and starts an operating system from diskette.
Source: IBM Personal Computer Technical Reference (1981; edition of April 1984). Unknown: the chassis and its sizes, the display and diskette adapter cards (described in IBM's separate Options and Adapters volumes), and how each part is made. Ours: the assembly order. Picture: Wikimedia Commons.
Juu
1 week
Maagizo
1
1
Populate the system board
Populate the system board
On the system board, fit the Intel 8088 processor. It runs at 4.77 MHz, taken from a 14.31818 MHz crystal divided by 3; divided by 4, the same crystal gives the 3.58 MHz colour-burst signal for colour TVs. Fit its support chips: the 8237A-5 DMA controller, 8259A interrupt controller, 8253-5 timer and 8255A-5 peripheral interface. Add the ROM holding the BIOS, the read/write memory, the speaker circuit, five expansion slots, and 5-pin DIN sockets for the keyboard and a cassette recorder. The 8088 runs in maximum mode, so a coprocessor can be added later. Set switch SW1 to tell the machine what it has: whether to start from a 5-1/4 inch diskette drive, how much read/write memory is on the board, which display adapter is fitted, and how many diskette drives there are. Not given here: the board layout.
Vifaa kwa hatua hii:
 Bamba la mzunguko lililochapishwa1 system board
 Saketi iliyounganishwa1 8088, 8237A-5, 8259A, 8253-5, 8255A-5, ROM, RAM
 Kioo cha kwatsi1 14.31818 MHz
 BIOS ya IBM PC1 in ROM
 Swichi ya DIP1 SW1
 Waya wa Lehemu1 as needed
Zana zinazohitajika:
 Chuma cha kulehemia
2
2
Fit the board and power supply in the chassis
Fit the board and power supply in the chassis
Screw the system board into the system-unit chassis. Fit the power supply at the right rear; its housing supports the rear panel and its fan cools the whole machine. It is rated for 63.5 W continuous, from a fused 120 V or 220/240 V input. Its four protected outputs are +5 V at 7 A, +12 V at 2 A, -5 V at 0.3 A and -12 V at 0.25 A, bussed to all five slots. It also has a power-good signal, a switched mains socket for the monochrome display and two drive power plugs. Not given: the chassis metal and sizes.
Vifaa kwa hatua hii:
 Metali isiyojulikana1 chassis
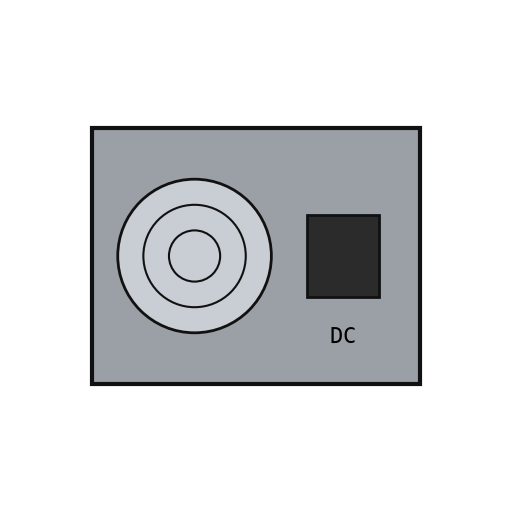 Kifaa cha umeme cha kompyuta1 63.5 W
 Skrubu za mashine1 seti
Zana zinazohitajika:
 Seti ya bisibisi
 Vipimo visivyojulikana
 Kipima-umeme cha aina nyingi
3
3
Add the drives and adapter cards
Add the drives and adapter cards
Fit up to two 5-1/4 inch diskette drives, each powered from its own plug on the supply. Only one drive runs at a time. Plug a diskette drive adapter and a display adapter (monochrome or colour/graphics) into expansion slots, and cable the drives to their adapter. Not given here: the adapter cards and cables, which IBM describes in its separate Options and Adapters volumes.
Vifaa kwa hatua hii:
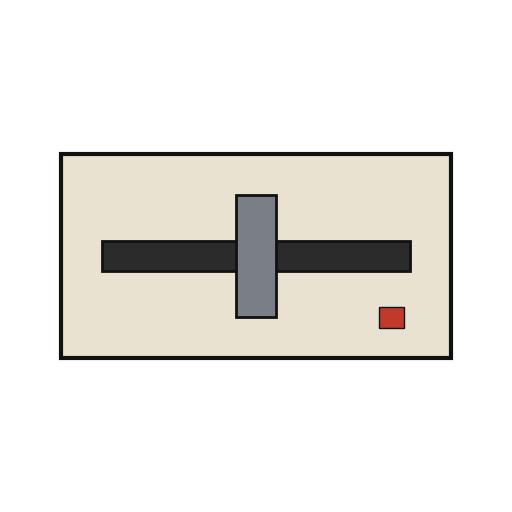 Kiendeshi cha disketi cha inchi 5¼2 up to two
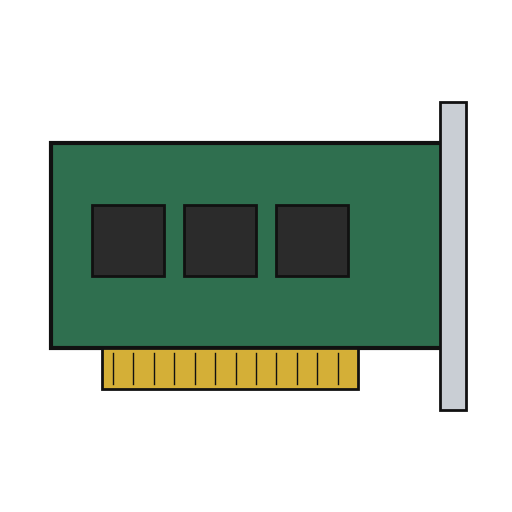 Kadi ya upanuzi2 diskette adapter, display adapter
 Kebo bapa1 drive cable
Zana zinazohitajika:
Seti ya bisibisi4
4
Connect keyboard and display, and power on
Connect keyboard and display, and power on
Plug in the keyboard: 83 keys, with the typewriter keys in the middle, 10 function keys on the left and a 15-key pad on the right. It sends scan codes, not letters, so the software decides what each key does. Connect the display to its adapter and to the switched socket. Switch on: the power-on self-test in the BIOS checks the machine, sets up its interrupt vectors, and looks for extra ROM on the adapter cards. The bootstrap loader then starts the operating system from a diskette.
Vifaa kwa hatua hii:
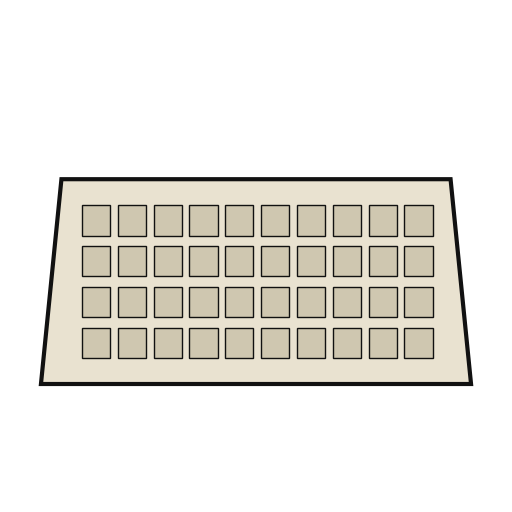 Kibodi ya kompyuta1 83 keys
 Skrini ya kompyuta1 kipande
Zana zinazohitajika:
 Diski laini
Vifaa
14- 1 system boardKishikilia Nafasi
- 1 8088, 8237A-5, 8259A, 8253-5, 8255A-5, ROM, RAMKishikilia Nafasi
- 1 14.31818 MHzKishikilia Nafasi
- 1 in ROMKishikilia Nafasi
- Kishikilia Nafasi
- 1 as neededKishikilia Nafasi
- 1 chassisKishikilia Nafasi
- 1 63.5 WKishikilia Nafasi
- 1 setiKishikilia Nafasi
- 2 up to twoKishikilia Nafasi
- 2 diskette adapter, display adapterKishikilia Nafasi
- Kishikilia Nafasi
- 1 83 keysKishikilia Nafasi
- 1 kipandeKishikilia Nafasi
Zana Zinazohitajika
5- 2 vendors sell this, none ship to you yetKishikilia Nafasi
- Kishikilia Nafasi
- Kishikilia Nafasi
- Kishikilia Nafasi
- Kishikilia Nafasi
Vifaa vya Michoro Iliyounganishwa
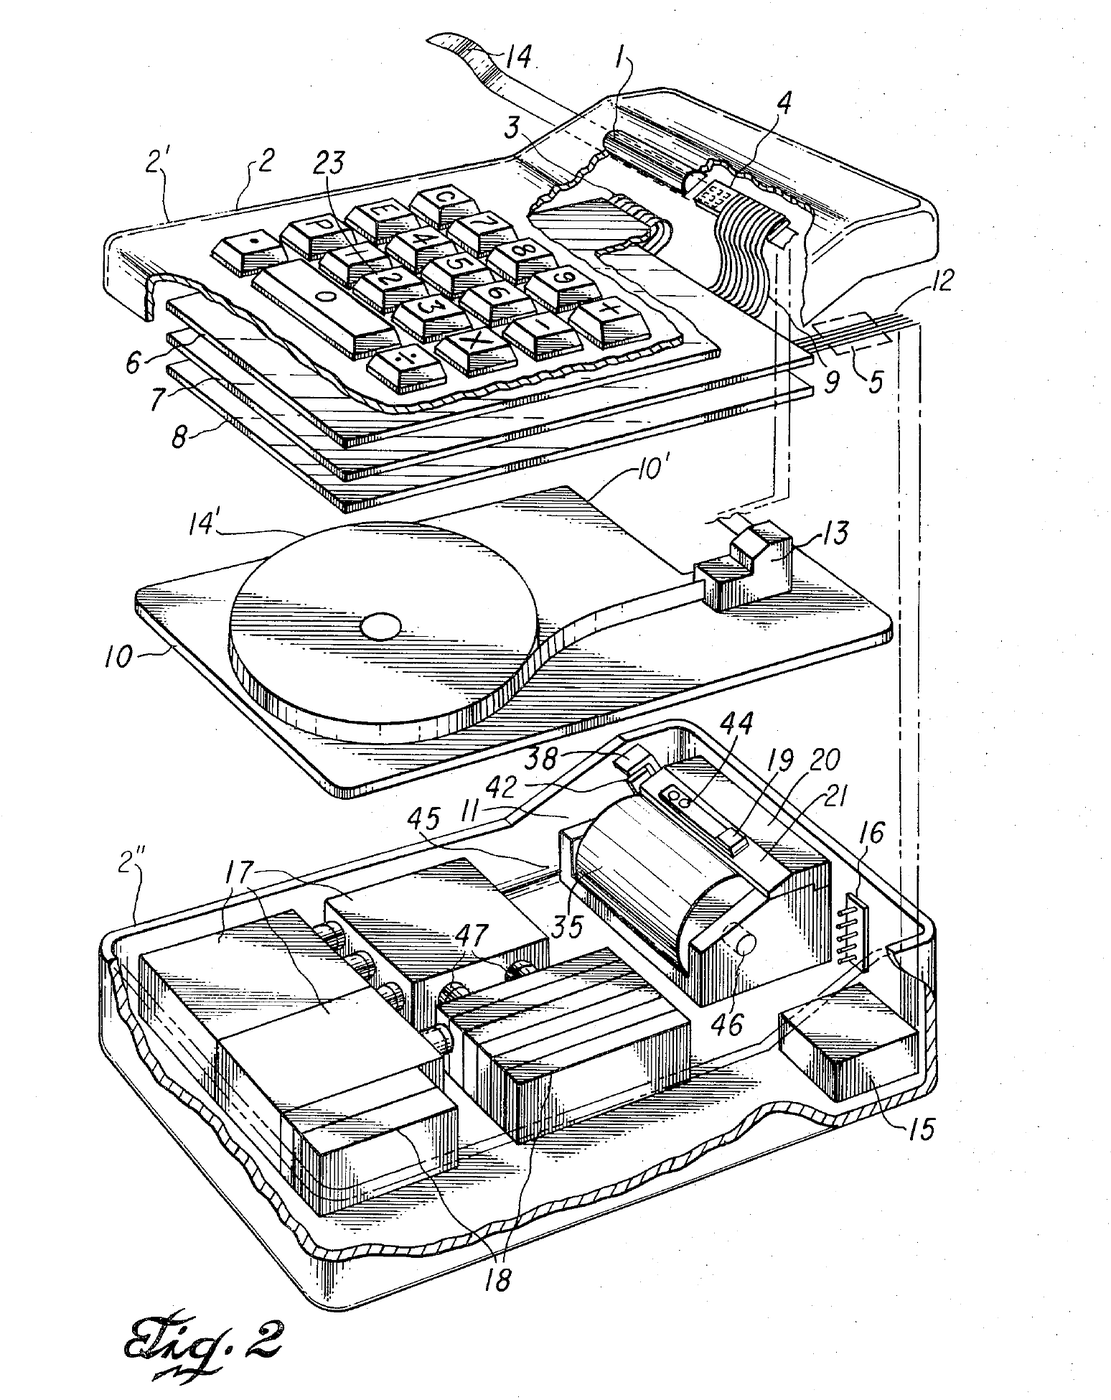
Mchoro huu unatengeneza
CC0 Umma Wote
Mchoro huu umetolewa chini ya CC0. Uko huru kunakili, kubadilisha, kusambaza, na kutumia kazi hii kwa madhumuni yoyote, bila kuomba ruhusa.
Saidia Mtengenezaji kwa kununua bidhaa kupitia Mchoro wao ambapo wanapata Kamisheni ya Mtengenezaji iliyowekwa na Wachuuzi, au unda marudio mapya ya Mchoro huu na uiunganishe kama kiungo katika Mchoro wako kuchangia mapato.