
Forging an Iron Chain — Bending, Welding, and Linking
The iron chain is the strongest flexible connection in pre-industrial technology. Chains anchor ships, lift drawbridges, suspend cauldrons over fires, secure doors, and hang signs. Each link is an individual forge weld — the chain is only as strong as its weakest weld, so chain-making demands consistent technique across dozens or hundreds of identical operations.
A chain is made by bending short lengths of iron rod into open ovals, threading each new link through the previous one before closing it, and forge welding the joint shut. The rhythm is repetitive: bend, thread, heat, weld, move on. A skilled chain-maker works in a continuous cycle, keeping several links at different stages in the fire at once.
Chain-making is the ultimate test of forge welding skill. Each weld is small and must be completed quickly before the thin rod cools. There is no room to reheat and retry without risking damage to the adjacent links. It teaches economy of movement and precise heat control.
Maagizo
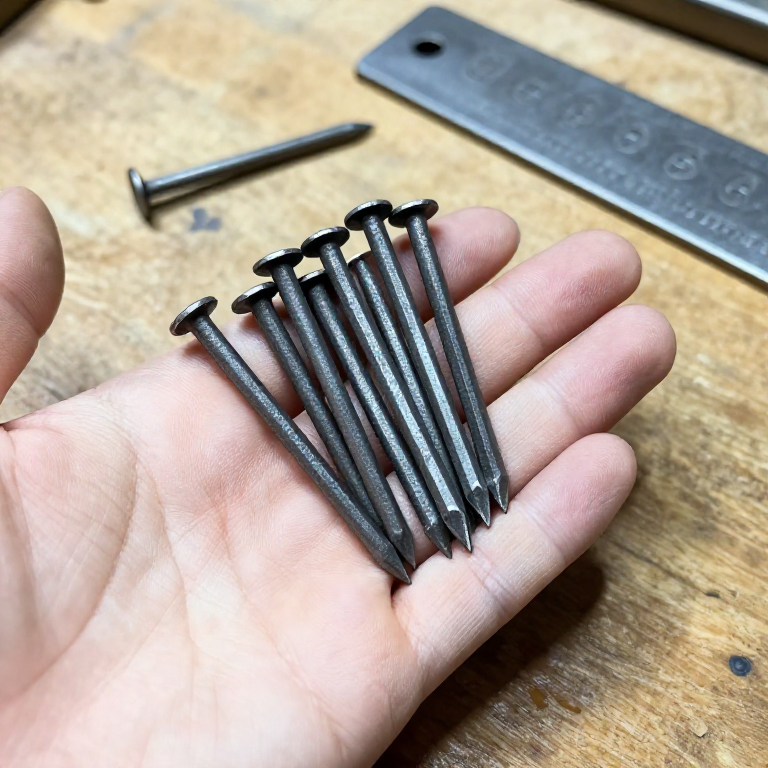
Cut the link blanks
Cut the link blanks
Vifaa kwa hatua hii:
 Charcoal5 kg
Zana zinazohitajika:
 Forge Hammer (Cross-Peen)
 Forge Tongs
 Hearth (Forge Fire)
Scarf both ends of each blank
Scarf both ends of each blank
Bend the first link into an oval
Bend the first link into an oval
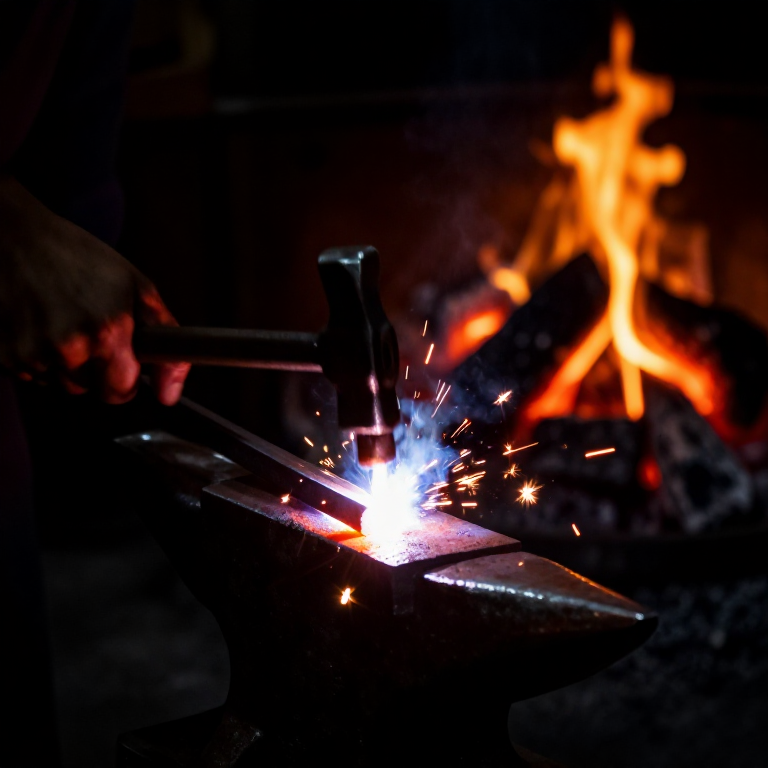
Flux and forge weld the joint
Flux and forge weld the joint
Shape the welded link
Shape the welded link
Thread and weld subsequent links
Thread and weld subsequent links
Test the chain
Test the chain
Zana Zinazohitajika
3- Kishikilia Nafasi
- Kishikilia Nafasi
- Kishikilia Nafasi
Vifaa vya Michoro Iliyounganishwa
Blueprint zinazohusiana
Blueprint hizi zinashiriki maarifa — mbinu, vifaa au kanuni
Related blueprints
Other builds that share materials, tools, or techniques with this one.


CC0 Umma Wote
Mchoro huu umetolewa chini ya CC0. Uko huru kunakili, kubadilisha, kusambaza, na kutumia kazi hii kwa madhumuni yoyote, bila kuomba ruhusa.
Saidia Mtengenezaji kwa kununua bidhaa kupitia Mchoro wao ambapo wanapata Kamisheni ya Mtengenezaji iliyowekwa na Wachuuzi, au unda marudio mapya ya Mchoro huu na uiunganishe kama kiungo katika Mchoro wako kuchangia mapato.