Ushirikiano
SANAA
UREMBO NA USTAWI
UJANJA
UTAMADUNI NA HISTORIA
BURUDANI
MAZINGIRA
CHAKULA NA VINYWAJI
UHANDISI WA KINYUME
SAYANSI
MICHEZO
TEKNOLOJIA
VAZI
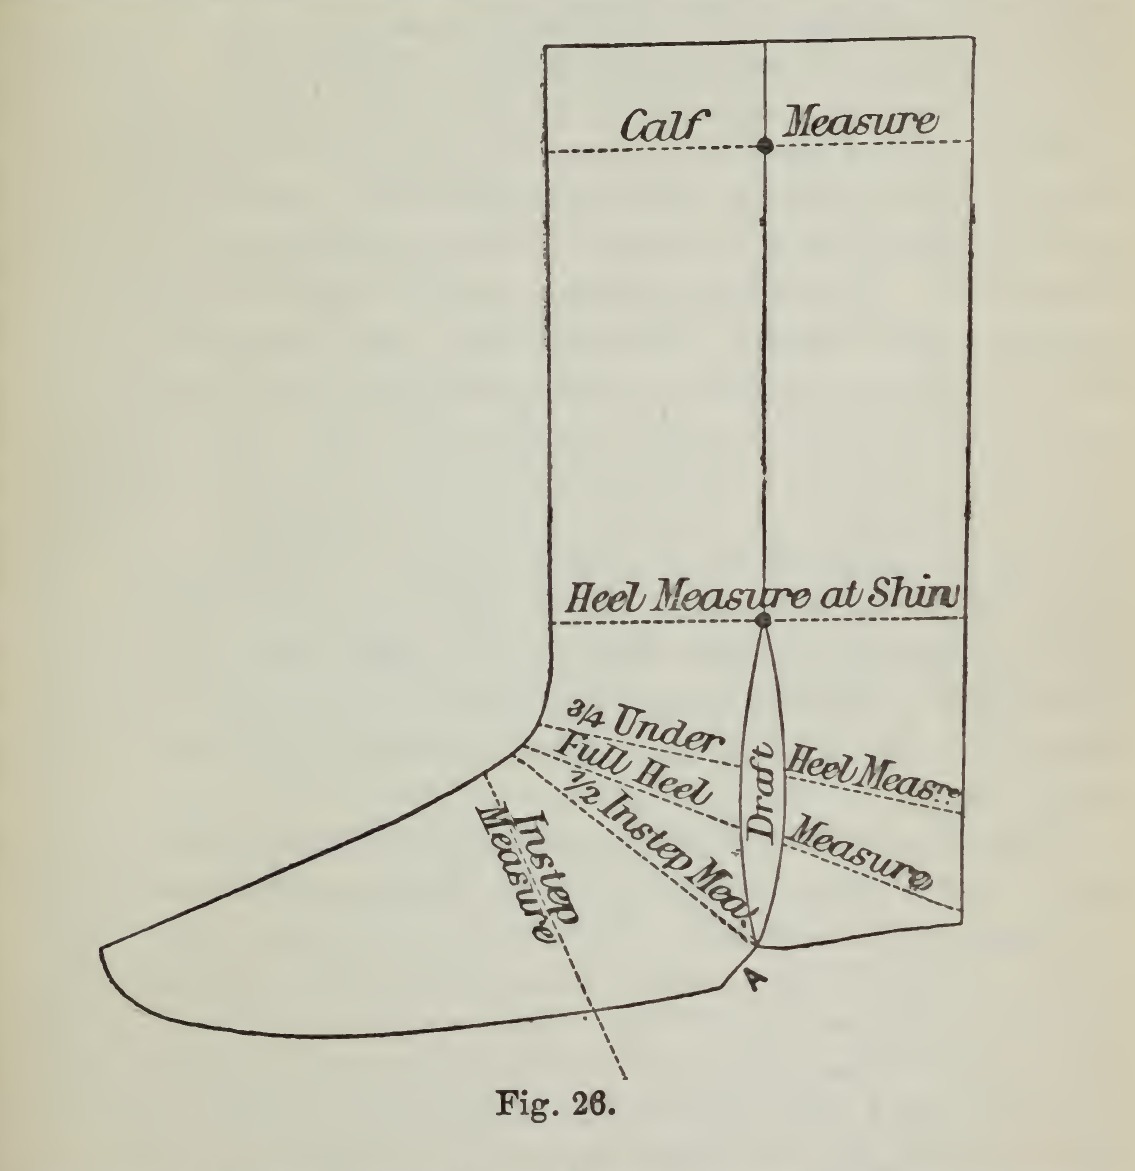


Wellington Boot Leg: Drafted, Lined and Closed With a Welt in the Side Seams (Leno, 1885)
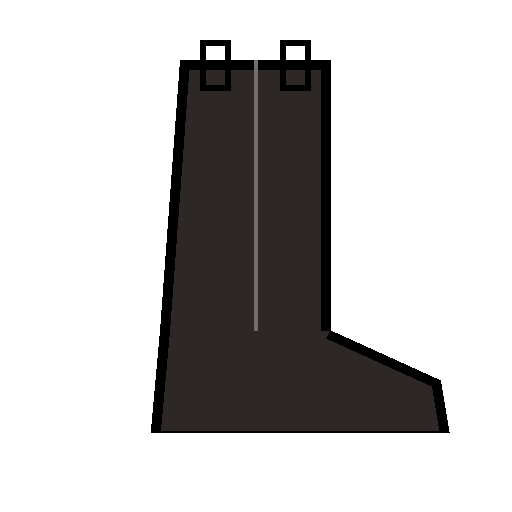
The Wellington, a tall pull-on boot with a seam down each side, is the ancestor of the cowboy boot. From John Bedford Leno's The Art of Boot and Shoemaking (1885): how to draft the front and back from the customer's measures, line them, put on the counter, close the side seams with a leather welt in the clams, and finish the leg with its pull-on straps. "As it was cut at the time of its introduction, so it is cut now."
This makes the upper; lasting and soling it into a boot are the next blueprints.
Juu
About 2 days
Maagizo
1
1
The draft marks
The draft marks
Inapakia daftari la Jupyter…
2
2
Read The Art of Boot and Shoemaking, ch. IX
Read The Art of Boot and Shoemaking, ch. IX
"As a rule the form and cut of the majority of boots and shoes undergo considerable variations. No such change has characterized the history of the Wellington."
3
3
Draft the front and back
Draft the front and back
Cut the back at the bottom of the counter so the cut slopes up a quarter of an inch from the bottom of the draft, as his Fig. 26. Put front and back together as they will be when closed, front over back. Measure the calf and pierce through both with the awl at the centre of the measure; measure the shin, which should equal the heel measure, and pierce at its centre. Cut the front of the leg along a straight-edge through the awl marks, then the back the same way. Cut the corner off the front at A, at the bottom of the side seam, half the measure of instep.
Vifaa kwa hatua hii:
 Ngozi ya ndama1 kipande
Zana zinazohitajika:
 Tepi ya kupimia
 Uma wa kutoboa (ushindilio)
 Rula ya kunyoosha
 Kisu cha ngozi
4
4
Cut the draft
Cut the draft
Mark the side half the depth of instep for the top of the draft. Overlap and measure at the top of the counter, three quarters of an inch less than the heel measure, and pierce at the centre. Measure from the throat to a quarter of an inch from the bottom of the counter for the full heel measure and pierce at half that distance. Cut the back from the top-draft mark in a semi-oval to the bottom of the counter, and the front the same, using the back as a guide. With the last laid on them, cut away the surplus round the bottom of the front, leaving half an inch to be sewn away. Cut the top lining and side linings and shape the counter to the back.
Vifaa kwa hatua hii:
Ngozi ya ndama1 kipandeZana zinazohitajika:
Tepi ya kupimiaUma wa kutoboa (ushindilio)Kisu cha ngozi5
5
Fit and paste the linings
Fit and paste the linings
Fit the side linings on the board held on your knees, then cut and skive them thin at the edges. If the front is brittle or harsh in the grain, rub it soft. Scrape the dirt off the grain on the vamp side with a blunt knife and paste the linings on. If front or back are light, paste strips of roan from the joint of the linings along their inside edges, the back's running from just below the counter up to the top lining.
Vifaa kwa hatua hii:
Ngozi ya ndama1 kipande Ngozi ya kondoo iliyotiwa rangi (roan)1 kipande
 Gundi ya unga wa ngano1 kipande
Zana zinazohitajika:
 Ubao wa msonobariKisu cha ngozi
 Kisu cha kupunguza unene wa ngozi
6
6
Fit the counter
Fit the counter
Choose a counter that needs no stiffener; if it is light, put a stiffener between counter and back. Skive the counter thin and let it run over to the front, where it is held by a row or rows of stabbing, "commended for the support it gives to the boot". Fit the legs and, when the paste is dry, line the front.
Vifaa kwa hatua hii:
Ngozi ya ndama1 kipandeGundi ya unga wa ngano1 kipandeZana zinazohitajika:
Kisu cha kupunguza unene wa ngoziKisu cha ngozi7
7
Whip the side linings and stitch the counter
Whip the side linings and stitch the counter
Whip or hem the side linings on with awl or needle, leaving no thread marks outside, and not below the joints of the foot. The awl should have no thickness behind its point, no keenness at the side, and be slightly hooked. Stitch the counter on, with the two back counter rows holding counter and stiffener. Mark the holes with the pricker, teeth smooth, struck evenly.
Vifaa kwa hatua hii:
 Uzi wa kitani1 kipande
Zana zinazohitajika:
Uma wa kutoboa (ushindilio) Sindano mbili za kushonea ngozi
 Patasi ya mishono ya ngozi
8
8
Close the side seams
Close the side seams
With flax thread suited to the leather, put the back in the clams grain side out, top toward you, the front held the same on the left side, and the small strip of leather that forms the welt between them; close up the sides. Keep the stitches regular and an equal distance from the edges; too many stitches weaken the upper. Insert the closer's block, wet the seam slightly and rub it smooth with the long stick.
Vifaa kwa hatua hii:
Uzi wa kitani1 kipandeNgozi ya ndama1 kipande Maji1 kipande
Zana zinazohitajika:
 Kibano cha mbao cha kushoneaUma wa kutoboa (ushindilio)Sindano mbili za kushonea ngozi
 Kalibu ya mbao ya mshonaji
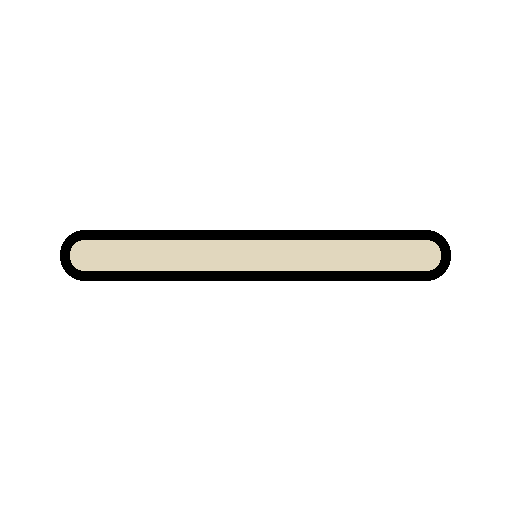 Kijiti cha kusugua
9
9
Line the top and turn the leg
Line the top and turn the leg
Cut the top lining to the size of the leg and whip it on front and back. Turn the boot, put the block in again and make the seam flat. Take the surplus of the welt away with the welt-cutter, carefully, "or the upper may suffer considerable damage", and set the welt up with the welt-setter.
Vifaa kwa hatua hii:
Ngozi ya ndama1 kipandeUzi wa kitani1 kipandeZana zinazohitajika:
Sindano mbili za kushonea ngoziKalibu ya mbao ya mshonaji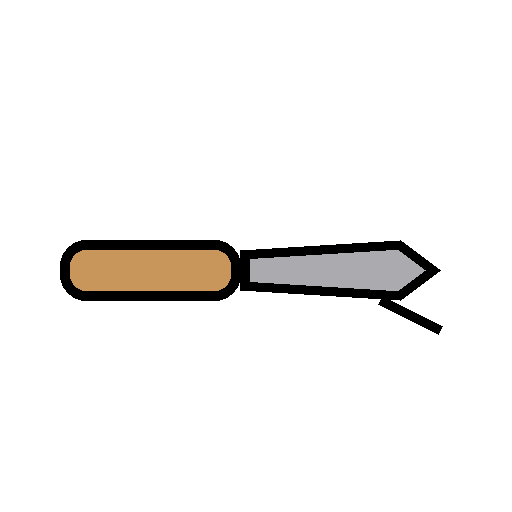 Kikata welt
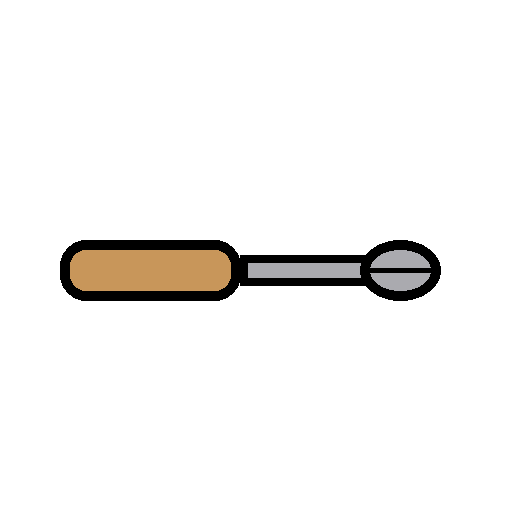 Kisimamisha welt
10
10
Put in the straps and finish
Put in the straps and finish
Cut a slit in the top lining and insert the straps. Put the boot on the tree and leave it until dry; then stab the top and straps. Set up the welt with a solution of gum arabic and ink or water.
Vifaa kwa hatua hii:
Ngozi ya ndama1 kipandeUzi wa kitani1 kipande Gundi ya Mubaruti (Gum Arabic)1 kipande
 Wino wa India1 kipande
Zana zinazohitajika:
 Mkasi
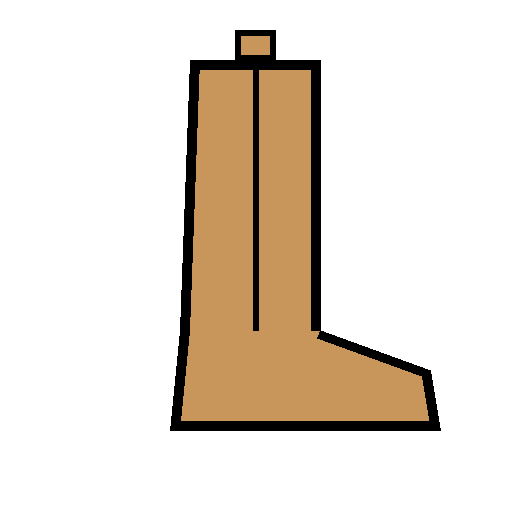 Kalibu ya kushikilia umbo la butiUma wa kutoboa (ushindilio)Sindano mbili za kushonea ngoziKisimamisha welt
11
11
Troubleshooting
Troubleshooting
Wellington leg troubleshooting.
Flow
Loading...
12
12
History and honest limits
History and honest limits
From **The Art of Boot and Shoemaking** by John Bedford Leno, Crosby Lockwood, London, 1885 (archive.org artofbootshoemak00leno, an 1889 printing), chapter IX, "Fitting and Closing", pp. 66-69: "The Light Wellington" and "How to Cut and Draft a Wellington". For a stout Wellington he grooves the edges with the closer's plough; that tool is not used here. He names no leather for side linings or counter; calf is ours. The metric figures are ours. This blueprint makes the leg (the upper); lasting, welting, soling and heeling it are the next blueprints.
Vifaa
7- 7 vipandeKishikilia Nafasi
- Kishikilia Nafasi
- 1 kipandeKishikilia Nafasi
- 4 vipandeKishikilia Nafasi
- 1 kipandeKishikilia Nafasi
- 1 kipandeKishikilia Nafasi
- 1 kipandeKishikilia Nafasi
Zana Zinazohitajika
15- 1 vendor sell this, none ship to you yetKishikilia Nafasi
- Kishikilia Nafasi
- Kishikilia Nafasi
- Kishikilia Nafasi
- Kishikilia Nafasi
- Kishikilia Nafasi
- Kishikilia Nafasi
- Kishikilia Nafasi
- Kishikilia Nafasi
- Kishikilia Nafasi
- Kishikilia Nafasi
- Kishikilia Nafasi
- Kishikilia Nafasi
- Kishikilia Nafasi
- Kishikilia Nafasi
Mchoro huu unatengeneza
Blueprint zinazohusiana
Blueprint hizi zinashiriki maarifa — mbinu, vifaa au kanuni
CC0 Umma Wote
Mchoro huu umetolewa chini ya CC0. Uko huru kunakili, kubadilisha, kusambaza, na kutumia kazi hii kwa madhumuni yoyote, bila kuomba ruhusa.
Saidia Mtengenezaji kwa kununua bidhaa kupitia Mchoro wao ambapo wanapata Kamisheni ya Mtengenezaji iliyowekwa na Wachuuzi, au unda marudio mapya ya Mchoro huu na uiunganishe kama kiungo katika Mchoro wako kuchangia mapato.