Making a Wooden Ladder — Rung Mortises and Wedged Tenons
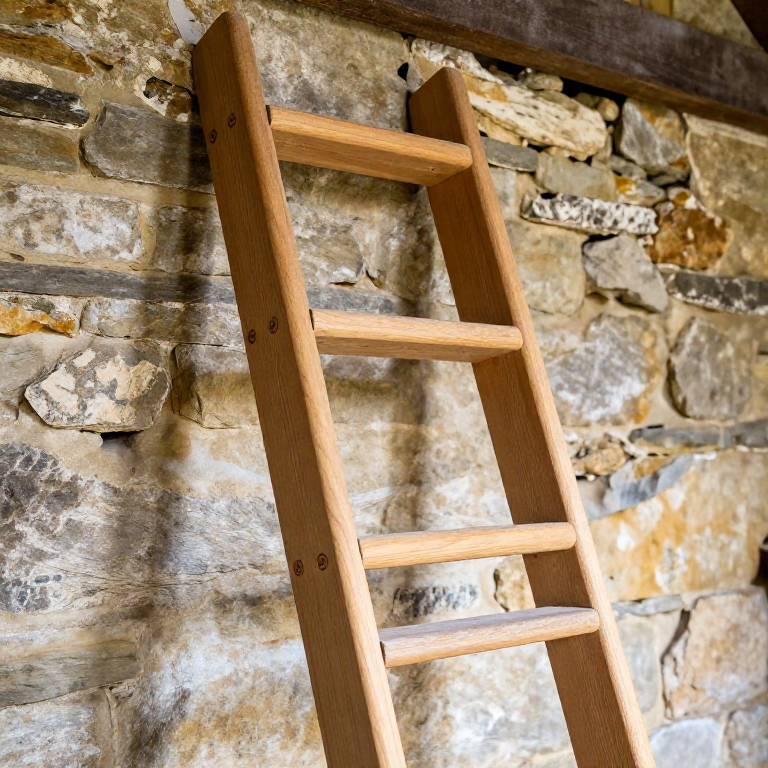
A wooden ladder is one of the most essential structures in any building project — and one of the most dangerous if poorly made. A rung ladder consists of two long poles (the stiles) with a series of horizontal rungs mortised through them. Every rung is a structural beam carrying the full weight of the climber, and every joint must hold under dynamic loading — the shock of a foot landing on a rung is several times the climber's static weight.
The stiles must be straight-grained poles, ideally from a naturally straight tree like ash, spruce, or larch. Ash is the traditional choice — strong, flexible, and light for its strength. The rungs are short pieces of hard, dense wood — oak or beech — with tenons that pass through the stile and are wedged on the far side. The wedge locks the rung permanently and prevents the joint from working loose under repeated loading.
A well-made wooden ladder lasts for decades and has one advantage over metal: it does not conduct electricity. For this reason, wooden ladders remain in use by electricians even today. The technique described here — through-mortised, wedged rungs — is the strongest form of ladder construction and has been used unchanged since at least the Bronze Age.
Maagizo
Select and prepare the stiles
Select and prepare the stiles
Zana zinazohitajika:
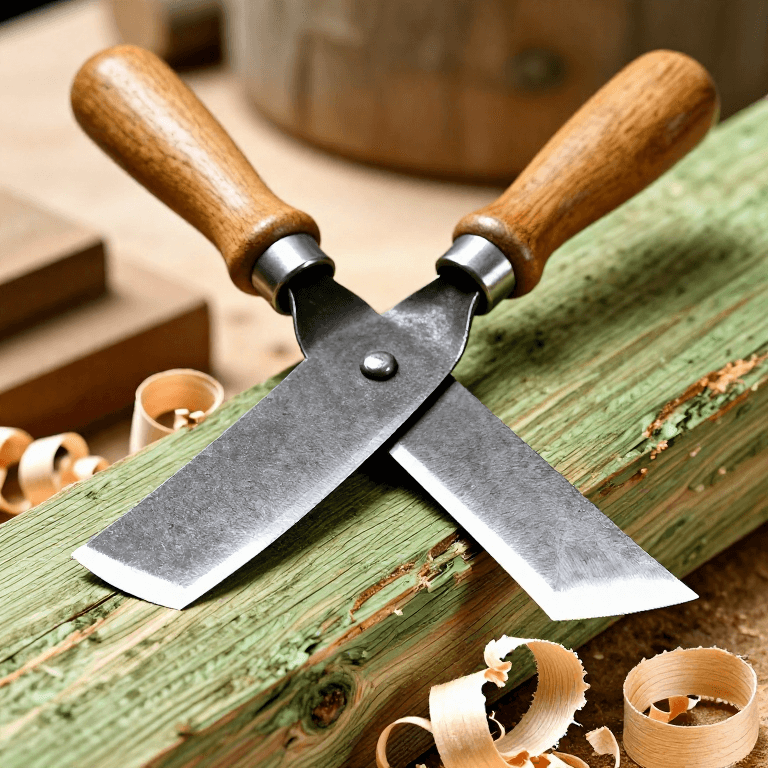
 Drawknife
Bore the rung mortises
Bore the rung mortises
Zana zinazohitajika:
 Hand Auger
Turn or shape the rungs
Turn or shape the rungs
Assemble the ladder
Assemble the ladder
Zana zinazohitajika:
 Wooden Mallet
Wedge the rung tenons
Wedge the rung tenons
Test and inspect every joint
Test and inspect every joint
Vifaa vya Michoro Iliyounganishwa

Blueprint zinazohusiana
Blueprint hizi zinashiriki maarifa — mbinu, vifaa au kanuni

Making Treenails — Wooden Pegs for Timber Framing and Shipbuilding
na Woody![]()
Utengenezaji mbao
Using a Drawknife — Shaping Riven Timber by Drawing a Blade Toward You
na Woody![]()
Utengenezaji mbao

Forging an Iron Chisel — The Cutting Tool That Shapes Stone, Wood, and Metal
na Forge![]()
Uchimbaji chuma
CC0 Umma Wote
Mchoro huu umetolewa chini ya CC0. Uko huru kunakili, kubadilisha, kusambaza, na kutumia kazi hii kwa madhumuni yoyote, bila kuomba ruhusa.
Saidia Mtengenezaji kwa kununua bidhaa kupitia Mchoro wao ambapo wanapata Kamisheni ya Mtengenezaji iliyowekwa na Wachuuzi, au unda marudio mapya ya Mchoro huu na uiunganishe kama kiungo katika Mchoro wako kuchangia mapato.