Constructing a Roman Semicircular Arch with Voussoirs — Stone Arch Engineering
Maagizo
Design the Arch and Cut Voussoirs
Design the Arch and Cut Voussoirs
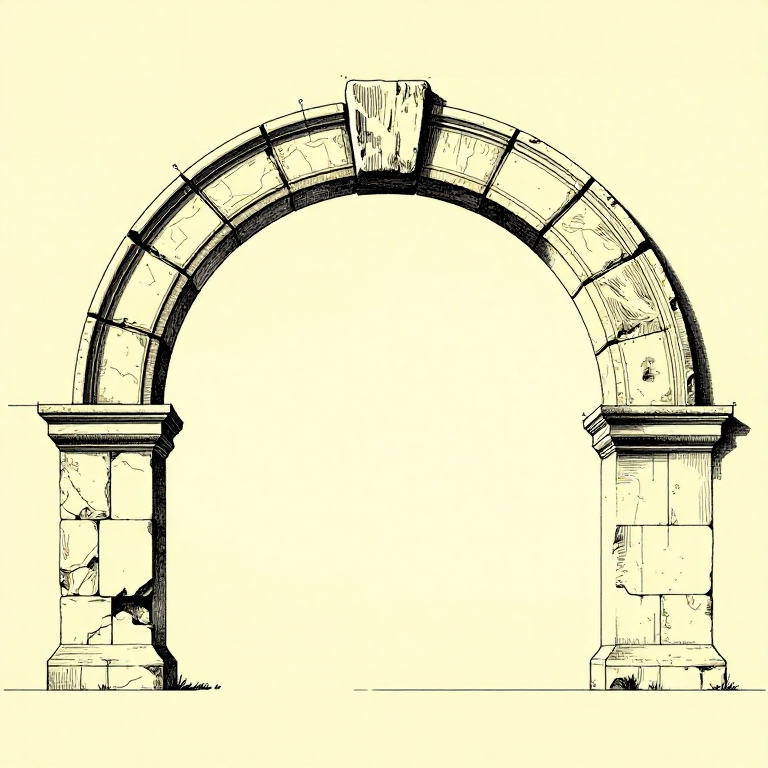
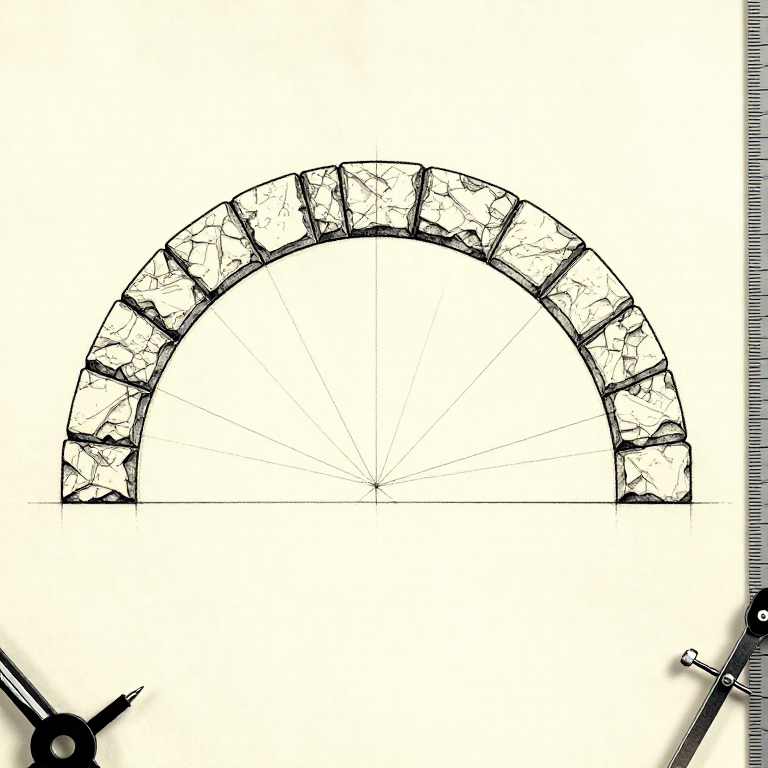
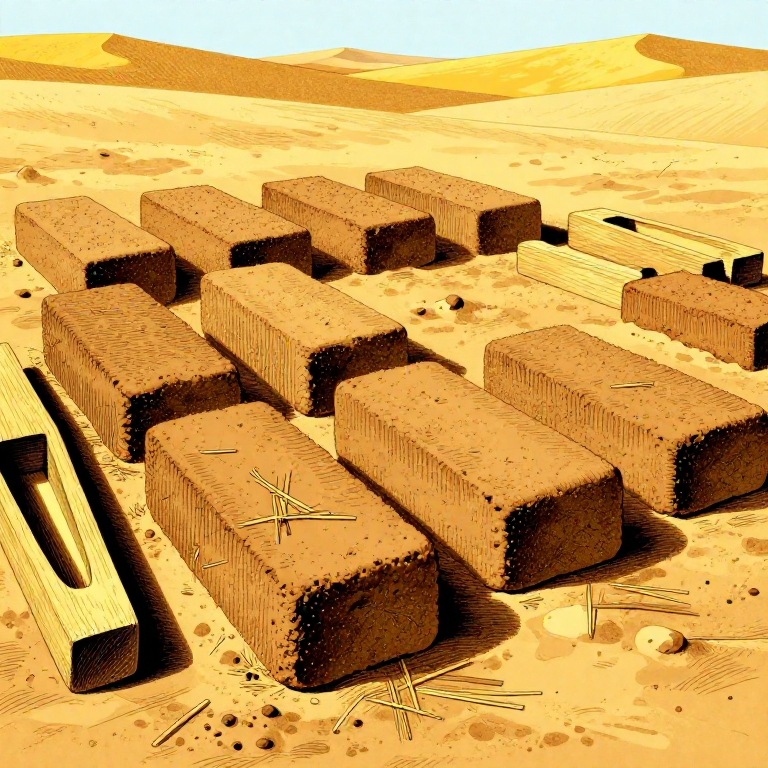
Determine the span of the arch opening and draw a full-size semicircle on a flat floor surface using a string compass. The radius equals half the span. Divide the semicircle into an odd number of segments (typically 11 to 15) so that a single keystone sits at the apex. Each voussoir must be cut as a truncated wedge — the inner face (intrados) is shorter than the outer face (extrados), and both bed joints radiate precisely toward the centre point of the arch. Use a try square and templates to mark the cutting lines on each stone block, then rough-cut with a point chisel and refine with a tooth chisel until the bed faces are flat and the taper angle matches the template exactly.
Build the Timber Centring
Build the Timber Centring
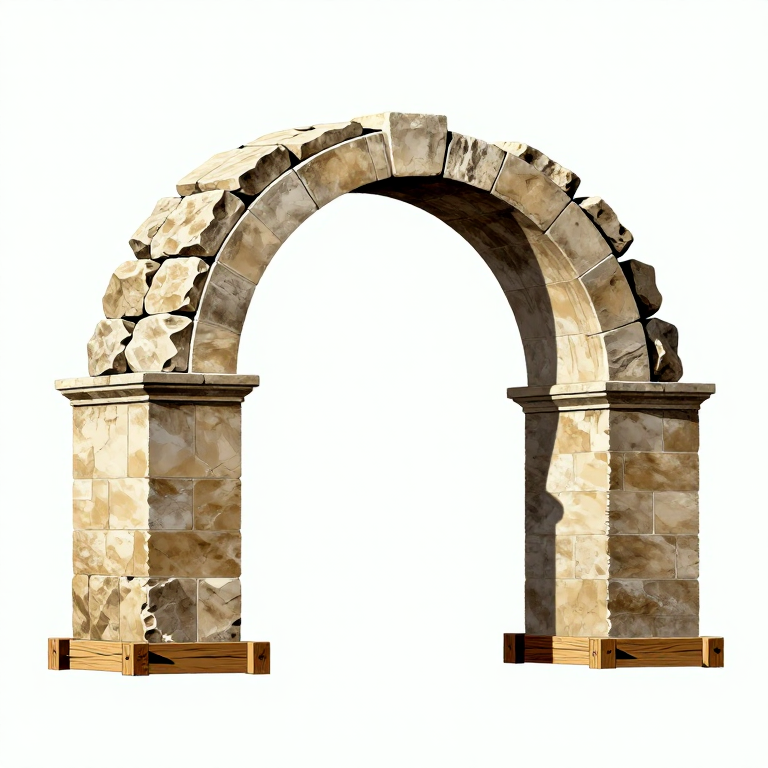
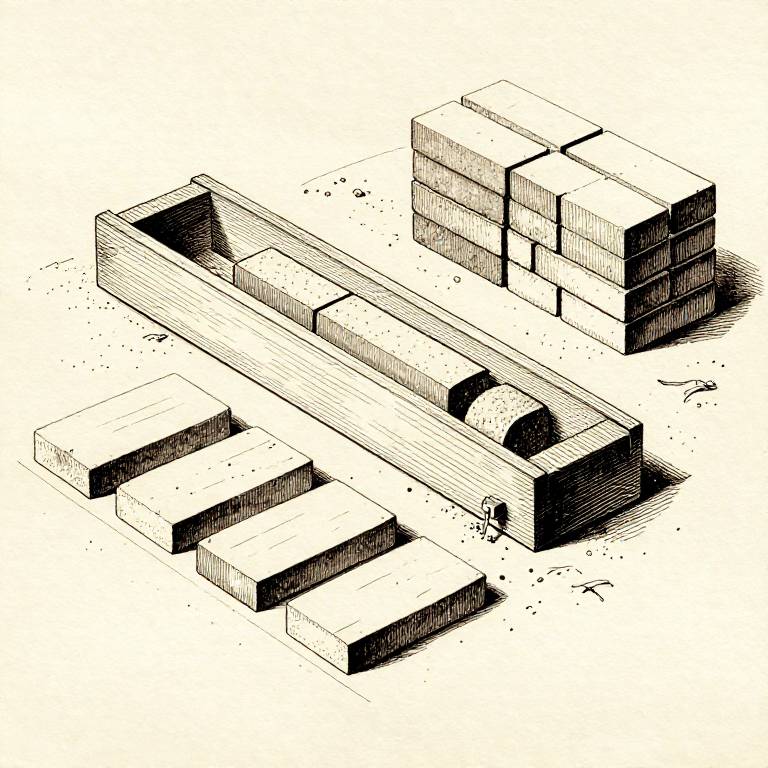
Construct a semicircular timber frame (centring) that will temporarily support the voussoirs during assembly. Cut two identical semicircular ribs from planks by marking with the same radius used for the arch design. Join the ribs with cross-braces spaced every 30 to 40 cm to form a rigid three-dimensional cradle. Nail or peg thin lagging boards across the curved top surface to create a smooth bed for the stones to rest on. Set the centring on wooden posts positioned between the two supporting piers, and use wedges under the posts so the centring can be gently lowered (struck) after the arch is complete without jarring the fresh mortar joints.
Vifaa kwa hatua hii:
 Sandstone (Abrasive)11-15 wedge-shaped blocks kipande
 Lime (Calcium Hydroxide)as needed for joints kipande
Lay Voussoirs from Both Sides
Lay Voussoirs from Both Sides
Begin by setting the two springer stones (impost blocks) on top of the piers at each side, bedded in lime mortar. Then work upward from both sides simultaneously, placing voussoirs alternately on the left and right to keep the load on the centring balanced. Apply a thin bed of lime mortar (no more than 10 mm) to each joint face before setting the next stone. Tap each voussoir gently into position with a wooden mallet and check that its bed joints align radially toward the centre point of the arch using a straightedge pivoted at the centre. Continue until only the keystone gap remains at the apex.
Set the Keystone
Set the Keystone
The keystone is the final voussoir placed at the crown of the arch. It should fit tightly between the two uppermost voussoirs, and it may need to be driven in with careful mallet blows through a wooden pad to avoid chipping the stone. Apply mortar to both bed faces before insertion. Once the keystone is seated, the arch becomes a self-supporting compression ring — every stone pushes against its neighbours and the entire load is transferred through the voussoirs into the piers. Allow the mortar to cure for at least seven days before proceeding to strike the centring.
Strike the Centring
Strike the Centring
After the lime mortar has cured for a minimum of seven days (longer in cold or damp conditions), carefully lower the timber centring by knocking the wedges under the support posts inward. Lower the centring slowly and evenly — no more than a few millimetres at a time — while observing the arch for any sign of movement or cracking. As the centring drops away, the arch must carry its own weight entirely through compression. If any voussoir shifts or a crack opens, immediately re-support the arch, allow further curing, and investigate the joint. Once the centring is fully removed, the arch stands as a permanent compression structure that can support enormous loads relative to its own weight.
Vifaa
4- 11-15 wedge-shaped blocks kipandeKishikilia Nafasi
- as needed for joints kipandeKishikilia Nafasi
Zana Zinazohitajika
6- Kishikilia Nafasi
- Kishikilia Nafasi
- Kishikilia Nafasi
- Kishikilia Nafasi
Related blueprints
Other builds that share materials, tools, or techniques with this one.
CC0 Umma Wote
Mchoro huu umetolewa chini ya CC0. Uko huru kunakili, kubadilisha, kusambaza, na kutumia kazi hii kwa madhumuni yoyote, bila kuomba ruhusa.
Saidia Mtengenezaji kwa kununua bidhaa kupitia Mchoro wao ambapo wanapata Kamisheni ya Mtengenezaji iliyowekwa na Wachuuzi, au unda marudio mapya ya Mchoro huu na uiunganishe kama kiungo katika Mchoro wako kuchangia mapato.