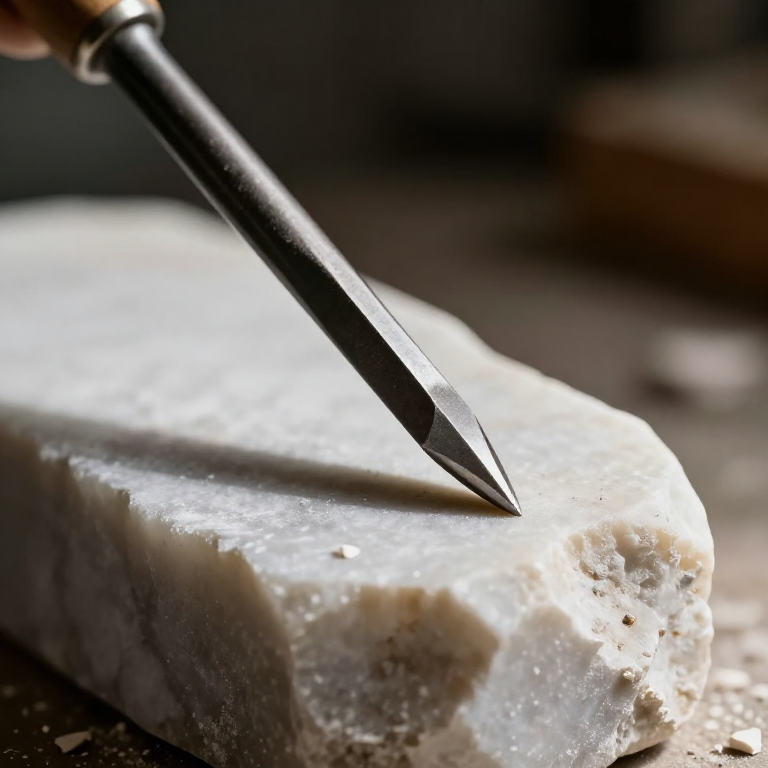


Roughing Out Marble with a Point Chisel
Every marble sculpture begins as violence. Before any form appears, a carver spends hours with a single pointed tool knocking away everything that is not the sculpture — and the point chisel is the tool that does it. It removes stone faster than anything else in the kit, and it is the one tool a carver cannot skip.
The counter-intuitive part is the angle. A beginner drives the point straight into the stone and gets a crater, a bruise under the surface, and sometimes a crack that only shows up three days later. A carver holds the point at a shallow angle and makes the stone flake sideways. You are not drilling; you are splitting chips off an edge.
Marble is worked in a sequence — point, then tooth, then flat, then rasp, then abrasive — and each tool erases the marks of the one before. Getting the roughing right is what makes everything after it possible: leave too little stone and the form is gone forever, because carving is the one craft with no undo.
Maagizo
Put on eye and lung protection
Put on eye and lung protection
Safety glasses and a dust mask before the first blow, every time. Marble chips leave the stone fast and sharp, and the fine dust is silica-bearing — it is a lung risk on repeated exposure, not a nuisance. Work outdoors or with extraction.
Zana zinazohitajika:
 Miwani ya usalama iliyo wazi
 Barakoa ya vumbi
Bed the block so it cannot rock
Bed the block so it cannot rock
Set the marble block on a sand bed or a bed of crushed marble debris at waist height. A block that rocks absorbs the blow instead of the stone, and every rocking strike risks a crack.
Vifaa kwa hatua hii:
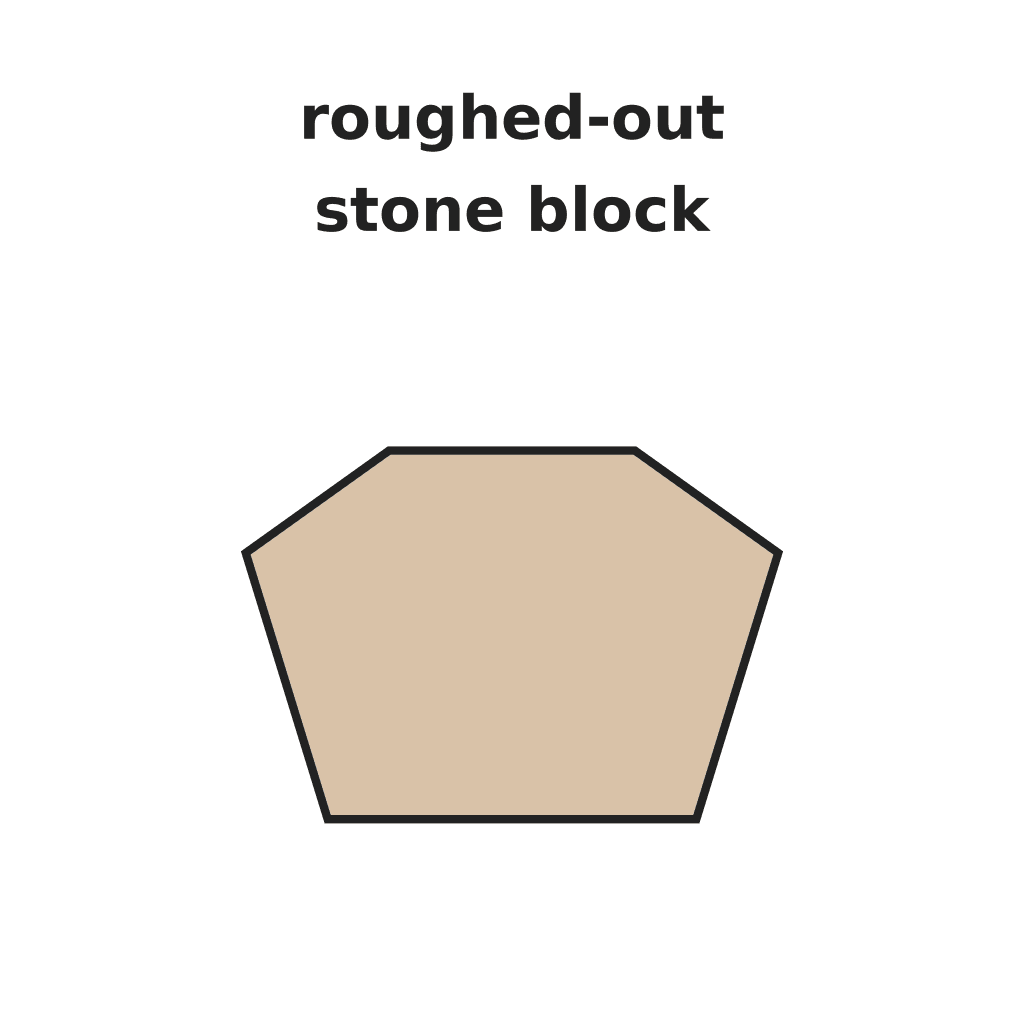
 Kipande cha marumaru cha kuchonga1 kipande
 Tandiko la kuzuia mshtuko la vipande vya marumaru1 kipande
Find the grain and the flaws
Find the grain and the flaws
Wet the block and look. Water reveals veining, bedding and hairline cracks that a dry surface hides. Plan the form so no thin projection crosses a vein — that is where the piece will break.
Draw the outline on all four faces
Draw the outline on all four faces
Draw the silhouette on every face of the block, not just the front. Carving is a three-dimensional subtraction, and a line on one face alone will lie to you the moment you turn the block.
Mark a safety margin
Mark a safety margin
Draw a second outline 15 mm outside the first. Rough only to the outer line. Stone removed is removed forever — the margin is what lets the next tool find the true surface.
Set the point at a shallow angle
Set the point at a shallow angle
Hold the point chisel at roughly 30 to 45° to the surface, never perpendicular. At a shallow angle the point splits chips sideways off an edge. Driven straight in, it punches a crater and bruises the crystal structure below the surface.
Zana zinazohitajika:
 Patasi yenye ncha ya mawe
Work inward from a free edge
Work inward from a free edge
Always strike so the chip flies off an edge or into space already cut. Driving into the middle of an uncut face has nowhere to release and simply bruises the stone.
Zana zinazohitajika:
Patasi yenye ncha ya mawe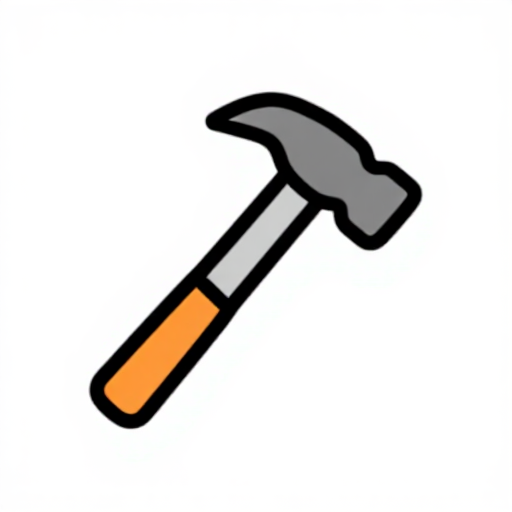 Nyundo ya kuchonga mawe
Cut parallel furrows across the waste
Cut parallel furrows across the waste
Run parallel furrows about 10 mm apart across the waste area, keeping every furrow the same depth. Even furrows give an even surface for the next pass.
Zana zinazohitajika:
Patasi yenye ncha ya maweNyundo ya kuchonga maweCross-hatch and knock off the ridges
Cross-hatch and knock off the ridges
Cut a second set of furrows at roughly 90° to the first, then knock the standing squares off with light blows. Removing stone in a grid is far faster and far safer than chasing it with deep single cuts.
Zana zinazohitajika:
Patasi yenye ncha ya maweNyundo ya kuchonga maweTurn the block and repeat
Turn the block and repeat
Rotate the block and rough every face in turn, keeping all sides at a similar stage. Finishing one face completely before starting the next is how forms end up lopsided.
Zana zinazohitajika:
Patasi yenye ncha ya maweNyundo ya kuchonga maweStop 15 mm proud and change tools
Stop 15 mm proud and change tools
Stop when the whole form stands 15 mm outside the true outline. Switch to the tooth chisel, which is designed to cross the point's furrows and level them into a readable surface.
Zana zinazohitajika:
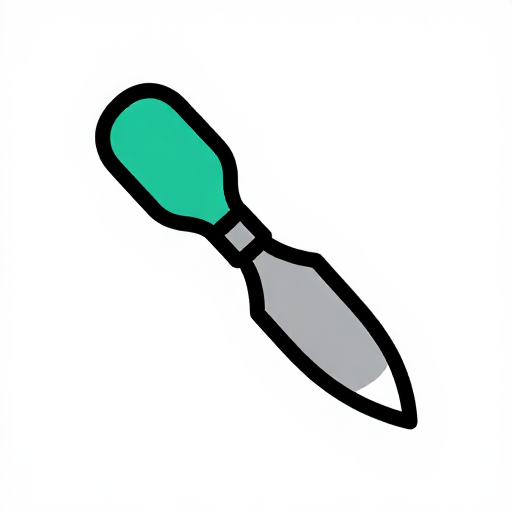 Patasi ya meno ya jiwe
Level the surface with the tooth chisel
Level the surface with the tooth chisel
Work the tooth chisel diagonally across the point marks at a shallow angle. Its row of teeth spreads the force and takes the high spots without digging in, giving the first surface you can actually judge the form on.
Zana zinazohitajika:
Patasi ya meno ya jiweNyundo ya kuchonga maweHistory & Context
History & Context
A sequence, not a set. The classic progression is point, then tooth, then flat chisel, then rasp, then progressively finer abrasives. Each tool exists to remove the marks of the previous one. The point moves the most stone and leaves the roughest surface; the tooth crosses those furrows and evens them; the flat chisel erases the tooth marks and cuts sharp detail like facial features; the rasp takes out the flat's facets.
Carvers disagree, and always have. This sequence is a convention, not a law. Some carvers skip the tooth chisel entirely and go straight from point to flat; others use the tooth chisel as a finishing tool for its texture rather than as an intermediate step. Surviving unfinished ancient and Renaissance sculpture shows several different working methods, which is precisely why unfinished pieces are so valuable to study — a finished surface hides how it was made.
Reading tool marks. Because each tool leaves a signature, an unfinished sculpture is a record of process. Michelangelo's unfinished figures are studied for exactly this reason: the tooth chisel tracks show the direction he worked and how far he had taken each area. Archaeologists use the same evidence on quarry faces and abandoned blocks.
Subtraction has no undo. Carving is the only major making process with no reversal. Clay can be added back, metal can be soldered, wood can be patched — removed stone is gone. That single constraint explains the whole discipline: the safety margin, the outline on every face, the refusal to finish one area early, and the long tradition of working out the form first in clay or plaster where mistakes are cheap.
Why marble in particular. Marble is metamorphosed limestone: calcite recrystallised under heat and pressure into interlocking grains. Those grains are what let it take a fine edge and a polish, and also what makes it translucent enough for light to sink a millimetre or two into the surface — the quality that makes marble skin look like skin. It is also why a bruise from a badly-angled point chisel matters: the damage is to the crystal structure below the surface, and it can show as a dull patch long after the surface above it has been carved away.
Vifaa
2- 1 kipandeKishikilia Nafasi
- Kishikilia Nafasi
Mchoro huu unatengeneza
CC0 Umma Wote
Mchoro huu umetolewa chini ya CC0. Uko huru kunakili, kubadilisha, kusambaza, na kutumia kazi hii kwa madhumuni yoyote, bila kuomba ruhusa.
Saidia Mtengenezaji kwa kununua bidhaa kupitia Mchoro wao ambapo wanapata Kamisheni ya Mtengenezaji iliyowekwa na Wachuuzi, au unda marudio mapya ya Mchoro huu na uiunganishe kama kiungo katika Mchoro wako kuchangia mapato.